A skim coat is a thin layer of joint compound used in the wall or ceiling to make the drywall smoother, flatter, and uniform before you paint. It helps the wall’s condition to be more active and helps the paint be attached to the wall for a long time.
We often see that after a certain period, the surface of the painting keeps falling off the wall. One of the causes for this problem is not using a skim coat on the wall or ceiling. Applying a skim coat to the wall has several advantages and disadvantages. We’ll talk about it one by one. So, let’s dive into the in-depth discussion of the advantages and disadvantages of skim coats.
What Is Skim Coating And Its Purpose
Skim coating is a technique used in construction and renovation projects to create a smooth and even surface on walls or ceilings. It involves applying a thin layer of joint compound or plaster over the existing surface, which helps to conceal imperfections such as cracks, bumps, or uneven textures.
The purpose of skim coating is to create a clean and uniform base for painting or wallpapering, ensuring a professional and polished finish. Skim coating can be particularly beneficial when working with older or damaged surfaces, as it can help restore them to their original condition.
Advantages And Disadvantages Of Skim Coat – Details
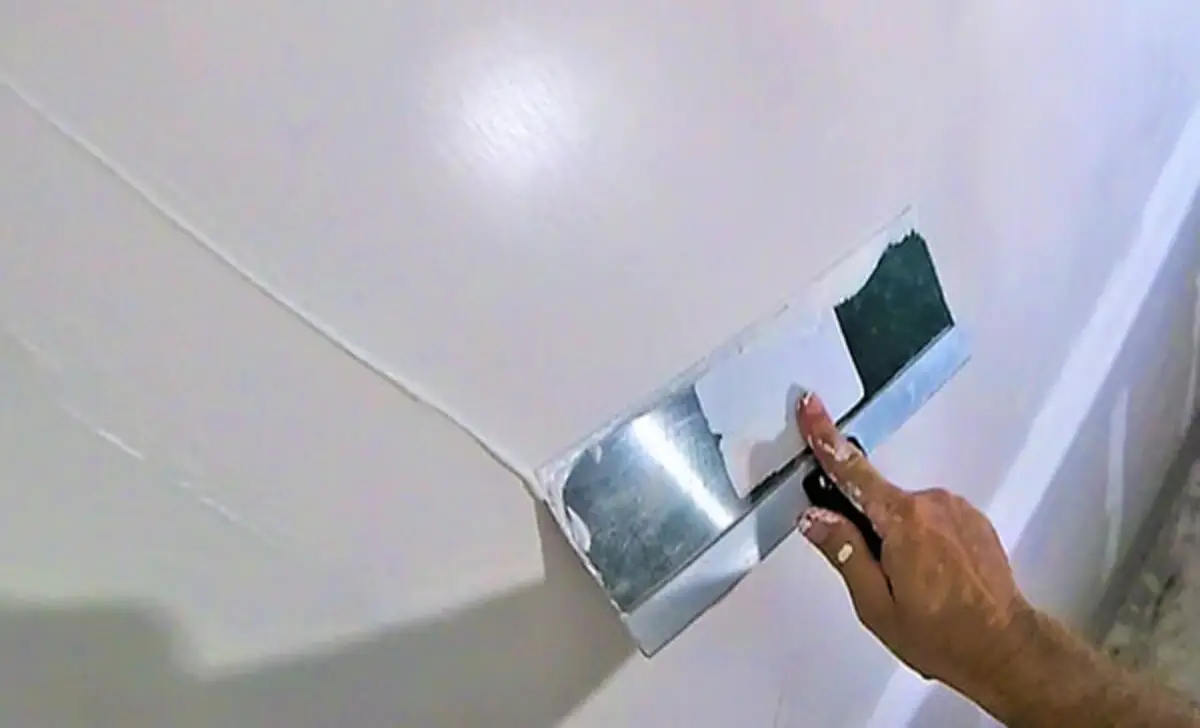
Skim coating is a popular technique used in construction and remodeling to create a smooth surface on skim-coat walls and ceilings. This thin plaster or joint compound layer hides imperfections like cracks and dents, providing a polished finish. It prepares the surface time for painting or wallpapering, enhancing the room’s appearance.
Skim coats are versatile and suitable for drywall, concrete, and wood surfaces. It is quick to apply, requires few coats, and has minimal drying time, saving time and money. However, it’s important to note that skim coat should be applied carefully to ensure a durable and long-lasting result. Professional painter assistance may be needed for complex renovation projects. Here are some details on the advantages and disadvantages of skim coats.
Advantages Of Skim Coating
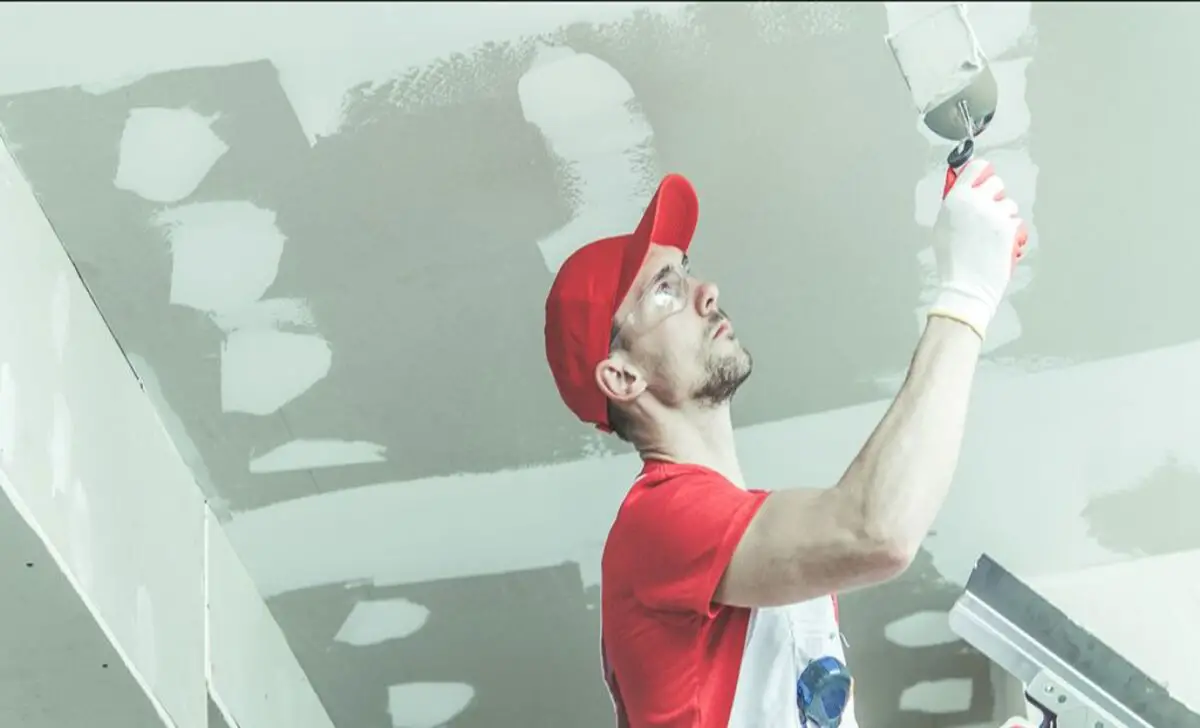
Skim coating, also known as skim coat plastering, offers several advantages in improving the appearance of walls and ceilings. First and foremost, skim coating provides a smooth and even surface, which is perfect for achieving a flawless finish when painting or applying wallpaper. It can also help to cover up imperfections such as cracks, dents, or uneven textures on the surface.
Skim coating provides a cost-effective solution compared to other methods like replacing drywall or applying multiple layers of joint compound. You can complete the process relatively quickly in a few days. However, it’s important to note that skim coating requires skill and expertise to achieve the desired results, so hiring a professional may be necessary for optimal outcomes.
Creates A Smooth And Even Surface
People use skim coating as a popular technique in construction and remodelling to create a smooth and even surface on walls and ceilings. This skilled, difficult process involves applying a thin layer of joint compound or plaster over the existing surface, filling in imperfections or uneven areas.
One of the main advantages of skim coating is that it can transform rough or damaged surfaces into a flawless canvas for painting or wallpapering. It also helps to improve the overall aesthetic appeal of a space by providing a clean and polished finish. Additionally, skim coating can help to increase the durability and longevity of walls and ceilings by reinforcing them and preventing further damage.
Covers Up Imperfections And Blemishes
The skim coating offers several advantages when covering up imperfections and blemishes on walls. By applying a thin layer of joint compound or plaster, skim coating can effectively smooth out surfaces and create a flawless finish. This technique is particularly helpful for hiding small cracks, dents, or uneven textures that may be present on the walls.
The skim coating also provides an excellent base for painting, creating a uniform surface that allows the paint to adhere evenly and smoothly. Overall, skim coating is a cost-effective and efficient way to transform the appearance of your walls and achieve a professional-looking finish.
Provides A Clean Canvas For Painting Or Wallpapering
One of the major advantages of skim coating is that it provides a clean and smooth canvas for painting or wallpapering. Applying a thin layer of joint compound or plaster over the surface can easily smooth out imperfections, such as cracks, bumps, or textures.
This creates a seamless and flawless finish that allows the paint to adhere evenly and apply wallpaper smoothly. Whether you’re looking to refresh your walls with a new color of paint or transform them with stylish wallpaper, skim coating can help you achieve a professional-looking result that enhances the overall appearance of your space.
Disadvantages Of Skim Coating
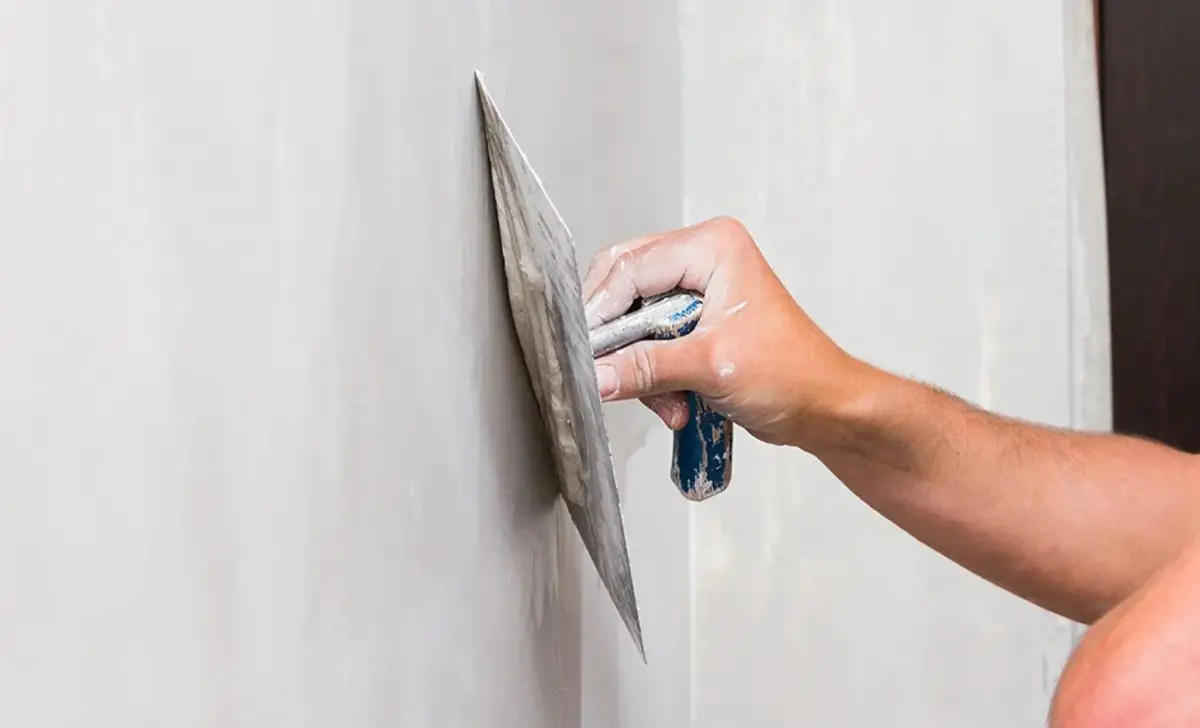
Despite its ability to create a smooth and polished surface, skim coating has some drawbacks. One major disadvantage is the extensive time and effort required for proper preparation and application. This involves applying, sanding, and smoothing multiple layers of joint compound.
It can be a labor-intensive and time-consuming process. Another disadvantage is the cost of hiring a professional, as achieving a flawless finish requires skill and expertise. If you lack confidence in your abilities, seeking professional help may be best.
It’s crucial to note that skim coating can result in an uneven or bumpy surface, necessitating additional repairs if not done correctly. Before deciding if skim coating suits your project, consider these potential drawbacks carefully.
Requires Skill And Experience To Achieve A Professional Finish
One of the main disadvantages of skim coating is that it requires a high level of skill and experience to achieve a professional finish. Skim coating involves applying a thin layer of joint compound or plaster over a wall or ceiling to create a smooth and even surface.
However, this process can be tricky and time-consuming, especially for those unfamiliar with the technique. It takes practice to apply the skim coat evenly without leaving any visible lines or imperfections behind. Therefore, it is recommended to hire a professional skim coating contractor if you want to ensure a flawless result.
It Can Be Costly, Especially If Hiring A Professional
One of the main disadvantages of skim coating is that it can be costly, especially if you are hiring a professional to do the job. Skim coating involves applying a thin layer of joint compound or plaster over a surface to create a smooth finish. This process requires skill and expertise, which can drive up the cost of labor.
Additionally, the materials needed for skim coating can also be expensive. However, weighing the material costs against the benefits of achieving a flawless, smooth surface in your home or project is important.
It May Not Be Suitable For All Wall Surfaces Or Conditions
Skim coating, a popular technique for achieving smooth walls, may not be suitable for all surfaces or conditions. It involves applying a thin layer of joint compound or plaster for a smooth finish. However, heavily textured or damaged walls may need extra preparation or repairs.
In humid or moist areas, skim coating may not stick properly and can result in bubbling or peeling. It’s crucial to assess your walls’ condition and consult a professional to determine if skim coating is the best choice.
Factors To Consider Before Deciding To Skim-Coat
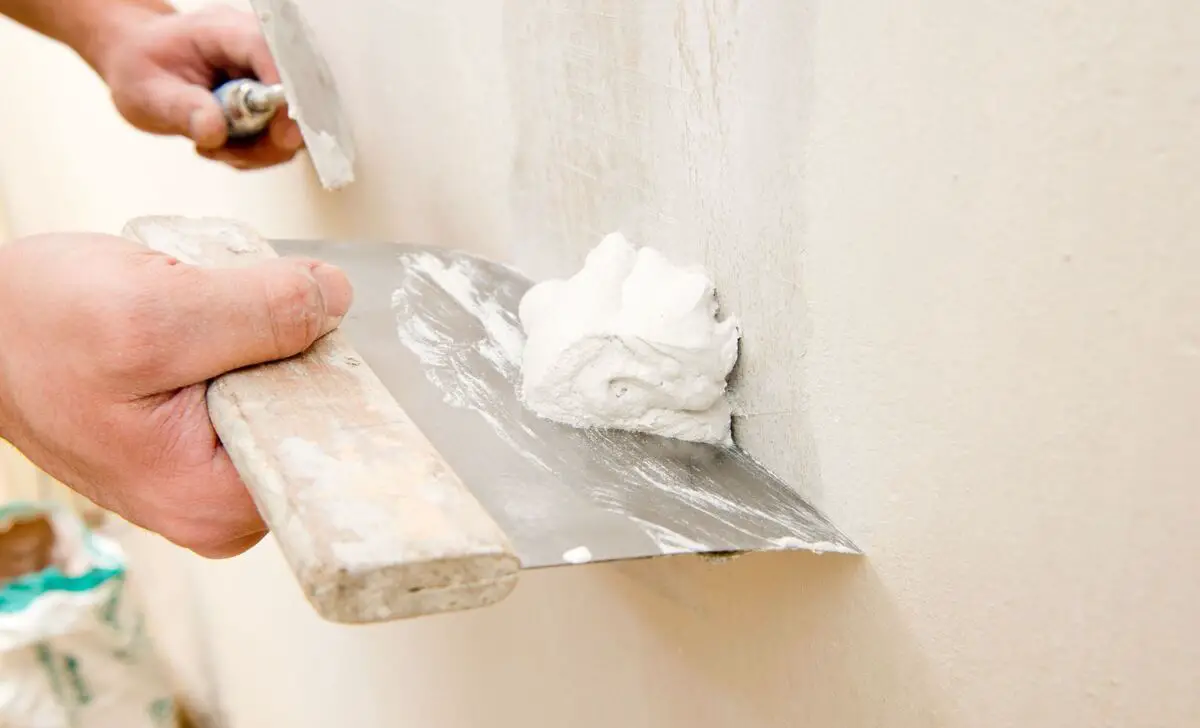
Before skim coating, it’s important to consider various factors. Skim coating provides a smooth finish to rough or damaged surfaces, making it ideal for painting or wallpapering. It also enhances durability by strengthening weak areas and safeguarding against future damage. However, there are drawbacks to keep in mind.
Skim coating can be time-consuming and labor-intensive, requiring multiple layers and precise application. It can also be costly, especially if hiring a professional. Additionally, suitability varies depending on the surface and situation, so it’s crucial to evaluate its condition and consult an expert before proceeding.
Alternatives To Skim Coating
Skim coating is a popular technique for achieving smooth walls and ceilings. It delivers benefits like hiding imperfections and creating a modern look. However, there are alternatives worth considering. Textured paint job or wallpaper can cover up minor flaws while adding visual interest.
Another option is a self-leveling compound that automatically levels itself out when poured onto the surface. This is especially useful for larger areas or more significant imperfections. Ultimately, the choice between skim coating and its alternatives depends on factors like surface condition, desired outcome, and personal preference.
Tips For Successful Skim Coating
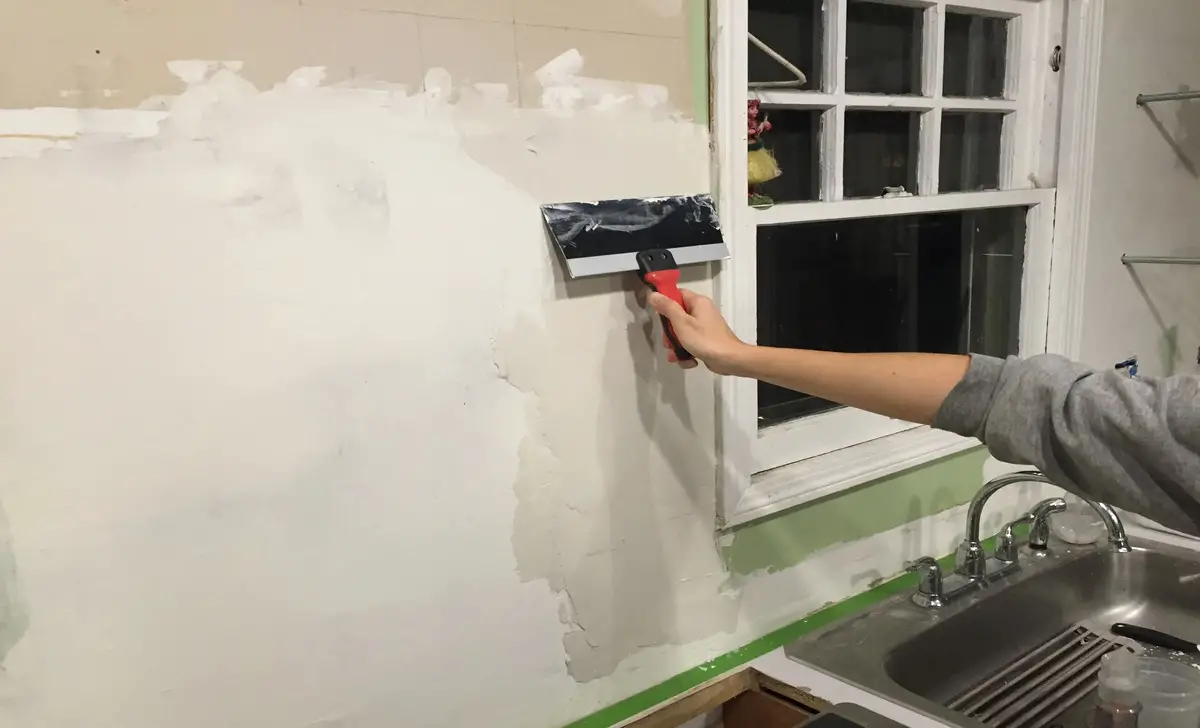
Skim coating can be a great way to achieve a smooth and flawless surface, but it has advantages and disadvantages. Overall, skim coating can be a great solution for achieving a flawless surface, but weighing the advantages and disadvantages before deciding is important. Here are some tips for successful skim coating:
- Proper Surface Preparation Is Key. Before applying the skim coat, ensure the surface is clean, dry, and free from dust or debris. This will help the skim coat adhere properly and achieve a smoother finish.
- Use The Right Tools. A trowel or drywall joint paper compound knife is typically used to apply the skim coat. Make sure you choose the right size and type of tool for your specific project.
- Apply Multiple Thin Coats. It’s better to apply several thin coats of skim coat rather than one thick coat. This allows each layer to dry properly and reduces the risk of cracking or unevenness.
- Sand Between Coats. After each coat has dried, lightly sand the surface to smooth out imperfections before applying the next coat.
- Practice Patience. Skim coating can be time-consuming, so take your time and avoid rushing through it. Allow each coat to fully dry before proceeding to the next step.
Conclusion
Skim coating is time-consuming, costly work. It creates mass and other additional hassles. These are considered to be the disadvantages of skim coating. But if you can tolerate this hassle for a while, it will give you perfectly durable walls and add brightness to your house. It’s highly recommended for houses with a damp issue.
It helps hide the crack in the surface and makes the entire wall flat so the painting can work perfectly. It will help the old walls look new, just like a fine wine. We hope now you know the advantages and disadvantages of skim coats.
Frequently Asked Questions
How Long Does Skim Coat Last?
A skim coat typically lasts for several years. Still, the exact lifespan will depend on factors such as the materials’ quality, the application technique, and the level of wear and tear it is subjected to.
Is Skim Coating Worth It?
Yes, skim coating is worth it in many cases. Skim coating applies a thin layer of joint compound to smooth out walls or ceilings. It can greatly improve the appearance of rough or damaged surfaces, creating a smooth and even finish.
What Is Best To Use For A Skim Coat?
The best material to use for a skim coat is typically a premixed joint compound or a specialized skim coat product. These products are designed to create a smooth, even surface on walls or ceilings.
Which Is Better, Skim Coat Or Putty?
It depends on the specific application and desired outcome. A skim coat is typically used to smooth rough or uneven surfaces before painting or applying wallpaper. It provides a thin and even layer that helps to create a smooth and flawless finish.
Can Skim Coat Waterproof?
No, skim coat is not inherently waterproof. A skim coat is a thin material, typically made of joint compound or plaster, applied to walls or ceilings to create a smooth surface.


Leave a Reply