You managed to finish painting a piece of furniture that has been a hassle for you for quite a few days now. But as you turn away, you notice the blemish over the newly painted wood. You fall in disappointment since you have no solution for this faulty paint.
If you are into DIY craftsmanship, or perhaps you have a career that revolves around wood and lumber, this problem plagues many of you. So, how to fix wood stain mistakes? Spots of stain on a newly furnished wood are a pest. But don’t lose hope yet. There are some ways to counter it. Scroll down and read patiently to find the perfect cure for the cancerous stains on your wood.
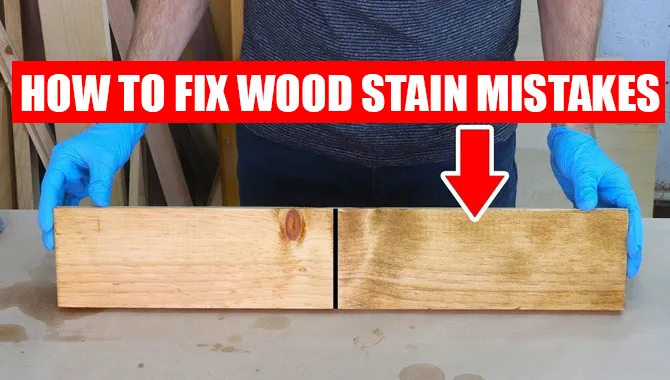
Evaluating The Stain
The thing is that there is more than one type of stain. A bad painting case could give rise to several stain issues. Stains are a pest when it comes to wooden furniture.
Each stain has a different treatment it must be dealt with. That’s why before moving to the main steps, you need to find the type of stain you are dealing with.
The issues could also vary in shape and size. So to start with, first, you need to observe the surface with the faulty stain and try to find out what could have gone wrong with it. So of the issues you are going to be dealing with are:
- Uneven surface.
- Unwanted stain spots or drips.
- Uneven color shade.
- Wrong color shade.
- Sticky stain.
- Blotchy wood stain.
- Stain not penetrating the wood.
8 Effective Ways To Remove Wood Stains
Making a mistake when applying wood stain can be frustrating, but don’t worry – it’s not the end of the world! There are several ways to fix wood stain mistakes and still achieve the desired finish. One option is to sand down the stained area and reapply a fresh coat of stain.
This can help even out the color and cover up any blotches or uneven spots. Another option is to use a wood stain remover or stripper to remove the existing stain completely. This will allow you to start from scratch and apply a new coat of stain that will give you the desired result.
Whichever method you choose, just remember to take your time, follow the instructions carefully, and be patient – with a little effort and some trial and error, you can fix those wood stain mistakes and have your project looking beautiful in no time.
Fixing Uneven Surface
No furniture should ever be painted or worked on t its surface is uneven. The unevenness might be caused by the small bits of paint being peeled off or faulty lumber manufacture. Rotting due to water or other fluids may also be a great cause of creating an uneven surface.
If you have managed to find the uneven points, your first step is to sand those points. You could use a scrubber fixed with sanding paper or a palm sander. The sander depends on your preference completely. Sand along the grain, otherwise rough surfaces will be formed. Use a rug or dry cloth to clean the mess. Then apply a coat of stain remover onto the surface. Only target the areas with lighter shades.
Make sure to keep the usage of stain minimized. Under normal circumstances, a single coat should be more than enough to finish your work. If you use too much stain, wipe them off with a dry cloth. When the furniture dries after a few hours, apply a coat of paint of your taste onto the surface. If you prefer to have the raw wooden color, you do not need to apply paint.
Apply More Stain Coat To The Furniture
Sometimes a single coating of stain remover might not be enough. You might find the surfaces too blemished with uneven structural flaws for your taste. To solve this, the second coating of paint could be a great decision. A factor you might have to face is that the surface might turn darker. However, it will get rid of the uneven staining.
If the problem is not resolved, then you could apply a second coat. If no change is observed, do not apply stain anymore. The old paint that has already settled into the wood might cause many problems, like not allowing it to reside into the grain. What you can do is sand the surface down to make it even. Only then apply the stain to the designated surface under careful observation.
Apply Thinner To Wipe Away Darker Areas
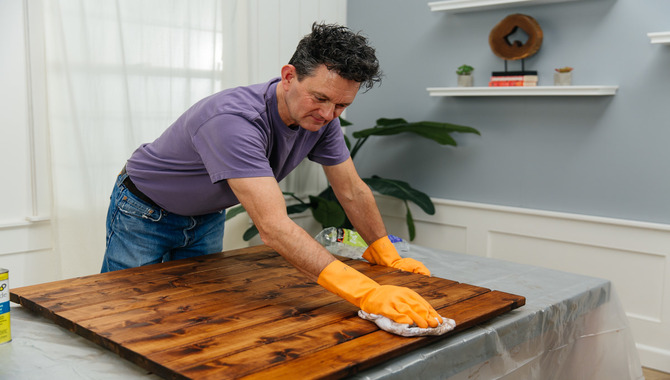
If your stained surface has a lot of dark areas, the furniture will not look good for the eye to see. The best thing to do would be to lighten them down a few notches with a thinner. Thinners work miraculously and do not require any preparations from before. However, you need to use the appropriate thinner for your wooden surface since not every thinner will suit every stained surface.
When working with the thinner, first take a bit of the chemical on a rag and then rub the darkened areas. The purpose of the thinner is to remove the extra paint that has caused a blotted stain. If you rub the lighter areas with it, the thinner might completely remove the paint. To ensure this doesn’t happen, control the places where the thinner is applied properly. You could feather down the edges of the furniture to blend the paint in.
Chemically Strip The Entire Project
Using a chemical stripper to remove the paint is not considered efficient since you will be removing the entire coat of paint and working on it all over again.
However, it may be considered as one of the easiest solutions since it has very high convenience. If you are having issues getting down the details and would want to remove the entire paint off the project, follow his 4 steps to get your project stripped:
Step 1
Take some chemical stripper on a dry rag and coat the project’s surface entirely with the chemical.
Step 2
Wait for some time for the stripper to dry. You are advised to wait from half an hour to one whole hour.
Step 3
Take a scraper or sander; then scrap off the entire surface till none of the paint remains.
Step 4
Use a vacuum or a clean cotton cloth to remove the dust and paint residue. After you have managed to go through the stripping process, you could further sand down the surface using medium-grade sandpaper between 150 and 220 grit and clean it up. Later you could paint it with your choice of paint, but make sure to not make the same mistake as before lest you end up with another stain.
Sand Down The Entire Paint
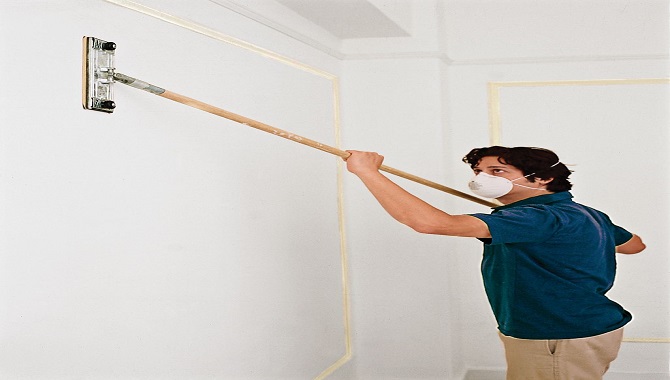
Another convenient and easy way to remove any stain is to sand it down entirely. Although it has the same issues as stripping it down, sanding should be used by those who refuse to use chemical strippers. When you sand, make sure to sand for the grain. Against the grain would result in a rougher surface. Sanding allows you to start your task afresh.
You need to ensure the moisture-less state of the wood before you can start the sanding. If not, wipe away the water molecules using a dry rag or leave it in front of a drying fan to drain the wood. You could attach a sanding paper to a scrubber; however, we recommend using a palm sander. If you are going to have more of a professional sanding finish, you could use all the respective sanders required for the details of the project.
Make sure to use 180-220 grit sandpaper. Too little would never get the work done on time, while too much might have the danger of sanding the surface too much to the point of no return. This might be time-consuming, but know that hard work always pay off. After sanding the furniture, you will get to have a fresh start. If you want to make your project even more lavish or simple things, you could edit the artwork on it before painting.
Use Gel Stain On The Surface
No matter how meticulously you paint your wooden furniture, some mistakes are completely random to your control. Stain blotches and drips are included in such problems.
Birch, maple, pine, and wood from similar trees show the same trend of allowing the chemical to enter its interior. This ends up showing faults if exposed to water. To prevent this blotch from showing up on your end product, you could sand the surface aggressively using an orbital orbit.
Then wipe the sanded pat clean using a mineral spirit and apply a gel stain evenly. Wiping away the extra gel is a great practice to ensure that none of the extra gels accumulate over the surface.
Glaze Over The Bad Stain
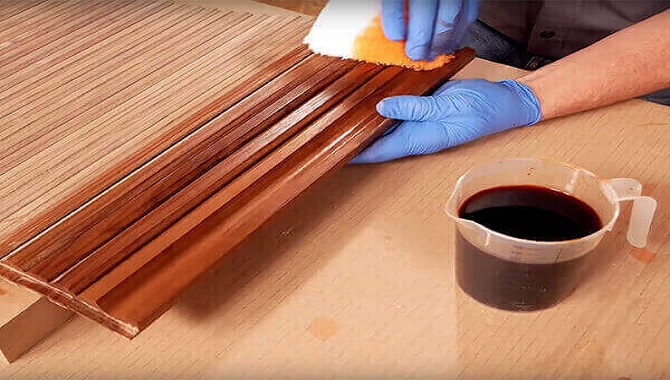
Glazing is a unique improvising method to hide your stains. It is a very easy process. You simply need to smear the glaze on top, and it will create an aged effect automatically. However, this method is only effective when you do the staining work for stains between different color combinations.
If you neglect this condition and apply glaze, the new color combination might get too odd and queer for your taste. You must note that the purpose of this effect is to make the old stains look darker and to create an antique look. If the stain jobs are too blotched up, or only a small amount is visible, you could choose to glaze over them.
An important thing you must note is that the ratio of mineral spirit to stain is as accurate as possible to about a stable 9:1.
Using Oil-Based Wood Stain
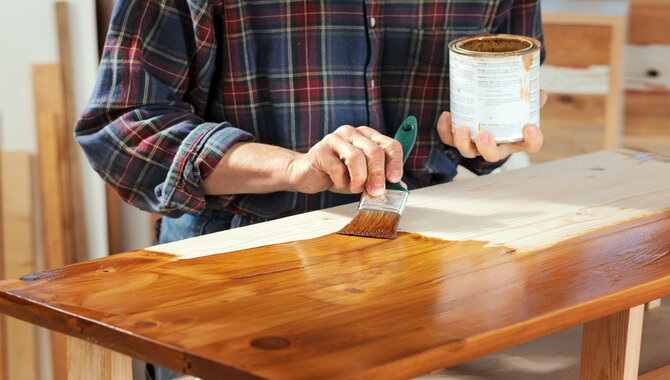
Always follow the manufacturer’s instructions when using oil-based wood stains. If you make a mistake while staining your wood, here are some tips on how to fix it:
- Start by wetting down the area that needs stain with plain water before applying the stain. This will help prevent brush strokes and other mistakes during application.
- Apply the stain in an even coat using a foam applicator or a brush. Always apply enough paint until you have achieved desired color saturation. Work quickly, so that excess stain doesn’t dry out and crack the wood.
- Allow the Stain to dry completely before sealing with a finish of your choice.
- If any areas of the wood remain stained un-dried, sand with 100-grit to remove residue and then apply a new coat of stain.
- Once the Stain has completely dried, apply a finish of your choice and protect with a clear coat of polyurethane or varnish.
To stain oil-based wood:
- Mix the stain with water according to the manufacturer’s instructions.
- Pour the mixture onto your surface and spread it with a brush or cloth.
- Let the paint dry for at least 48 hours before using furniture or other objects.
Using Gel Stain
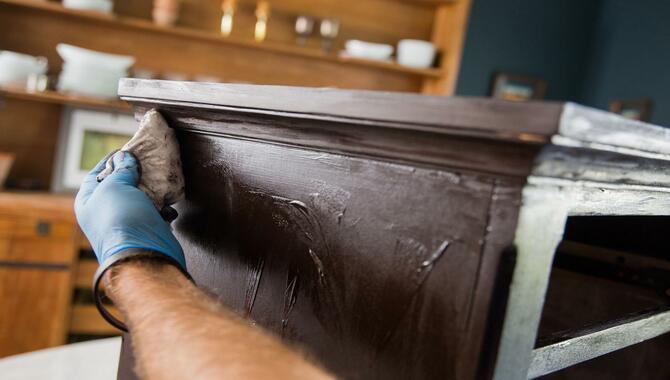
To fix wood stain mistakes, use a gel stain. Gel stains are water-based and will not leave a residue as traditional dyes do. This makes them ideal for fixing small stained areas or making touch-ups on existing staining. Apply the gel stain to the area where you want it to appear as though it didn’t stain the wood in the first place, and then buff it off with a cloth or brush.
Covering Treatment
Sometimes it is not about removing old stains that look bad to the eye. What you need to do is use a little bit of deceit and camouflages the fault. You can apply a stain of incredibly dark complexion over the top of it after sanding parts of the old stain or choose to go for a new paint that creates a contrast over the old one. Covering doesn’t take much time. There isn’t any need for preparation if you want to do a covering job.
The treatment extinguishes the old stain as you are camouflaging the old stain with a new look. The worst-case scenario is that they would not look like how you intended them to look. If you had your heart set on a certain stain color, covering it would not look the same since they were not a fruit of your hard labor. Covering methods are to be used only in dire situations. They work well and quickly; however, that is only for emergencies.
Tips You Could Follow To Avoid Making A Mistake Next Time
You must learn to avoid making mistakes the next time you are painting or working with wood. Besides, you can only fix them once, but there is no second time. So make sure to make some preparations, and thankfully you will be able to get things down without being in a pinch.
- You should sand down the wood as long as it has any blemish or uneven scratches over the surface. You could sand it with high 320 grit sandpaper.
- Wipe down or vacuum surfaces to remove any dust or sand residues before applying a coat of paint or treating chemicals.
- Make sure the coats you are applying are even. Wipe down the extra before they can dry and accumulate.
- Always make sure that the paint or chemical mixtures you are using are freshly mixed.
- When using stains, allow the chemical to penetrate the grain.
- Some treatment is required over the wood if it does not allow the chemicals to seep through inside it or has the problem of allowing too much of the chemical.
Tips When Painting Wood
- Make sure to work on top of a map or protector.
- Sand the corners and complicated designs without haste.
- Cover the work when you are on a break
- Apply primers and sealers with roller
- Sand the flat surfaces till no rough patches remain.
Even the Wood With Gel Stain
If you want to achieve a rustic look with your wood furniture, an effortless way is to use a gel stain. This type of stain will create a series of random flaws on the surface of the wood, which can give it a bit of an aged appearance. Just be sure to clean and dry the surface before applying the gel Stain in order to avoid any staining issues later.
Conclusion
By now, we shall assume that you have already learned how to treat any stain mistakes. So you can make any necessary adjustments and get down to crafting. Also, prepare well so that you do not make the same mistakes twice. I hope now you know how to fix wood stain mistakes.
Frequently Asked Questions
1.Can You Coat Apply The Coat Directly On Top Of The Wood?
Ans. If the wood has an existing coat of paint from before, do not apply any new coat over it. Remove the old coat using a stripper or other sanding methods. Only then move on to the painting step.
2.What Do You Put On Wood Before Painting It?
Ans. The best rule when painting wood is to apply at least two coats of sealer directly onto the surface of the raw wood. This helps create a safety barrier on the wood and makes it fluid-proof so that no paint can get penetrate the wood.
3.What Sandpaper Should You Use Before Painting Wood?
Ans. For sanding purposes, you should use 120-150 grit sandpaper. However, at the end of the day, this completely depends on your preference and skills. If you are skilled enough, you could use higher grit sandpapers and get your work done faster.

Leave a Reply