We decorate our house almost every year but forget about the stairs. We thought the staining or painting would be too expensive and full of hard work. But honestly, that’s nothing but a misconception.
If you are thinking of hiring a professional, that is something else, but it will be super cheap as long as you are willing to do the stain and paint by yourself.
In this article, we will go through a deep discussion about how to sand, stain & paint stairs tread in an effortless and more accessible way.
We are not saying that staining and painting stairs are child’s play, but it wouldn’t be much complicated for an adult guy. So, how to do sand, stain & paint stairs treads?
When you go through this guide,, you understand how to sand, stain, and paint correctly. Along with the main topic, we also describe some related work and suggestions. Just give it a read and start applying.
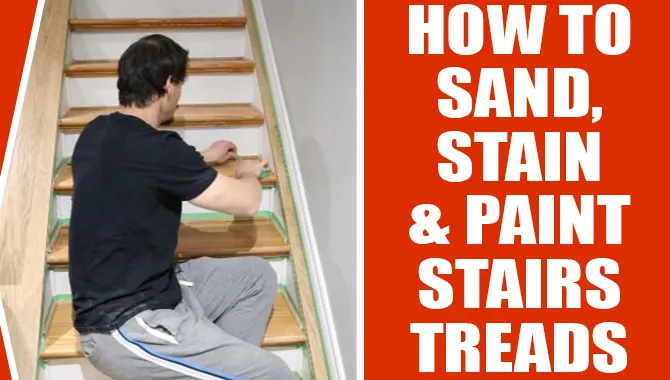
How To Sand, Stain & Paint Stairs Treads
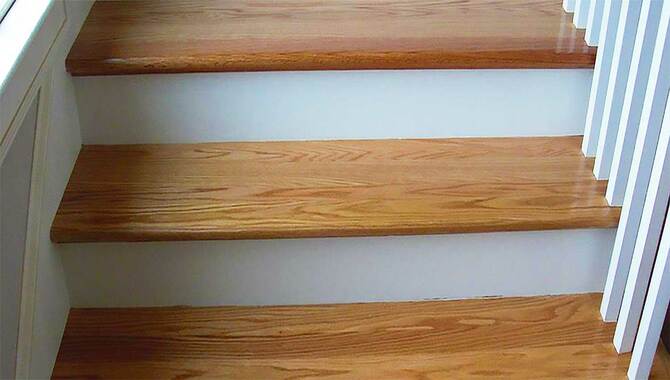
When you are ultimately determined to paint/stain your stairs trades, you have to follow precise instructions. The instruction wouldn’t be much vigorous, but the process will be comparatively lengthy.
So you have to be very patient to complete the task. If you just invest one weekend for the job, it will be all done.
Moreover, the tools and stuff needed here are not very expensive. You just have to make a moderate budget for the work. A list of the necessary stuff will be provided.
In addition, we have prepared the whole instruction in three parts. The first part is for preparation. The second part will be for the main work. We mean staining and painting.
The third part will be for the post painting work. In that stage, you have taken care of your recently finished stairs by applying the necessary things.
Each part will contain some details and in-depth steps, giving you a clearer idea about the process.
Here Are The Three Main Parts
- Preparing The Staircase
- Inspect the wood (observe whether the wood is ready for work or not)
- Take action if it’s not ok
- Prepare the place for the final work
- Sanding and Dispossess old paints
- Clean the area
- Applying Paint/stain In The Stairs
- Staining Stairs
- Applying paints
- Adding the second layer (if needed)
- Guarding The Stairs
- Polyurethane varnish
Part 1:Preparing The Staircase
Inspect The Wood (Observe Whether The Wood Is Ready For Work Or Not)
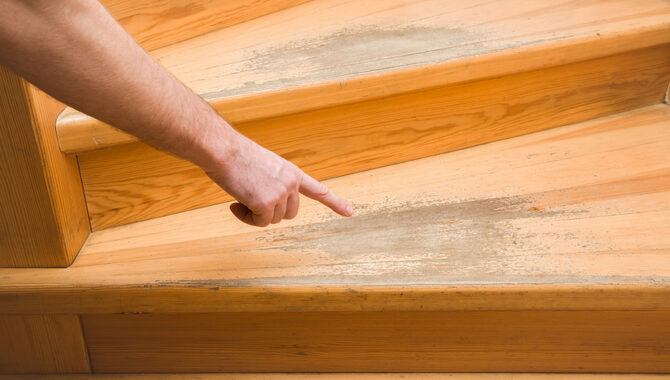
Before starting any action to renew your stairs, you have to inspect the whole stairs properly. When checking the stairs, you have to consider some points.
The most crucial point would be to know the current condition of the stairs’ wood. When the wood is not in the proper condition, then you shouldn’t start painting the stairs.
The second thing would be to check the materials like metal kinds of stuff. If there was a carpet on the stairs, then there must be some metal nails. Mark this point.
The third thing will be dust or any dirt. When the wood is filthy, it is filled with dust and dirt. That’s not the suitable condition to start working.
Moreover, you have analyzed every single aspect very closely. Depending on the condition, you need to complete all the prework. After all, You have to solve all the problems and fix all the damage.
Ultimately, the stairs should be fully prepared for the final paintwork. You have to make sure of everything at this stage.
Take Action If It’s Not Ok
When you have already pointed out all other problems and damages, now you have to fix all the issues one by one.
Remember, unfit stairs never last even after painting perfectly. So it is vital to fix the problems before final work.
In your first move, you have to take care of the wood. When the stairs are already old, they must have some damage in multiple places.
Other than the damage, some wood sheets might become very weak and dangerous. In that case, you have to change the whole sheet at this level.
The dangerous and unnecessary metal nails would be a big problem for the paint. So at the early stage, you have to fix the issue.
Remove the extreme nails and discard that on an appropriate palace. Those nails are necessary. You can hammer down that or make the place safe.
Dust, dirt, or any metal waste would be a significant threat to the work. On the pre-paint stage, vacuum the palace. Clean the area perfectly. If you think just the vacuum will not make it perfectly clear, then wash the stairs.
The main target of this point is to fix all the issues. Clear all the breaks and damages. A safe and clean staircase will last for a long time.
Determine the Design of Your Home

Choosing the suitable stairs treads for your home can be a daunting task. But it’s important to remember the width and height of the staircase and the kind of design you’d like. There are a variety of designs to choose from, so it’s important to find one that fits your style and suits the practical needs of your staircase. Additionally, choose a tread design that is both visually appealing and practical. Remember that the treads should be comfortable to walk on, so choose the right type of material and construction. Last but not least, always test the treads before installation to ensure they’re perfect for your home!
Determine Future Wear and Tear
Stairs can be a real pain if they’re not well-maintained. That’s why it’s important to assess the wear and tear your stair treads will experience in the future.
Begin by determining the type of flooring you have – wood, tile, or laminate – and then consider the kind of treated lumber or chair rail best for your situation.
If you have wooden stairs, use treated lumber that resists moisture and decay. Additionally, consider installing chair rails to protect the risers from feet and other objects that may collide with them in the future.
Remember that stair treads can last long with proper care and maintenance. So, take a moment to assess your situation and start the staircase maintenance today!
Prepare The Place For The Final Work
Even after cleaning and fixing, there is also some work to do. Basically, after fixing all the problems, you have to do some additional work to make the process easier.
So what sort of work is to be done here? Well, now you have to create the proper ventilation so that the stairs can’t get enough light to dry.
In this stage, you have made some room that natural air can come through. So Before painting, open all sorts of windows and doors near the stairs.
Though you can use a big dryer machine, natural air is better than that. It can save you money. However, it will also help when you stain the satires. So ventilation is essential here.
Besides ventilation, another thing is essential and needs to focus. And that thing is covering the surface near the stairs. What surface particularly?
Well, Your stairs might stand alongside a wall. So you must save the wall from the paint color. There will be a bigger chance to ruin your beautiful wall by the stairs’ paint color when you start painting.
So either you can cover the place by using masking tape or any other related stuff. To cover the wall, you can also use painter’s tape. That also helps to clear the surface.
Make sure you are not removing the tapes until the work is done.
Sanding And Dispossess Old Paints
When most of your pre-painting work is done, it is time to dispose of your old stairs paintings. Without disposing of the old painting, you are not allowed to do new paintings.
Why is that? If you do not dispose of the old painting and eventually paint a new color over the old one, the new color won’t last.
The new color will start dropping from the wall in a couple of weeks. So disposing of old paints is essential.
For removing the old paints, you can use regular sandpaper or orbital sander. Along with the old color, you also need to remove the unnecessary dent, dust, or any other problematic kinds of stuff around.
Make sure to do this for every stair properly. Here are some steps for your understanding.
Steps to Refinishing Your Stair Treads

Stair treads can be a pain to keep clean – not to mention stain-free. But with a few simple steps, stain-free stair treads are within reach! First, put on an appropriate sealant to prevent staining.
Then, wait 24 hours before painting or staining- storing your stair treads. After that, follow these four steps every time you refinish your stairs: 1. Clean the stairs with a solution of half water and half ammonia. 2. Sand the treads to remove any old paint or staining. 3.
Prep the stairs by cleaning them with a solution of half water and half ammonia. 4. Paint or stain the treads the color of your choice.
Here Are The Steps Of Using Sandpaper For Sanding
Step 1
As you have to perform by hand. So use a hand glove (Recommended). Otherwise, your hand will get hurt by the sandpaper.
Anyway, take better quality sandpaper. Better quality means the sandpaper should be 100 to 200 grit.
Step 2
Well, now it’s time to conduct the process when you are completely ready for the stuff,. So, you have to scratch the stairs with sandpaper.
You will put pressure but be gentle with that. Do not put too much on those places where not much color exists.
Step 3
Keep doing this for all the stairs one by one. Make sure no color is left on the stairs after dispossessing.
Clean The Area
When dispossessing is done, you can vacuum the rest of the dust. For cleaning, you can use the regular vacuum machine.
The vacuum machine will absorb all dust and materials around the stairs. Besides vacuum, you can use clothes, especially ‘tack cloth’ because tack clothes easily catch dust.
Clean every little corner of the stairs. If any dust is left, then it will look odd after painting, so don’t skip this part. Confirm that there is no dust left.
Part 2:Applying Paint/stain On The Stairs
Honestly, this part is a little crucial and tricky but not as hard as you think. You have to perform the painting and staging very gently. Don’t try to hurry; otherwise, everything will be ruined.
Staining Stairs
Not everyone prefers painting the wood stairs as it hides the natural beauty. Some just love the staining.
Not only because it takes a short time, but also it seems so cool and natural. Here we will shortly go through the staining stairs.
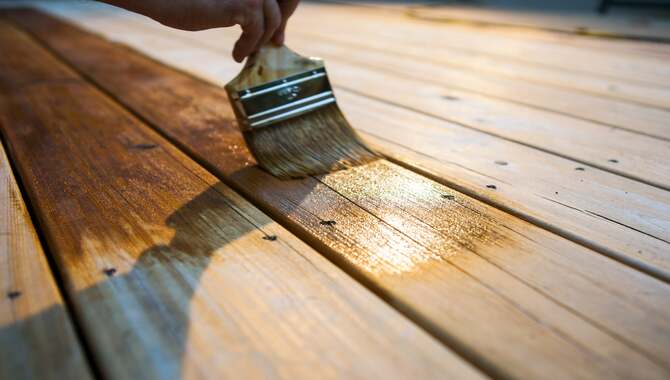
Staining is nothing but following some more straightforward process. So you need to manage a wide soft brush for staining. One layer of stain is not enough here.
If possible, try to put at least three to four layers. In between two layers, you have to wait at least 2 hours.
Here Are Some Easier Steps Of Staining
Step 1
Start from the top. This is actually a universal rule that you have to start at the top of the stairs.
Suppose you start from the bottom and keep going to the top. You won’t get any room to stand because you have already painted the last stairs.
Step 2
Use a soft and wide brush. A soft brush is suitable for staining because it can absorb enough amounts of stain. And a wide brush can cover a lot of places. So select a right brush.
Step 3
Don’t make any thick layer. As we have told you earlier, you might have to complete multiple layers. So layers should be thick and regular. Don’t make it think; otherwise, it will take all day to dry out.
Step 4
Give enough time to dry. Staining should be adequately dried before painting. So set at least 2 hours after finishing each layer of staining. You can start a new layer when the previous layer is dehydrated. Otherwise, wait.
Applying Paints
Honestly, most people prefer to paint over staining. Though the paint is expensive, it is still better. The reason could be the appearance and the capability of hiding imperfections of the wood.
Whatever the reason, we will know the process of how to paint the stairs usually. The method of painting is almost similar to the staining. So you just need to process with your tool.
Well, though, regular painting is ok. Most people stains before final paints. It’s totally up to you.
However, you can follow the process for both stain-based paint and non-stain-based paint. Before starting the paint, don’t forget to cover the necessary spaces around the stairs.
Here Are Some Necessary Steps
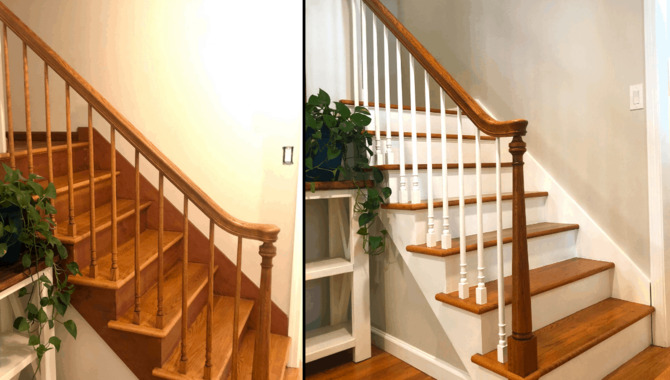
Step 1
Select your preferable color for the painted wooden treads. On your first move, you have to apply a thin color layer (Depending on how many layers you will put).
If you are thinking of putting just one or two color layers, you can apply a thick layer. For 4/5 layers, you should put a regular thin layer.
Step 2
Dry out the color properly before starting the subsequent layering. The drying time of a specific color depends on the color’s characteristics.
Some paints dry fast. Some take too long. So wait until it properly dries out before the next layer.
Adding The Second Layer (If Needed)
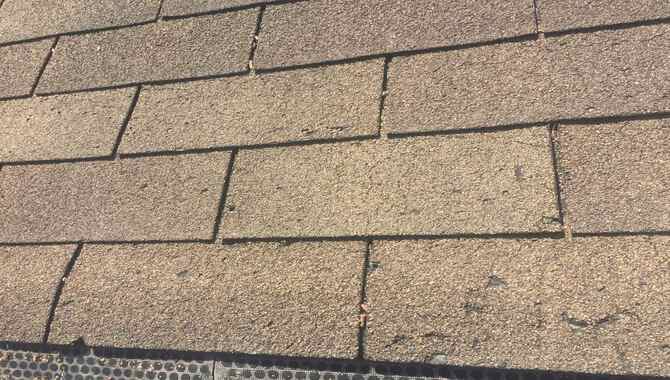
Honestly, most people prefer a double coat color. Though a single coat color can show the expected result still, you can do a double coat to make it more glorious.
After your first color coat, you are advised to leave the stairs for 10 to 15 hours. After that, you are allowed to do your second coat.
On your second coat, you can apply just a single layer of color. But if you put 2 or 3 layers, that would not be an issue.
When everything is finished, rest the stairs for 1 full day. But before starting to use the stairs check whether the stairs are adequately dried or not.
Polyurethane Varnish
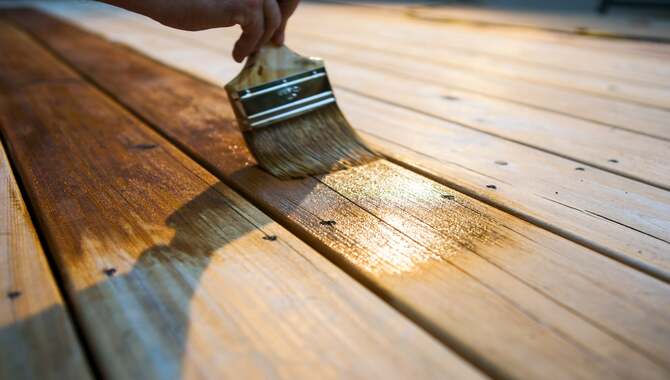
This part is only applicable to the staining process. If you have already applied the color coat, then skip this part. Well, to make sure the staining stability, people often use the polyurethane varnish.
The varnish method is quite popular among stainers. Remember that color-based staging has different polyurethane and oil-based stinging has its type of polyurethane.
We will talk about that here. The first piece of advice would be to follow the polyurethane instruction manual for preparing and other stuff.
Step 1
Applying the polyurethane varnish is comparatively easier than other methods. You just have to pick a regular soft brush for the varnish. Put a single regular coat on the stained stairs’ treads surface.
Step 2
The resting time should be 4 to 6 hours. But you should check the instruction manual. There you will get the specific time limit.
When the polyurethane varnish is done, remove all the masking tapes. And then you can start using your newly stained wooden stairs treads again.
Painted Stairs: Before & After

Painted stairs can be a beautiful addition to any home. However, painting them can be a daunting task and not one that is easily done on your own. That’s where the help of a professional comes in. By following these tips, you can easily color your steeper steps or areas of paint that overlap. Remember that painting stairs can be challenging, but with the right tools and preparation, it’s easy to get the job done. Before starting, the essentials are a ladder, flooring sandpaper, paintbrush, roller, and a pail of water. Happy painting!
Scuffs, Scratches & Chips:

Stairs can be fun for kids to play with, but they can be dangerous too. That’s why it’s important to choose the right style of ADA-compliant stair treads. Not only will this make installation a breeze, but it will also protect your hardwood floors from scuffs, scratches, and chips. If you’re feeling crafty, try making your stair treads! We’ve got a guide on how to do just that. And if you’re worried about the kids getting too rowdy, never fear – our stair treads are soft, durable, and safe for them to play on!
Dirty Risers
Stairs are one of the most common areas for accumulating dirt, dust, and other debris. And, since they are one of the first places people see when they enter a room, they take on particular importance. To prevent this problem, install stair treads that trap all the dirt and dust before it gets onto your stairs. You’ll never have to worry about dirty steps or a stained staircase. They look great, so you’ll feel good about walking on them daily!
White Paintwork
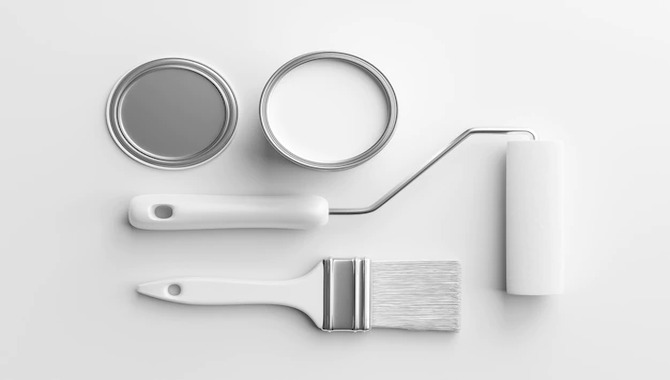
Staining or painting wooden stairs can be a daunting task, but with the help of these talking points, the process will be much easier.
Use white paint to avoid any potential color clashes when painting or staining wooden stairs. Sand the wood first to remove any old varnish and sealers, then coat with a primer and finish of your choice.
For extra protection against spills and water damage, put down some TypesC treads before you start painting or staining your stairs!
Final Word
Honestly, to get this job done, you don’t need to hire a professional and waste a pile of money for no reason. It’s better to manage a day and do this by yourself.
The process we have shared here is very regular. Most of the people used to follow this for stain & paint their own wooden stairs treads.
For your better understanding, we have provided a step-by-step guide for staining and painting. First, choose your preferable process and then apply whatever you want.
After completing the process, you will be amazed to see the result. I hope now you know how to do sand, stain & paint stairs treads.
Frequently Asked Questions
1.What Is The Best Tool For Sanding?
Ans. Though sandpaper is well established as a sanding essential, there are more. Besides sanding paper, you are allowed to use an orbital sander, Oscillating Spindle Sander, Edging Sander, or belt sander. But we think the orbital sander is best for this job if you’re particularly looking for an automatic sander.
Though the Oscillating Spindle Sander, Edging Sander, and a belt sander can don’t the job, they are not designed for this work. Other than that, they are a little hard to conduct. On the other hand, an orbital sander is quite easy to operate.
2.Which One Is Better: Staining Or Painting?
Ans. It depends on many aspects. If you ask about which one lasts longer? Then we might say staining, but if you ask which one works better? Then we will probably go with the painting. Because it can show your preferred color first of all, apart from that, it can hide any defect or fault of wood. In addition, it can give you a cooler look.
3.What Are Some Of The Best Stair Treads On The Market?
Ans. The best stair treads on the market are the Exterior Stair Treads by Classic Accessories.
4.Do Stain Or Paint Stains Affect Stair Treads?
Ans. Stain or paint stains affect stair treads if the stain is absorptive. If the stain is non-absorptive, the stain will likely remain on the stair tread unless the stair cleans regularly.
5.How Do I Choose The Right Type Of Sand For My Stairs?
Ans. The sand specifications for stairs depending on the wood the staircase is made of and the weight of individuals who will be using the stairs. Stairs may require sand with a larger grain size or sand with finer grain size.
6.Is It Safe To Use Bleach On Stair Treads?
Ans. Research suggests that the use of bleach on stair treads is not safe.
7.Can I Put Sealant On My Stairs To Protect Them From Dirt And Water Damage?
Ans. Sealants can use to protect stairs from dirt and water damage, but the effectiveness of sealant depends on several factors, including the type of sealant, how frequently the stairs use, and the stairs’ condition. For more information, please see the source of information listed below.

Leave a Reply