Pictures carry memories from special events in life. The memories that are worth cherishing. Making a picture frame by yourself and putting your favorite picture there conveys how valuable it is.
Even though it requires effort, it is worth spending time on. You can also give it to the people you like, making them feel more valuable. Other than putting your aesthetic frame in the house will beautify the surrounding.
So, how to make a picture frame with glass & wood? Well, it is not an easy task to do. You need time, tools, and more precisely, to say direction. Here in this guide, we’ll let you know about the tools, making procedure, and all related things to make a picture frame with glass and wood. Enjoy making your own.
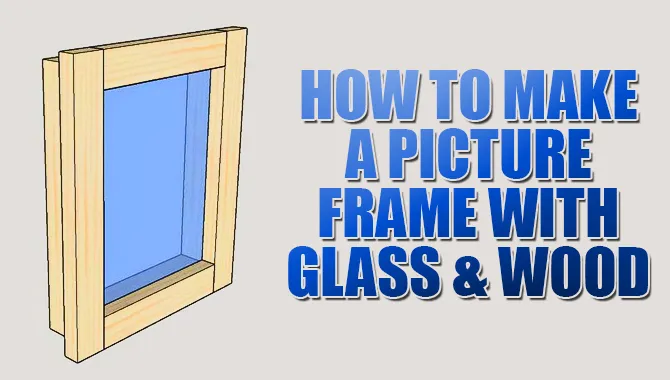
How To Make A Picture Frame With Glass & Wood – A Definite Guide
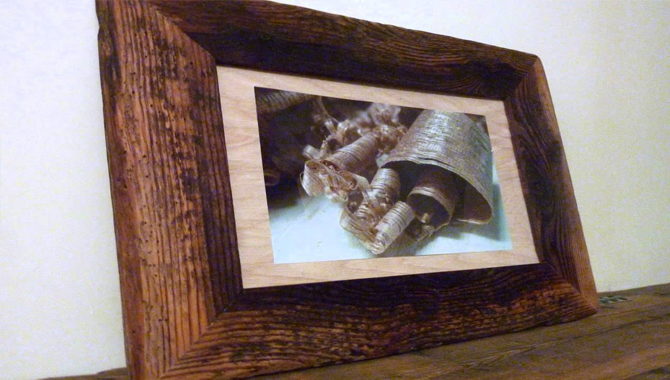
Making a picture frame with glass and wood is a fun and rewarding DIY project. With these simple steps, you can create a beautiful picture frame that showcases your favorite memories or artwork in style. Here are the steps to help you create your own picture frame:
- Gather your materials. You will need a piece of glass, wood boards, a saw, sandpaper, wood glue, clamps, and a picture or artwork to frame.
- Measure and cut the wood boards. Decide on the dimensions of your frame and cut the wood boards accordingly. Make sure to cut them at 45-degree angles so they fit together seamlessly.
- Sand the edges of the wood boards. Use sandpaper to smooth out any rough edges or splinters on the wood boards.
- Assemble the frame. Apply wood glue to the angled ends of the wood boards and fit them together to form a 90-degree angle. Use clamps to hold them in place until the glue dries.
- Attach the glass. Place the glass on top of the assembled frame and secure it in place using small metal clips or glazier points.
- Add backing and hanging hardware. Cut a piece of cardboard or foam board to fit inside the frame as backing for your picture or artwork. Attach it using tape or small nails. Then, attach hanging hardware such as D-rings or sawtooth hangers to the back of the frame.
- Insert your picture or artwork. Carefully slide your picture or artwork into the frame behind the glass.
- Hang and enjoy! Finally, find a suitable spot on your wall to hang your newly made picture frame and admire your handiwork.
How to Make a Picture Frame with Glass and Wood?
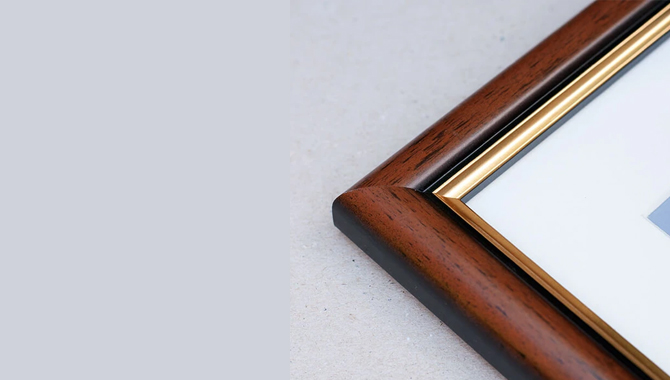
Making a picture frame with glass would double the beauty of the picture. However, you need to clean the glass frequently to make it clearer. Well, the glass will also protect the picture or artwork from getting dust on it.
Making a picture frame with glass and wood is not an easy task. If you are not a professional working with woods and glass, better be careful. Maintain safety while working. For making a picture frame, you are required to follow the below steps. Do not miss any of it to get the perfect result.
Step 1: Maintain Safety
The priority is to maintain safety. If you are going to cut the wood and glass by yourself, wear safety materials. Like wearing glass and hand gloves, most importantly. You should better be careful and wear gloves. The cutters are sharp enough to cause you harm. Do not hassle while working. Calm down and follow measurements.
Step 2: Cutting the Wood
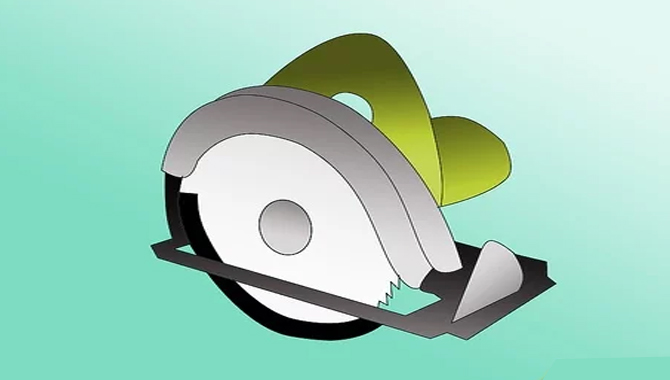
Firstly cut the wood and make a place for the glass to put on. For the framework, you would need wood of 3 to 4 inches in length. It’s an ideal length for any frame.
And the thickness should be 2 to 2½ inches. After cutting the wood, make a place for the glass. For these, run the saw in the middle and make space. The inner should have a space of 1/2 or 1 inch. Or according to the glass thickness. As the glass would be put on the inner space. Make sure the glass adjusts.
Well, it’s a little bit tricky. You can also make two frames and attach them afterward. That would need more work. Use a cutter or saw to cut the wood of certain measurements. Place the wood on a table and do the cutting carefully. You can also find a ready-made wood frame, or you can order it according to the size requirement.
Step 3: Cutting The Edge

Cut the boards at the 45° angle on each edge. Use a chop saw or miter saw to cut the wood at a perfect angle. While cutting, make sure the length of the boards is 1 inch larger than the picture of artwork that you are going to attach. And then cut the wood at an angle.
Mark the angle beforehand. You can use a miter box to hold the wood. While cutting, you must put pressure on the wood, or else you won’t get the wood of proper length.
Here, the inner part should be larger than the outside part. Well, measure the length of your picture, and you need the same exact measurement to cut the inner part of the frame. A-frame has an inner and outside part. When you cut it at a 45° angle, one side is supposed to be larger than the other.
Now the question is which side should be larger. Of course, the outer side would be ½ inch greater on each edge than the inner side. Resulting in a perfect 45° cut of edge. Remember, do not cut the length smaller than the size of the picture. Instead, keep it a little bigger.
Cutting the board smaller would leave no room for the picture. That’s why make sure of it. Cutting the wood at a perfect angle is a little bit tough, so better mark the points. Before cutting the wood, you may need to mark some points on it. Mark the length, angles so that you can cut it properly. The mark would disappear once you paint the frame. So don’t worry about it.
Step 4: Attaching the Edges
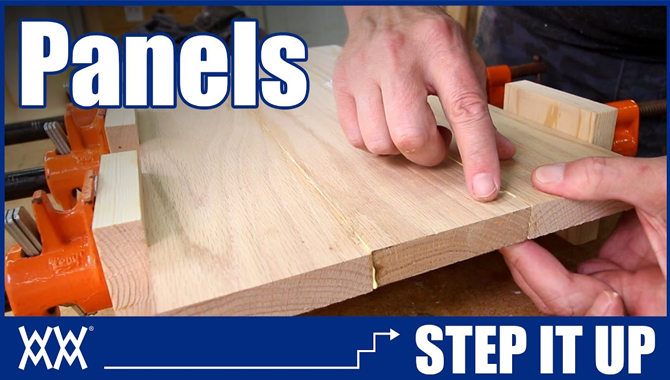
Wood gets stuck with some glues very hard. Now it’s time to attach the edges. For attaching the edges, put glue on each edge. You can use tape to hold the board in place and then glue it.
After finishing the application of glue, surround the whole frame with elastic material or ratchet. Well, you can already see the shape. The surrounding will provide pressure on wood and let it get stuck. Let the glue dry to give the frame proper shape. It will take some hours.
Apart from using glue, you can also attach the edges by screw. Screwing would require more effort and techniques, though.
Still, screwing will provide a better guarantee. You can use a clamp to put a screw on the edges after using glue. Use twice as long of the screw and drive them on the edges with an electrical driver or clamp it. Make sure to wear gloves while using a driver or spraying glue.
Step 5: Glass Cutting
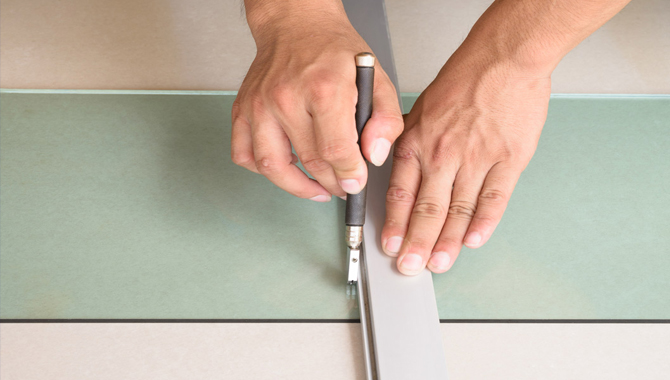
It’s time to cut the glass piece. Measure the size first. Cut the glass with a glasscutter of the required length. For the measurement, look at the measurement of the frame you have made. The size of the glass should be able to go in it. Do not cut the glass bigger. You can make the ends slightly smaller than the frame.
Make sure to run the cutter only once. Or else the cutter would get dull if you keep running it in the same place. You can put some oil to accelerate cutting the glass at once. As you have to cut the glass at once, practice before cutting. The practice would help you a little bit. Clean the glass after cutting; otherwise, the particles of glass would remain on the surface.
Step 6: Fixing the Glass on the Frame
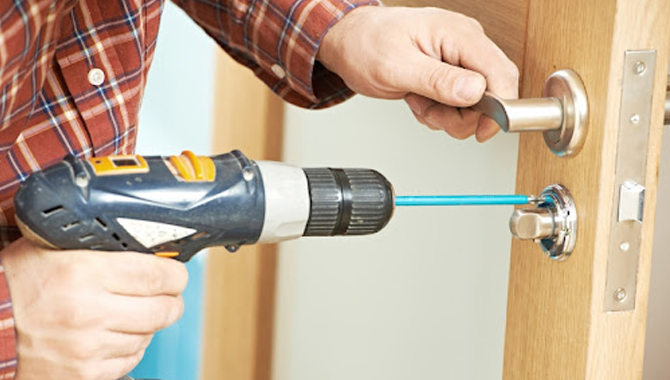
Take the glass and place it on the frame. As you have space for the glass to put, you just need to place it carefully. After placing the glass, clean it. If you find the glass moving too much, put a small piece of foam on the edges. It would give support. You can also put glue on the edges for that. But do not use any chemicals as they can harm the glass as well. Making the blurry glass look.
Step 7: Attach Picture
Attaching a picture is quite easier. You can place it on a cardboard or just put it like that behind the glass. You can use taps to attach the picture or use another cardboard behind it. And fix the cardboard with the frame.
There are some Fletcher point drivers available on the market. These drivers help you attach the artwork to the frame. If you are using the gun, make sure to use a point on each side. Also, apply the points according to the need.
Using a tap behind the picture would also do work specifically if your picture is not attached properly. It’s like coverage to the frame. Put a tap on the upper side mainly. Do not put the tap all over. Using staples would do well too.
Drill Dowel Holes In Frame Corners
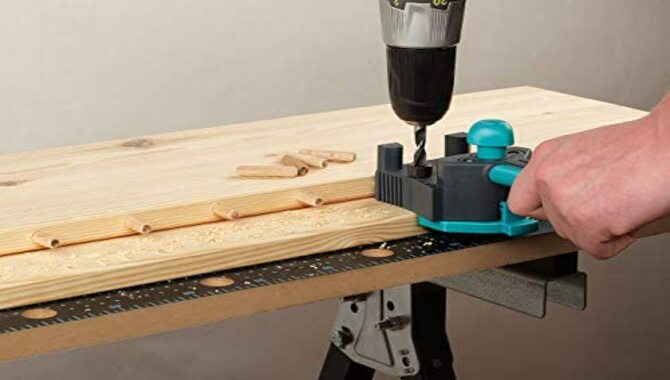
We use drill dowel holes in frame corners to attach the corner supports to the frame. If the frame corners are not square, drill a series of small holes at the corners to allow for adjustment. Use a dowel jig and drill bit to make evenly spaced holes in both frame edges.
The drill dowel should be long enough to clear both sides of the corner and still have 1-1/2 inches left. Slide a piece of wood under one end of the dowel, position it over the corner, and use a hammer to drive it into place. Drive additional screws through both ends of the dowel into each future of the support board, then tighten them up.
How to Make Picture Frame Without Wood?
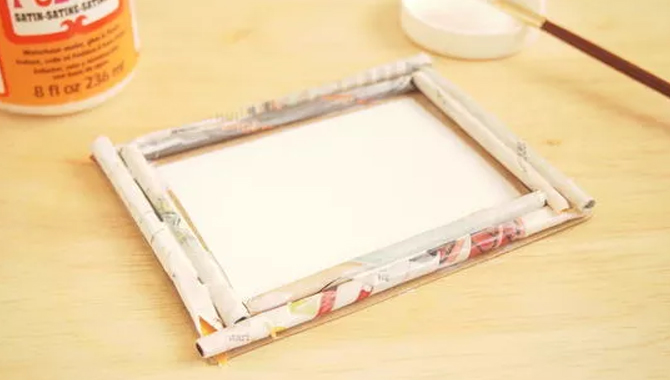
One can also make a picture frame without wood. However, the wood frame is more reliable than other frames. But it would be cheaper.
Making a DIY frame with cardboard would be easier here. For these, you just need cardboard and your desired picture.
Firstly, cut the cardboard in a square shape. Or you can cut in lengths. In that case, joint the ending parts with glue. You can also paint it and decorate it with colors and designs.
Lastly, put the picture behind the frame with glue or tap. Using glue is preferable here. You can also secure the place of the picture by placing slightly thinner cardboard behind it.
No worry about cutting or using tools here. An easy DIY would sort it out all.
What to Use to Keep Pictures from Moving?
Often even after setting a picture on the frame, the pictures keep getting moved from the place. It happens because the picture is not held in a place with enough support.
The frames hold the picture. When it moves from the place, the scenario isn’t as charming as before. To stop this moving, enough support should be provided for the picture.
To support the picture, you can use an extra cardboard piece and place it behind the picture. And attach the cardboard piece to the frame with taps.
Well, it works like the hard cardboard will give some pressure to the picture and hold it in the place.
Other than that, using a piece of foam would be of help too. Well, foam is better than cardboard.
Take a thick piece of foam and place it behind the picture. You can also place the foam on the four corners of the frame to prevent the falling of the picture.
While fixing, glue or tape will be needed. Make sure to fix the foam with tape or glue to the frame. Here foam will stable the picture and resist its moving.
And lastly, you can fix the corner of the frame. You can make someplace on the corners of the frame where it would hold the picture.
Well, one can use any of these but make sure not to overdo taps and glue. If you are using glue, use very little. Otherwise, you may ruin the picture. Best to follow the minimal.
Route Rabbet For Glass
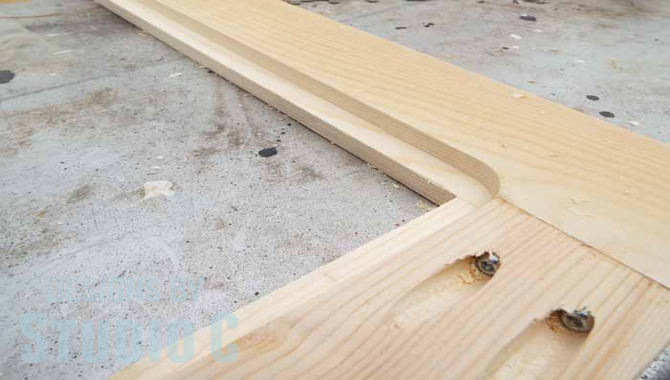
Follow these tips when installing a glass rabbet to get the best results.
1. Start by marking the rabbet on the edge of your glass with a straightedge and sawing off the excess material with a hacksaw blade. Be careful not to cut into the underlying wood frame.
2. Next, use a jigsaw to remove any gooey or splintered edges from your hacked-off rabbet area. Be incredibly gentle around corners and curves – you don’t want sharp cuts that could cause damage later down the line.
3. Finally, sand the rabbet smooth with fine-grit sandpaper and apply a few drops of wood sealer to help protect it from moisture and other external factors.
Cut The Lumber
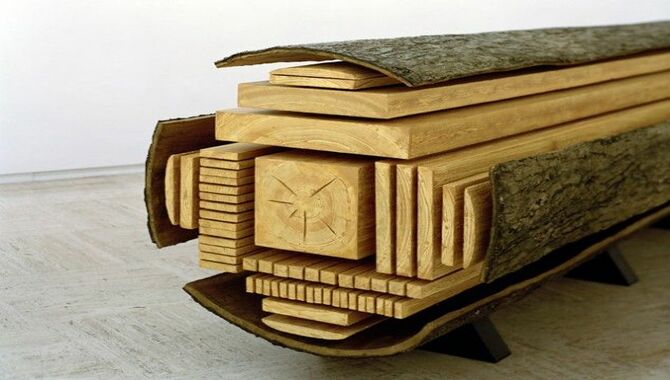
Select 3-4 pieces of ¾” plywood that will fit snugly in a 9×13 inch frame. Cut the plywood to size with a jigsaw or handsaw.
Measure and cut two strips of glass to fit the inside edge of each piece of plywood. Glue the glass onto one side of each plywood panel, ensuring they are flush against the edges. Let them dry completely before moving on. Cut two pieces of wood 18 inches long and 1 inch wide. Mark, a center point on one end of each piece, then use a pencil to draw a line down the middle. Saw them into three equal parts using an electric saw. Sand the cuts smooth afterward if desired.
Attach one end of each wooden panel to one side of the plywood frame using screws or nails. Be sure to leave enough space at the top and bottom so you can fit your picture inside once it’s finished. If necessary, trim off any excess lumber before screwing in place.
How to Make Picture Frame Without Power Tools?
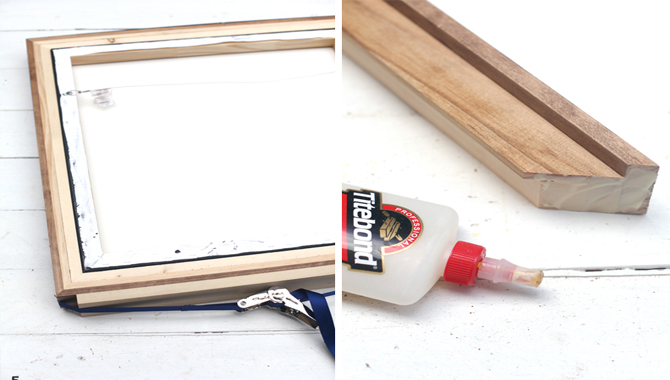
If you do not have any tools for working, the one least tool that you need is a saw. For woodcutting, you would need a saw, and it’s a must. Otherwise, try buying frames from the market. You can get frame parts by ordering them. They will make frames according to the requirements. You can buy the parts or the whole frame.
If you buy parts, they will be cut in measurements. You just need to attach the edges with glue. And that’s how you will get a frame without even using any power tool.
Moreover, you can also cut the wood with a saw according to the measurement. For that, grab a pencil and do the math. Not exactly math, point out the measurement and mark the points on the wood. Lastly, cut the marked points with the saw.
For these, mark out the length first. Then make a 45° angle and draw the line on the wood. Grab the saw and cut following the mark. Make sure to put pressure on the wood; otherwise, it would move from its place. You do not want to redo it, right? Now joint the edges with glue and screw. Then place the glass behind and staple it to attach it to the frame.
If you want to attach glass to it, you may need more effort and trimmed parts for that. Without using tools, you can only make simple frames. Glass can be cut easily, but attaching it with frames would be tough as you need to make inner space for the glass in the frame. Try making simple ones. But you will also get a proper frame without using power tools.
FAQs
1.Can you glue the glass into a picture frame?
Ans. Of course, it is possible. But we can’t guarantee you its longevity. Some superglues are used to attach the frame with glass. In that case, you need to place the glass properly and with caution. Only using glue won’t be enough to ensure its safety. You can put cardboard behind it so that it would reassure you.
2.Can you paint the wood frame?
Ans. You can paint the frame as you want. You can also decorate the frame and make a few layers of wood to make it look cool. Oil-based paint or latex paint can provide better coverage on wood. Otherwise, spraying paint is also a good option. You don’t need to work with the brush in that case.
3.Would You Recommend Using A Picture Mounted On A Wooden Substrate Or Framing It Yourself?
Ans. You can either mount the picture yourself or use a wooden substrate to which you then attach the glass. Whichever option you choose, ensure the picture is framed correctly and pinned before adding the glass.
4.What Kind Of Wood Could You Use For A Picture Frame?
Ans. You can use a variety of woods for a picture frame, including birch, maple, oak, or pine.
5.How Do You Attach The Glass To The Wood?
Ans: You can attach the glass to the wood using screws, nails, or a hot glue gun.
6.Would It Be Better To Use Screws Or Nails To Attach The Glass And Wood?
Ans: There is no wrong answer when attaching glass to wood – you can use either screws or nails. However, screws will make the frame sturdy and less likely to break.
7.What Kind Of Finish Could You Put On The Picture Frame?
Ans: You can put a variety of finishes on the glass and wood frame, including explicit or stained glass.
8.What Is The Difference Between A Wooden And An Acrylic Frame?
Ans: Acrylic picture frames are typically less expensive than wooden ones, but they may not last as long.
9.Would It Be Easy To Repair Or Change The Glass If It Breaks?
Ans: Yes, it would be easy to repair or change the glass on a picture frame if it breaks.
10.Would You Need Any Other Supplies To Complete This Project?
Ans: You will only need a few supplies to complete this project, including glass and wood.

Leave a Reply