Sara recently came to the city to attend her cousin’s wedding ceremony. Since the wedding took place in a restaurant, she noticed something that amazed her. She saw that all the plywood furniture is well-textured, and it feels smooth and comfy too.
She asked her brother, a manager at a plywood shop, and he told her some facts on how to make plywood smooth and shiny. Later, Sara went back home and told her father about it. Then they both gave all the furniture the same texture.
Now, if you are also looking for answers to the same question and you have a desire to give your plywood a smooth and shiny finish, keep on reading!
Do You Need To Make Your Plywood Smooth?
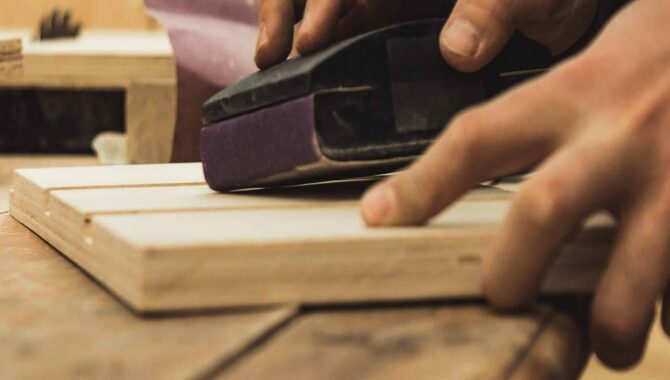
One of the most often used materials is plywood, which can make furniture or do structural applications. This material needs to be made smooth before painting or making use of it.
The reason is, without the smooth texture, the paint will not be set easily, and also, the plywood won’t be durable. Also, even after painting, that rough surface might be visible. Hence certain steps can be followed to give your plywood a smooth and shiny finish.
Does The Quality Of Plywood Matter Make It Smooth And Shiny?
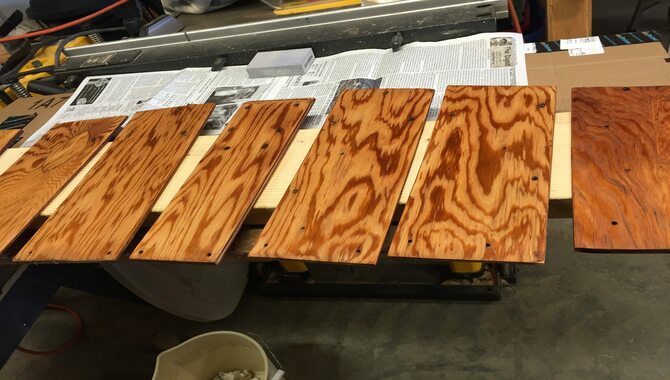
To attain a better structure, you need to use plywood of better quality. Some plywoods are graded from grade A to grade D. Let’s get to know about them briefly:
A- Grade Plywood
These graded plywoods have the best quality and are considered costly plywoods. The reason is that most of the sheets are flawless, which makes it a fantastic choice to work on for the painting and shining process.
B- Grade Plywood
These plywoods are another alternative for those looking for a piece of plywood that is almost flawless. They have a smooth and sturdy base, making this option suitable for various applications. Only a few of them contain issues.
C- Grade Plywood
This plywood is a little poorer in quality than A-grade plywood. These plywoods include knots that are found throughout the sheets. This total can measure up to 1.5 inches.
D- Grade Plywood
These plywood sheets are the least costly out of the three types of plywood. They have knots that are as large as 2.5 inches in diameter, and the flaws they have are most noticeable.
All these plywoods that have been mentioned, except for grade A plywoods, had to be sanded before proceeding for a great finish. In this case, you have to assure that the plywood are sanded with 90 grit sandpaper and cleaned after the sanding part.
How To Make Plywood Smooth And Shiny – Step By Step Guidelines
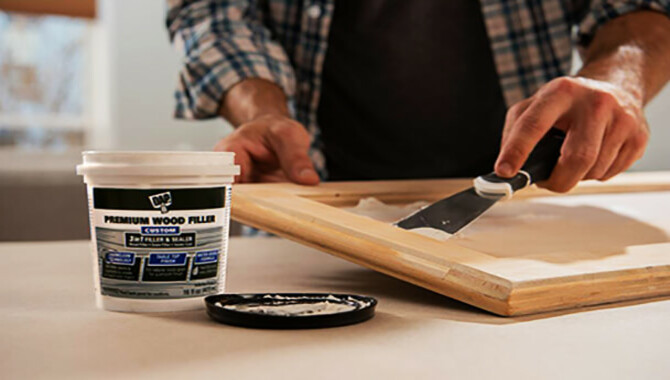
The process of making your plywood smooth and shine is pretty simple. However, you still need proper guidelines to assure the proper finish. So go through the guidelines properly.
Before proceeding, you need to make sure that all the materials that are mentioned below are with you:
Tools And Materials Needed
- Cloth to clean/ vacuum
- Sandpaper ( 40 grit)
- 90 and 220 grit sandpaper
- Orbital sander
- Sprayer to paint/ roller
- Woodgrain filler
- Joined compound
- Polyurethane
- Paintbrush
- Paint tray
- Primer
- Paint roller
- Sealer
- 320 grit sandpaper
- Tack cloth
- Face mask
- Hand gloves
- Wet rag
Now that you’ve gathered all of the necessary goods let’s move on to the main draw. Also, keep in mind that you will not be required to purchase these items every time to use. Don’t skimp on this because it’s a long-term expenditure.
Step 01:Cleaning Surface
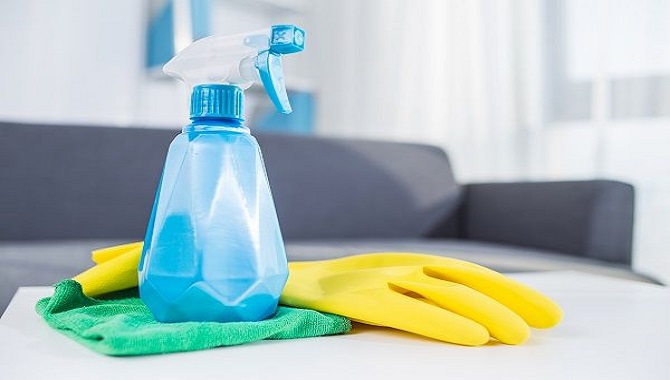
The first thing you need to do is remove dirt and dust from the area by cleaning it down. You can use a little moist towel to clean the surface.
An alternative to the damp cloth would be a vacuum to ensure that all dirt and dust is collected in the sealed bag rather than on the floor.
Also, wear a face mask, gloves and take other safety precautions before going for the next stage.
Step 02:Sanding Plywood Using 40 Grit Sandpaper
If you have chosen to work with less than grade -A plywood, you can proceed with 40 grit sandpaper. This is a great choice to make your plywood smooth as these are the roughest of all desks.
But in the case of grade “A” plywood, you can go for 220 grit sandpaper at once. Otherwise, use an orbital sander to make the surface smooth.
Remember not to sand the entire area more than 3 times for the best results. Otherwise, the plywood grooves will be exposed, and as a result, the borders of the plywood will be available for striping.
Step 03:Sanding Plywood With 220 And 90 Grit Sandpaper
Continue using the sandpapers according to the plywood grades so that the imperfections made by previous sandpaper get removed. This will alter the surface and make it smooth.
But make sure to sand gently and clear the dust using a vacuum or cleaning cloth. To remove excess, the cleaning cloth can be soaked in paint thinner.
Step 04:Applying A Wood Grain Filler
After sanding, use a good quality wood grain filler wherever needed. Let it dry before going for another round of sanding and this time with 220 grit. This step will provide a smooth and perfect finishing to proceed. No rough edges or holes; grains will be visible.
Step 05:Painting The Plywood
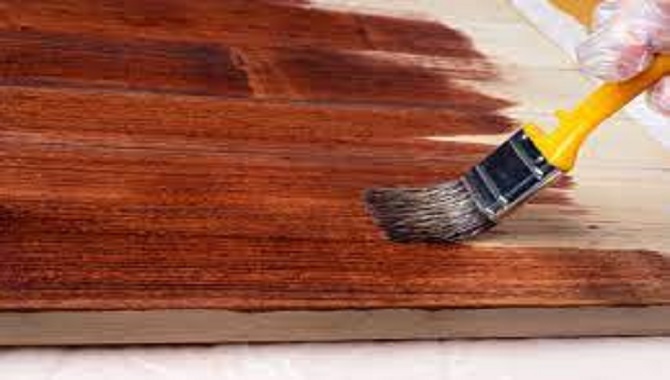
In this step, you will need to paint the plywood surface, either with latex, satin, chalk, or more. Every painting materials have different applications. Before proceeding to paint, make sure to use the joint compound to seal the edges.
Now, wipe out the dust made from sanding finely with a wet rag. Then apply a primer with a paint sprayer or roller. Then using 220 grit sandpaper, sand it down and then apply another coat of primer.
Step 06:Sealing The Plywood
In this step, use a sealer to seal the edges, which will help prevent splitting, shrinking, or expansion of the plywood. Next, first, use a 180 grit and then 120 grit sandpaper to sand the entire surface.
After that, wipe the dust and apply the sealer with the help of a paintbrush. Finally, sand the surface again with 120 grit sandpaper for a better smooth finish.
Step 07:Applying The Polyurethane
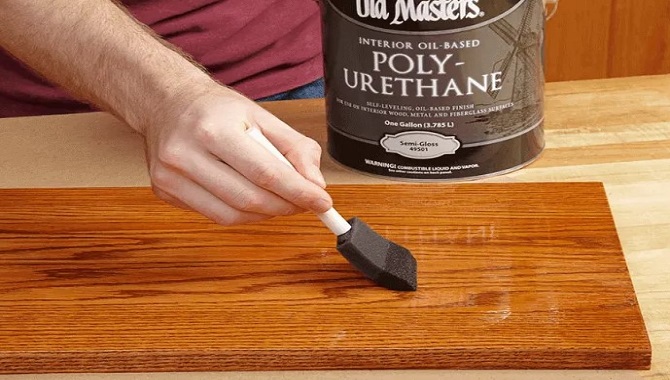
Polyurethane is a useful material for both indoors and out, depending on the application. In this step, gently start applying polyurethane, paint, or stain on your plywood.
This may be accomplished with the use of a paintbrush. Following the application of Polyurethane, allow it to dry according to the guidelines of the manufacturer.
Step 08: Sanding Plywood With 220 Grit Sandpaper
Start sanding the plywood lightly with a 220-grit sanding disk and an orbital sander, as described before.
Wipe the plywood afterward with a clean rag to get rid of any remaining dust. Once this is done, apply another layer of stain because most of these products require a second application.
Another application will assist in thoroughly sealing the board. Allow the wet coating of stain, Polyurethane, or paint to dry totally before continuing.
Step 09: Sanding Again With 320-grit Sandpaper
Sand the plywood again with your hand carefully and accurately with a 320-grit piece of sandpaper to remove any rough edges. It is necessary to use high-quality sandpaper while working with 320-grit.
Gentle sanding in an appropriate pattern will bring out the best in the plywood. To achieve a flawless and lustrous finish, sand carefully after each coat. Remember to wash the plywood as well.
What Affects The Smooth And Shiny Finishing Of Plywood?
Now that you are done smoothing the plywood surface, it’s time for you to know a bit more before finishing.
By doing the finishing properly, your plywood properly will not only enhance the appearance, but it will also prevent the plywood from filth. This step will also improve the aesthetics of the piece.
- Sanding
It is essential that the sanding be done correctly; else, the polish will not be satisfactory. You will not be able to conceal this by the time the game is complete. The finish will have a rustic appearance if the plywood surface is not sanded properly.
It’s the reason why sanding is so vital. To do the sanding, it is necessary to sand the area using 150-180 grit sandpaper.
You also have to assure that the sanding is done in one direction. Using a moist towel, wipe away any remaining dust when you’re finished.
- Staining
Staining your plywood can make a different type of wood by altering its color and surface texture. Hence it is preferable to use staining before proceeding towards finishing.
- Applying Varnish Or Lacquer
This part provides a shiny and desired finish to any plywood. Both of these lacquer and varnish have similarities and provide a clear finish of the surface. Even though lacquer produces a better sheen, the other outcomes are identical.
In contrast, lacquer is the best choice if you need something dazzling for your walls. Since both of these substances are important for finishing, they can be applied either with a brush or spray gun.
However, the spraying is a bit tricky as it requires a non-polluting environment and the proper supplies.
In this case, choose varnish if you cannot arrange for a paint booth or a sprayer gun. Aside from that, varnish adheres nicely on painted plywood, but lacquer does not.
- Wood Filler In The Form Of Paste
Wood filler is an essential tool to complete finishing. Plywoods have visible pores, grains, and holes that make the texture and appearance awful. This thick paste of wood layer comes in handy as it covers those pores and holes adequately.
After the application is done, make sure to wait for it to dry and then clean the excess. This step will provide the smooth finish that you desire. However, this coating part can be done either before or after the staining.
Both of these actions will have different outcomes. If you choose to apply this wood filler before the staining process, then it will provide a bright tan-colored surface. But applying this wood filler after staining will provide lighter color on the dark areas.
- Coating The Plywood Surface With A Sealant
It is usually recommended to use a sanding sealer for the initial layer of finish while applying the final coat.
You do not need to wait long for it to dry because it dries rapidly. After waiting for 20 minutes, you can re-sand the surface.
When sanding the dried sealer, use 220 grit sandpaper to prevent scratches on the surface. In the case of sanding, one thing to keep in mind is not to over sand the surface.
Due to sanding, a shiny and smooth textured surface will appear. Then use a cloth to wipe the surface and let it dry.
- Polishing Or Varnishing
Now that you are done with all the mentioned steps, you are ready to begin varnishing. If you’re going to use lacquer, spraying it will be more effective.
Even though brushing lacquer is available, it is rarely employed. To get a smooth and lustrous finish, the lacquer must be sprayed over the surface.
The varnish will not provide as much sheen when compared to paint and should be applied with a brush.
Then after you are done with brushing, allow it to dry completely before sanding with 320-grit sandpaper.
Continuously repeat this coating procedure a couple more times, sanding between layers until you get the desired finish.
Always sand softly, especially between applications, to avoid scratching the paint. Additionally, you are unable to sand the final coat.
- Finishing With High-build Urethane
Finishing can also be accomplished with “high-build urethane.” The same finish may be achieved without applying several layers of varnish if you use this method.
This ending product has a thick consistency. You may pour this onto a table and smear it with a paintbrush if you want.
Tips And Products For Perfect Finishing
Several products are capable of affecting the smooth and shiny texture of plywood. So, if you want to do the best finishing on your plywood, these tips might help you do that:
- Polyurethane
- Sandpaper
- Plywood of great quality
- Envirotex
- High-quality brush
- Patience
Polyurethane
This material is one of the best of all as it does help to make your plywood shine and smooth.
You just need to apply a coat of one or two, and you can also apply the underside. This will help to avoid shrinking by lessening the rate of absorbance.
Sandpaper
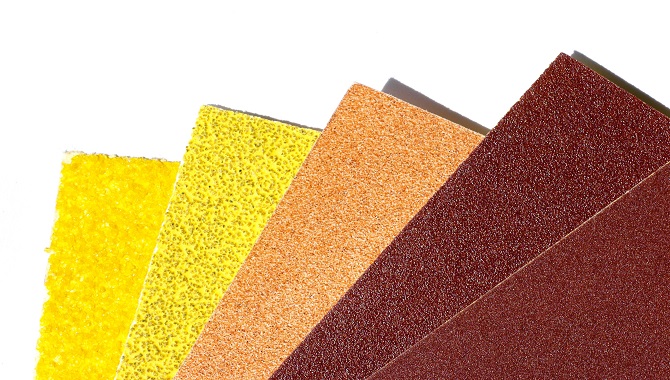
Whenever it comes to sanding down the plywood, sandpaper always comes in handy. This material makes your plywood smooth enough to apply paint or sealer for finishing. Sanding evenly on the surface is the main key to having a smooth finishing.
There are varieties of sandpaper, and mostly 180 grit, 220 grit, and 40 grit sandpaper are used in shining the plywood. This, however, also depends on wood quality.
Great Quality Plywood
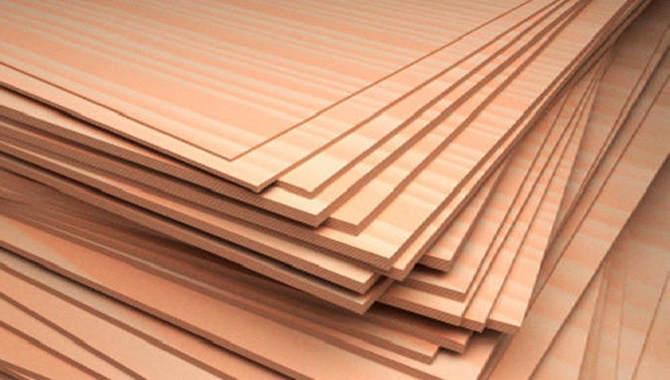
If you have plywood of great quality, then half of your work will be done over there, as you won’t need to keep on repeating sanding or doing extra steps.
Different graded plywoods range from “A” grade to “D:” grade. Try to use the “A’ graded one if possible.
Envirotex
Envirotex is a well-known product used for perfect finishing. This is also an alternative to polyurethane.
After applying the epoxy, you don’t have to go through the shining process. Rather it will work at room temperature all alone. This is one of the best things about this epoxy.
Water Repellent Coat
Water repellent coats are also one of the factors that affect plywood finishing. Water-resistant coatings are made of a combination of wax, mineral spirits, drying oil, and paint thinners.
To use this water repellent coat, immerse the plywood into the liquid and press it into the surface. Because the combination does not contain any colorants, this sort of finish may bring out the aesthetic value of the wood.
High-Quality Paintbrush
To do painting on the surface of your plywood perfectly, purchase a high-quality brush for painting.
Poor quality lowers the chances of having the desired outcome from painting. If you have clean brushes, they may retain additional paint.
These are also simpler to manage when staining or coloring plywood, which reduces the likelihood of applying paint excessively to the surface. So try not to compromise on quality.
Go over the sanded and smooth plywood.
Plywood can look great when it’s smooth and shiny, but it can take some effort to get there. Follow these simple steps to achieve the look:
- Start by sanding the plywood to a smooth finish with the sandpaper of your choice.
- Apply a paste or spray to the surface of the plywood and spread it evenly with a brush.
- Use circular and motionless strokes with the paste or spray to create a uniform finish.
- After applying the paste or spray, use a dry cloth to buff the plywood until it’s smooth and shiny.
Patience
Since we have mentioned a lot of techniques to make your plywood smooth and shiny, all of the techniques might go in vain if you lose your patience while working. Don’t be overzealous in your attempts to repair faults.
A particle in the paint may be noticeable, causing the paint to appear inconsistent. This is completely normal.
But scraping the particle to repair it may result in a greater mess. Hence this will give you extra pressure and cost both time and money.
Final Words
Now that you have read it so far, you must have got almost all ideas on how to make your plywood smooth and shiny.
You will just need some patience and hard work for a time to assure better quality plywood. But before you stop reading, make sure to follow all the steps with precautions. I hope now you know how to make plywood smooth and shiny.
Since you have a clear understanding of making plywood smooth and shiny, you don’t have to wait for any professional to do that with your furniture. Instead, try it on your home if possible and share your experience with us.
Frequently Asked Questions
1.What Is The Best Way To Make Wood Shiny And Smooth?
Ans. A coat of polyurethane applied to the wood will most likely provide the glossy appearance you perceive when you look at it.
It is possible to transform practically different woods into a DIY lustrous wood finish by applying polyurethane.
Although the procedure is not complicated, it is time-consuming and requires a great deal of effort to your desired and shining surface.
2.Can You Polish Plywood?
Ans. If you want to have smooth and shiny-based plywood, make it waterproof, or paint it, then polishing it is a great method to start.
Since plywood is made of wood, polishing it adequately will bring out the outer shine and make it look amazing.
3.Does Sanding Make Plywood Smooth?
Ans. Sanding is the best method to consider when it comes to giving your plywood a smooth finish.
Sanding your plywood will make the surface smooth and enhance the quality, removing the chance of splitting or expansion of it.
You can use different grits of sandpaper or other alternative methods to sand your plywood.
4.How Does It Look If You Don’t Sand The Surface Before Painting?
Ans. Since sanding plywood is a bit time-consuming work, many individuals like to skip it. But this can have unpleasant consequences for their work.
Sanding your plywood can remove any lumps or imperfections in the wood that would otherwise make it appear uneven and cluttered.
If you skip this part, you are most likely to end up with an uneven surface and poor-quality paint job.
5.When Applying Varnish, How Can I Get A Smooth Finish?
Ans. Allow one day for the varnish or lacquer to cure completely before level-sanding with 400-grit sandpaper to eliminate any lumps or blemishes from the surface. This provides a smooth foundation for the application of the final coatings.

Leave a Reply