Properly paint your home’s exterior may seem daunting, but with the right tips and supplies, it’s actually quite easy. In this blog post, we’ll outline the steps you need to take to paint your home exterior properly – from pressure-washing to applying epoxy filler to repairing damaged areas. Following these steps will ensure a smooth and professional finish on your home!

If You Do Decide To DIY, Follow These 13 House Painting Steps:
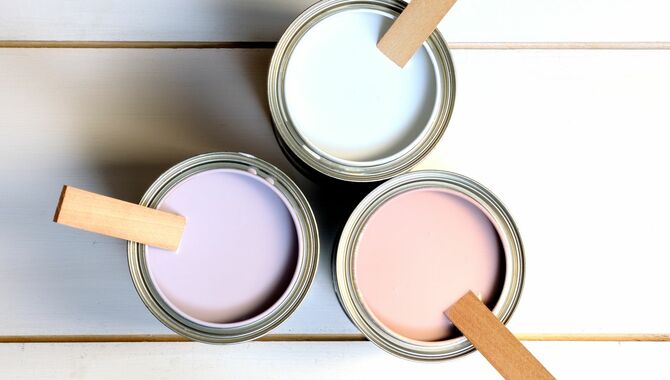
No matter how you decide to paint your home exterior, make sure to follow these 14 house painting steps to ensure a smooth and successful job. First and foremost, check for any signs of moisture damage after the job is done.
If there are any, take appropriate steps to prevent further problems. Next, please choose the right paint color and apply it in a smooth, even coat. Remember to prime your exterior with a good primer before painting to ensure a long-lasting finish. Finally, wait for the paint to dry before adding any finish or trimming accents.
Step 1: Give Your Home’s Exterior A Good Cleaning.
Cleaning your home’s exterior before you start painting is a crucial step in ensuring that the paint job will be smooth and flawless. Cleaning everything from the ground to the sky removes all of the dirt, dust, and debris that could end up getting on your paint job.
Make sure to wait at least 48 hours after cleaning your home before painting – this will give primer enough time to dry completely. Also, remember to use a quality exterior cleaning product that is safe for wood surfaces; most household cleaners are not suitable for this purpose!
Step 2: Remove Chipped Or Flaking Paint.
Remember to remove any chipped or flaking paint when painting exterior surfaces first. This will help avoid any unsightly problems and make the job easier overall. Here are some tips that’ll help you get the job done right: a primer
- Apply primer before painting in order to ensure a strong base for color later on.
- Let the primer dry completely before applying paint- this is especially important if you’re using exterior paint with high moisture resistance, such as latex paints or acrylics.
- Use a brush or roller when painting to cover all areas evenly and smoothly; be sure not to use too much pressure so as not to damage the surface of your home/office building
Step 3: Repair Damage To Siding And Trim.
Repairing siding and trim is an important task that needs to be done before painting. By doing this, you will avoid any mistakes and ensure a quality finish. There are various steps involved in repairing siding and trim; follow them carefully to get the best results:
- Make sure the area is clean and free of all debris – this will help avoid further mistakes later on.
- If you decide to DIY, always repair damage to siding and trim with good quality outdoor paint before painting over it with another color or material.
- Use a primer that is specifically designed for exterior paint jobs – it will help ensure a smooth finish while protecting the surface from moisture, UV rays, etc..
Step 4: Check, Repair, And Recaulk Seals.
Sealing exterior paintwork is an important step to take to protect it from weathering and fading. Here are four ways you can do it: 1. Use the right paint – choose one that’s tough enough to withstand harsh weather conditions but also looks good.
- Sand the exterior before painting – this will remove rough patches and improve the finish.
- Apply a primer first – this will help keep colors true for longer periods and prevent water spots from forming.
- Seal the paintwork with a sealant after painting – this will keep it protection against both environmental elements (snow, rain) as well as eventual peeling or chipping due to humidity or sunlight exposure
Step 5: Choose Your Paint Color And Sheen.
There is no need to stress over the color of your home’s exterior paint job – you can just go with a safe, popular color. When painting your home exterior, selecting the right sheen and paint color is important.
The sheen should compliment the color and texture of your home; for instance, if you have a brick exterior, choose a glossy finish. You don’t want an uninviting matte finish that will make your home look dull or unfinished in comparison.
Make sure to test small sections of the wall first before painting them all – this way, you’ll avoid any mistake-making during the entire project! Finally, use proper tools and techniques when painting so that there are no unsightly marks or streaks later on.
Step 6: Purchase Primer And Paints.
To complete your paint job, choose a color close to your home’s exterior color. Then, use a high-quality brush to apply for even coverage across the surface. Wait for each coat of paint to dry completely before proceeding to Step 9: Trim & Seal Your Paint Job.
Afterward, clean up any spills or messes as soon as they happen – this will help avoid damage from contaminants in the air. Finally, primers can help improve paint adhesion and prolong its lifespan – so make sure you put one on every time you spray paint!
Step 7: Gather Paint Supplies.
Now it’s time to get painting! Before starting, make sure you have the right paint and primer – for your exterior surface. Then, follow the instructions on the can or packet to mix and apply the paint correctly. Once you’ve finished painting, be sure to wait for it to dry completely before applying any sealants or top coatings. Allow enough time for this; otherwise, your paint job may not last long!
Step 8: Protect Surrounding Areas.
It is important to take care of your surroundings while painting exterior walls. Using a drop cloth, wearing a dust mask and eye protection, and cleaning up all the debris afterward will prevent any possible damage or mess. Do this before you leave for the day – it will go a long way in ensuring that your paint job goes smoothly!
Step 9: Apply Primer.
Primer is essential to a great paint job – it seals the surface and prevents moisture from damaging the wood. Follow the manufacturer’s instructions to apply primer, and allow time for it to dry before painting your final coat. If you are painting a large area, use a drop cloth or tarp instead of painting on the grass. And finally, priming is key to achieving that perfect paint job!
Step 10: Apply The First Coat Of Paint.
Now that you’re all set to get painting, here are some tips to help you finish the job in style.
- Apply the first coat of paint carefully and evenly. Make sure to wait 24 hours before applying the second coat so that your wall has an even finish.
- Always start by cleaning and drying the surface before starting a painting – this will ensure an easy job from start to finish.
- Paint two coats of paint, ensuring every inch is covered with color! Use quality paint that won’t chip or peel off easily in the long run- something that will look beautiful for years is essential when painting walls indoors.
Step 11: Apply The Second Coat Of Paint.
It’s time to apply the final coat of paint! Once you’re happy with the finished product, it is important to protect it from the elements and ensure that it lasts for years. Use a high-quality primer before painting your exterior walls to achieve an even finish. Remember to check on your progress frequently so that you don’t overdo things. And finally, always use quality paint that will last long without fading or peeling.
Step 12: Tape And Paint All Trim.
It’s time to paint the trim on your house! This step is important as it will show where any cracks or flaws are in the wood. Using a high-quality painter’s tape, make sure to cover the entire trim area – this way, you won’t have any messy mistakes later on.
Once everything is taped down, let it dry completely before painting anything else. Make sure to paint all of the walls and ceilings, too (if they’re low). Once everything is finished, be patient and wait for it to weather well in order for your new look home exterior to shine truly!
Step 13: Clean Up.
One of the most important things you can do to keep your home looking great is to ensure that it’s always clean. Remember to wear safety gear, including goggles and gloves, when painting your home!
And make sure to clean up before you leave a room – this includes exterior areas too. If in doubt, consult with a professional painter. Finally, paint quality is crucial – so use only high-quality paints and take care while working so that your home doesn’t end up compromised.
How To Repair Damaged Surfaces On The Exterior Of Your Home
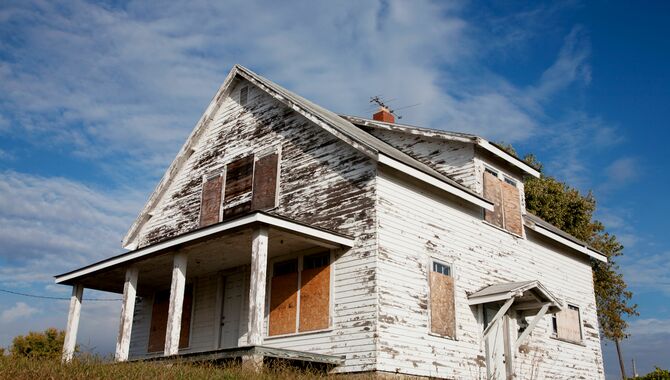
Home exterior painting is a big job, but it’s crucial to do it the right way for a long-term solution. Before starting, please take pictures of the damage and document it with notes. Next, use a wood sealer or paint primer to prep the damaged area for painting.
The paint job should be of high quality to ensure a lasting finish. After the paint job is complete, be sure to follow all manufacturer instructions for each step of the painting process! This will help to ensure the exterior of your home is in good condition for years to come.
Etch And Seal With A Water-Based Sealant
When it comes to exterior home repairs, etching and sealing your walls is a great way to ensure they last for years. Etch and sealant will stop the surface from deteriorating further, creating a hard waterproof finish that resists staining. This product can use on wood, vinyl siding, masonry or other exterior surfaces.
When repairing damages on the exterior of your home, use an etch and sealant in two layers; allow to dry for at least four hours before painting or boarding up. Cleaning the area before applying the sealant will help prevent staining of your walls.
Prep The Surface
When painting an object, it is important to prep the surface first. This includes sanding down any rough or bumpy areas, priming where necessary, and applying a sealant to protect the paint from weathering and staining.
Once everything is prepped, you can start painting by using a loose brush to cover all of the surface areas with paint. Avoid going too heavy-handed as this might lead to uneven coats and unnecessary peeling later on.
You can also use spray bottles if need be for easier application. Make sure all surfaces are completely covered before leaving your object unattended – otherwise, primer might start chipping off.
Use A High-Quality Protective Finish
Exterior walls, eaves, gables, and other areas of your home can suffer from weathering and damage. A high-quality protective finish can help restore the appearance of these areas. Some common finishes are oil-based, water-based, or latex based.
Always read the product’s instructions carefully before applying it to your home as some types of finish need specific preparation steps like priming or painting.
There are a variety of finishes to choose from – so make sure to get one that will best suit the condition of your wall and protect it against the elements while looking good too!
Prime And Paint Using Latex Or Oil Paints
Choosing the right paint for your home exterior is important – it needs to be durable, last longer, and look good. Latex or oil paints can use to achieve different finishes – matte or gloss.
Before painting any home surface using latex or oil paint, make sure to use the appropriate primer. Then follow the manufacturer’s instructions carefully to avoid problems with your painting job later on.
Also, always take care when cleaning up your paint job – scrape off scraping until all surfaces are clean and dry before applying future coats of either type of paint!
Applying Epoxy Filler To Cracks Or Holes
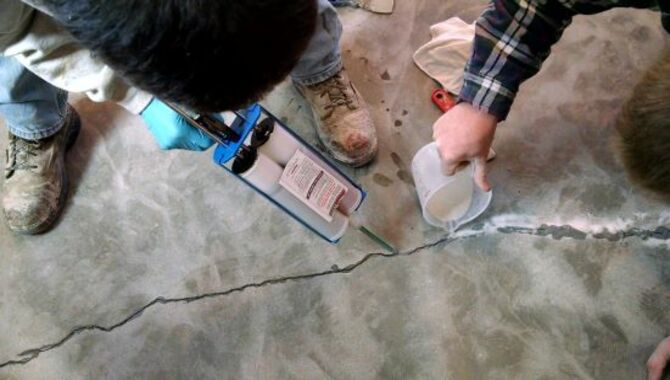
Exterior painting is a big job, but it can be made much easier with the help of epoxy filler. Applied properly, an epoxy filler can help to seal cracks and holes, making the paint job much easier.
Before starting the job, make sure to let the epoxy filler cure for 24 hours so that it can harden. Afterward, use a plunger to push the filler into all cracks and holes until it’s fully filled in.
Make sure to paint over the filler as soon as possible to ensure a smooth finish. Thanks for reading!
Minimize Paint Scraping
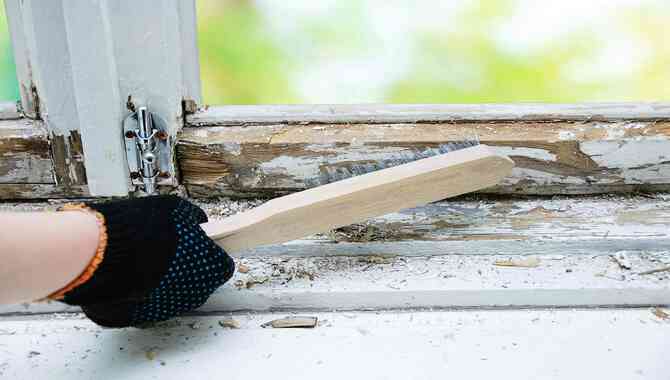
Paint scraping is one of the most common home exterior painting mistakes. It can lead to paint stains, peeling paint, and a general mess. To avoid any of these problems, follow these simple tips:
– Wait until the entire area is dry before moving or cleaning anything.
– Always use painter’s tape when painting your home to prevent paint from getting scraped off the surface.
– Use a roller and long brush to apply the paint instead of using a sprayer and short brush.
Paint Roll The Flat Surfaces
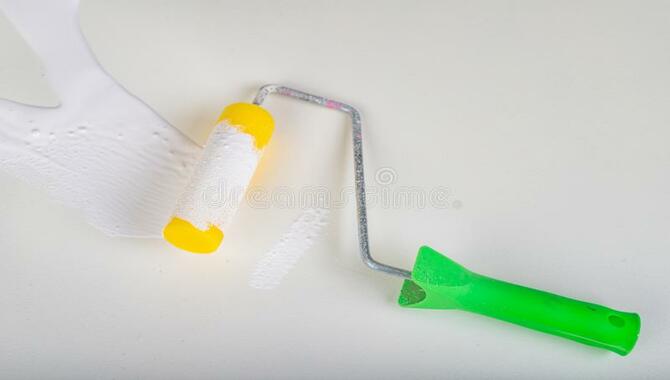
Paint is one of the most important exterior home decorations. It can add personality to your home and make it look fresh and new. Follow these simple tips to get the job done right:
– Use a brush rather than a sprayer when painting to allow for more control over how much paint is applied.
– Keep in mind that colors should be neutral so they blend in with the exterior of your home.
– Work in small sections simultaneously to avoid any mess or accidents.
– Paint the flat surfaces of your home
– this includes windows, doors, and trim.
Spray Large Areas Or Detailed Areas
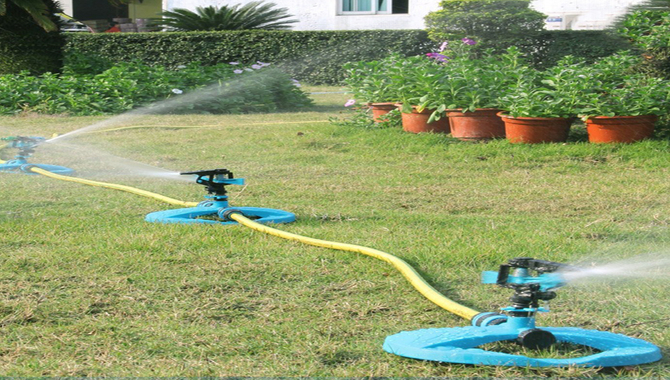
Painting your home exterior can be a fun and rewarding project. But it’s important to know the right equipment to use and take the time to spray large or detailed areas correctly.
When spray painting a large area, use a sprayer with a good spray pattern and a large nozzle. This will allow you to cover the area quickly and evenly.
Use a sprayer with a fine spray pattern and a small nozzle for detailed areas. This will allow you to cover the area more precisely and achieve a higher level of detail.
Remember to take the time to spray each area correctly the first time, to avoid paint overs, missed areas, and paint damage. Follow these tips and you’ll be painting your home exterior in no time!
Conclusion
Painting your home’s exterior is a big job, but with these 14 house painting steps, it will go much smoother. Remember to paint the flat surfaces first, then spray large areas, and finally paint the detailed areas. Be sure to use an epoxy filler to fix any cracks or holes and minimize paint scraping.
The key to a beautiful home is not just the right paint color but also the right materials and techniques. Thus, hiring a professional house painter who knows how to use these tips is important. Most painters will come with proper painting equipment as well. In case you don’t have any of that, though, here are some easy steps that you can follow:
-Cover your house in plastic or drop cloth after finishing the painting work. This way, any debris and dust from walking on the surface won’t damage your hardwood floors or furniture.
-Primer before painting –brush one coat of primer before starting on a new coat if you want your exterior to last longer than usual.
-Mix up several buckets of outdoor latex paint into different tones (such as light blue and dark brown) so that you can customize its shade exactly where you need it most.
-use an extension pole when applying them in areas like windows for precise results!
Frequently Asked Questions
1. Which Type Of Paint Should I Use On My Home’s Exterior?
Ans: If you are painting your exterior with latex paint, primer is a must beforehand. For both types of paints, two coats should be applied and allowed to dry completely between each coat. A clear sealant or coating can use to protect your painting from weathering and UV radiation.
2. What Are Some Tips For Painting My Home’s Exterior The Right Way?
Ans: Painting the exterior of a home the right way starts by priming it first. Prime the surface by spraying a primer over it that will help to bind the paint to the surface and increase its longevity.
Then, paint your home’s exterior using high-quality paints designed to resist fading or peeling. Make sure to follow up each coat with a sealer to ensure long-lasting results.
3. How Do I Prep My Home For Painting?
Ans: Before painting your home, it is important to prep the surface by applying a primer. This will help to avoid peeling or fading in the future. Next, paint each area using one coat of your chosen paint.
Wait 24 hours in between coats to allow the paint to dry thoroughly. When painting exterior surfaces like wood or metal, experts recommend using acrylics, latex paints, or oil-based paints.
Research the best paint for your home’s surface before starting any painting project. Lastly, clean all surfaces that will be painted before you start. This includes the roof, gutters, windows, and doorways.
4. Can I Use Self-Adhesive Painter’s Tape To Help Me Paint Better Edges And Corners On My Home’s Exterior?
Ans: No, self-adhesive painter’s tape is not recommended for use along the exterior of your home as it can lead to water damage. Instead, you should use more traditional painter’s tape that sticks well and does not leave any residue behind.
5. What Are Some Common Mistakes Homeowners Make When Painting Their Homes?
Ans: Some of the most common mistakes homeowners make when painting their homes are not following proper preparation measures and not paying enough attention to weather conditions.
For example, homeowners often paint their homes in direct sunlight without first priming the walls or ensuring the paint is durable and will resist fading or peeling. Homeowners also often underestimate the time and effort it takes to paint their homes properly.
For example, painting exterior surfaces like siding, wood trim, and windows can take several coats to cover the entire surface. Additionally, read up on home paint 2015 to know what specific paints are best for your home’s exterior.

Leave a Reply