William was sitting on a couch and thinking about what went wrong today. He wanted to paint his plywood and give them a new look to make furniture. But after he completed his work, he saw some parts of it were coming off, and stains were darker at some parts. This made him disappointed.
After a while, William’s father arrived and saw his son sad, he asked the reason, and William told him about it. Then his father told him about sanding his plywood, because of which William did see the difference after his next attempt. If you have ever faced similar problems, this article is perfect for you. Just keep on reading to know- ” How to sand plywood.”
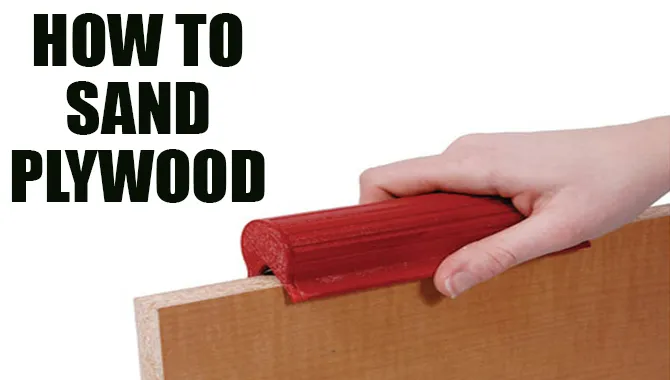
Do You Need To Sand Plywood?
Sanding plywood is a vital step to ensure the desired outcome. The primary goal of sanding is to remove the markings left by the factory and to provide the surface with a polished look. These blemishes are typically caused by machinery, and they detract from the overall appearance of the plywood.
Sanding plywood not only eliminates the blemishes but also smoothes the surface properly. Side by side, painting plywood becomes easier due to smooth and shiny surfaces. A variety of sandpaper grades, such as 180 grit, 200 grit, and 220 grit, can be used to smooth up the plywood. To achieve the finest surface, you might try different types of sandpaper. The grit of the sandpaper will be finer when the number of grits is increased.
Why You Need To Sand Plywood:
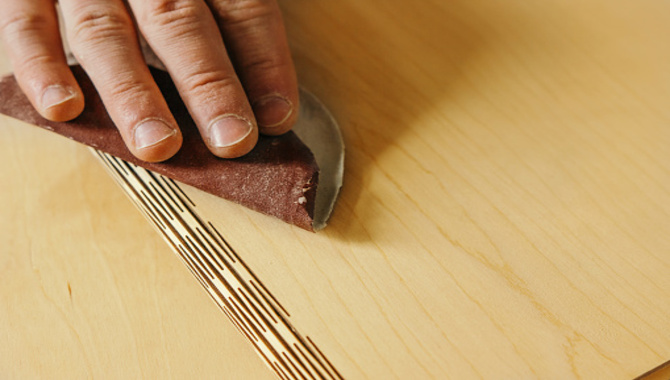
Sanding plywood is essential for a smooth, wrinkle-free finish. Not only does sanding make the plywood smooth, but it also seals it against moisture, which prolongs its life. Make sure your saw is sharp before getting started. Small mistakes can lead to big problems. When you’re finish sanding, use a sealant to protect the surface from future water damage. Now go ahead and sand plywood like a pro!
What Is Sanded Plywood Used For?
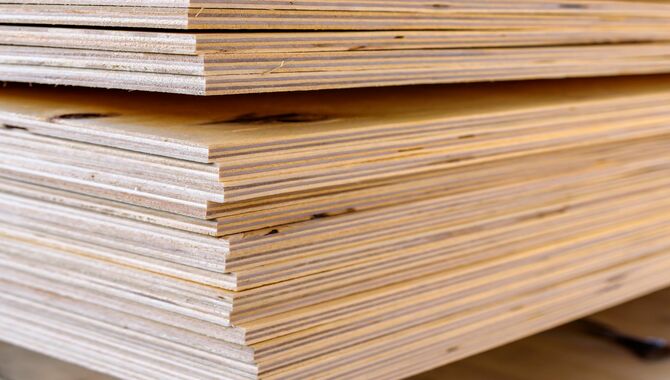
Plywood is made up of squashed sheets of wood veneer that are glued together. The highest grade of plywood is ‘A.’ This plywood has been sanded smooth and is ready to be repainted or otherwise treated. The ‘D’ grade plywood is the lowest possible one. This plywood has knots, fractures, and a worn-out look.
Sanded plywood is used to provide a smooth surface on furniture. This product is used to make shelves and wallboard, along with other things. Sanded plywood is the finest grade of plywood available and is extensively used for furniture production.
How To Sand Plywood: Step By Step Guideline
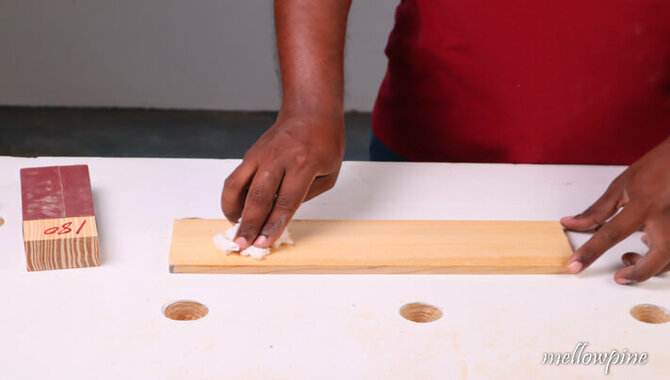
The process of sanding plywood is pretty straightforward, but you do need some guidance to follow. Also, make sure to have all the tools and materials that are mentioned below: Tools And Materials Needed
- Damp cloth/ vacuum
- Face mask
- Hand gloves
- Protective eyewear
- 180 grit sandpaper
- 220 grit sandpaper
- 200 grit sandpaper
- Detail sander
- Orbital sander
- Hand sander
- Wood filler
Please keep in mind that not all of the steps are required before proceeding. If you believe that the smoothness you want has been achieved, you can skip any stages. Also, keep in mind that you will not be required to purchase these items regularly. Consequently, do not compromise on either quality or quantity while purchasing. Now, without further ado, let’s get started on the procedure!
Things You Need For Sanding:
Sanding plywood can be a challenging task, but with the right tools and instructions, it can be a breeze. Here are the essentials you’ll need for the job: grit sandpaper of a suitable grit, a bucket of water to wash the wood after each use, a power sander, and a well-lit workspace. Before starting, make sure to clean up any excess dust or debris. Then, get to work sanding the wood to the desired finish. Remember to use a power sander to achieve the best results. Finally, take care of the wood by sanding it only until the wood is smooth and the grain is visible.
Step 01:Find The Appropriate Sandpaper
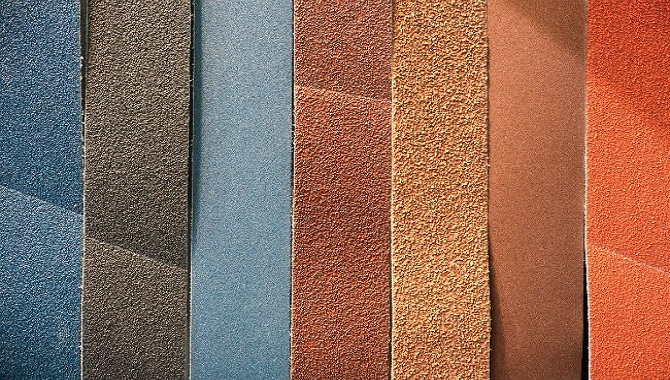
Finding perfect sandpaper is important as different plywood needs different sorts of sandpaper. For example grade, “A” plywood normally requires 180/220 grit sandpaper. But when it comes to lowering graded plywood, you will need to start from 40 grit sandpaper if needed. The best sand to use is 180 grit.
Generally speaking, we don’t require sand that is coarser than this. Sand with a finer grain than 180 grit is not very useful as it does not provide the desired outcome for your plywood. But there is one thing that, after a few coats of water-based finishing or varnish, lacquer, etc., these substances make their periphery. This does not affect the outer look of the plywood.
The sensation of the finish is unique, and it will not affect the final product. As a result, it makes no difference how finely you sand the plywood. You can sand your plywood with a finer grit than 180 grit if you want less stain paint left on your board after eliminating the excess.
Otherwise, no need to go any farther than grit number 180. If you go further than this, you might even get uneven surfaces alongside stains that might be darker in one particular area.
Step 02:Maintain Precautions Before Sanding
Before you start sanding, you need to make sure that you have put on a face mask, gloves, and protective eyewear. Without taking safety measures, you might face serious issues later. So wear all of these things before working.
Step 03:Wiping Down The Surface
After choosing the right sandpaper, now is the time to start sanding, But before that, you need to do another step, which is wiping down the surface of the plywood. This step is mandatory as it helps to remove any excess dirt that was created from any events. Such as sawdust. Hence, take a damp cloth to clean the dirt, or you can take a vacuum to clean the surface. After the work is done with the damp cloth, leave it to dry.
Step 04:Sanding Plywood With 180-grit Sandpaper

This step involves sanding with 180 grit sandpaper on the plywood surface. While sanding, make sure to sand in the same direction not more than 3-4 times. Otherwise, you will notice the existence of several holes in the surface and layers of plywood that have been pulled away from the plywood edges. This hitch draws attention to any flaws in the wood.
Step 05:Using 200 Grit Sandpaper
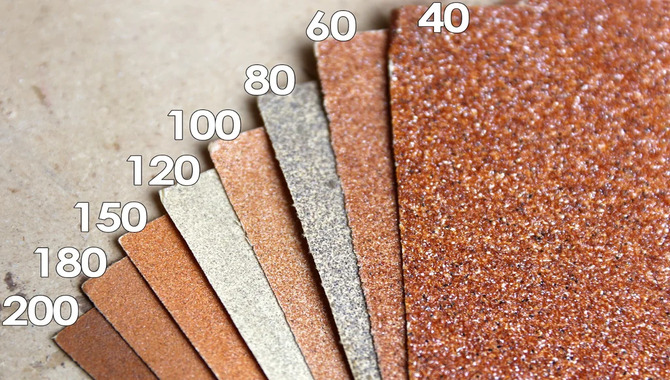
If you have gotten enough smoothness from the first step, you can ignore this one. This step involves sanding the plywood surface with 200 grit sandpaper after sanding it with 180 grit sandpaper. Repeat this procedure 3 to 4 times, making sure to include the surface. While sanding with 180 grit sandpaper, various defects are created. The imperfections are smoothed down with this finer 200 grit sandpaper.
Step 06:Using 220 Grit Sandpaper
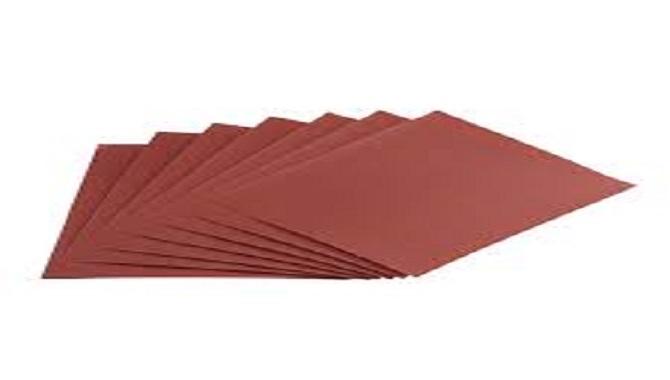
After doing two of the sanding parts with 180 and 200 grit sandpaper, there is another step left. This is the final stage of sanding, and this step gives extra smoothness to your plywood. Sanding is completed after sanding with 220 grit sandpaper. After that, you may either add color or just complete the project.
Step 07:Removing Dust From Sanding
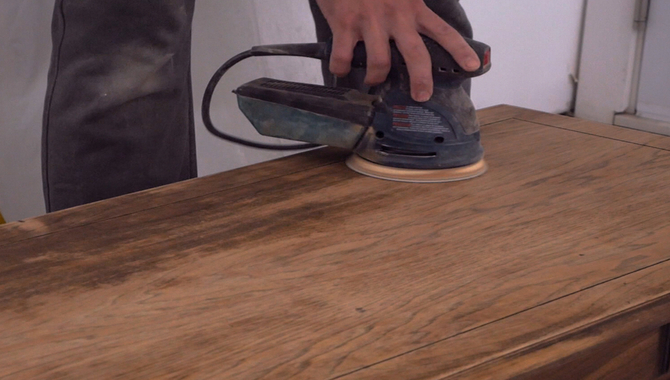
After sanding down the plywood surface, you will see a lot of dust that has been created. In this step, you have to clear dust created from sanding. Here you can either use a vacuum, compressed air, or clean cloth. Just try to clean dust as much as you can and do overdo anything.
Step 08:Fill The Gaps
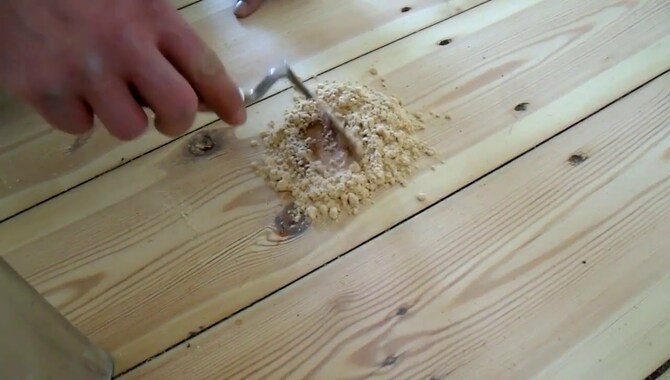
After sanding in three parts, you need to check if there are still any holes or grains left. As sometimes, even after sanding or due to overdoing, it can cause these issues. If you spot any of these, just apply a good quality wood filler, or else sanding afterward will be tough.
How To Make Plywood Smooth And Shiny:
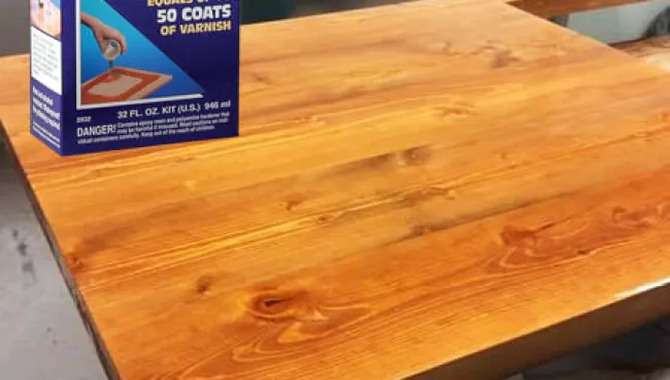
Plywood can be a beautiful and handy addition to any home, but it can be a bit of a pain to sand down to its smooth and shiny finish. That’s where a power sander comes in handy. For deeper scratches, use sandpaper with a grit of 320. For a smoother finish, use a hand buffer. Afterward, apply a clear sealer to the surface to protect it from water damage and enhance its shine. There you have it – a smooth, shiny plywood surface that you can be proud of!
Hand Sanding
This is the final stage following sanding using various types of sanders, and it is called hand sanding. We are well aware of how power sanding is preferable for heavy-duty tasks.
Power sanders tend to produce some minor scrapes that might destroy the surface. As a result, finishing hand sanding is essential since it creates a finer finish than the machine. Furthermore, because it is more flexible, hand sanding is preferable for sanding different portions of plywood. Mostly hand sanding is done using-
- Sanding blocks
- Sanding pads
- Putty knife
- Foam block and more
In the case of hand sanding with sanding blocks, you just have to take a tiny piece of stiff foam or glue a thin layer of cork on a woodblock to create a sanding block.
Then just do the sanding part by rubbing it on the surface gently. This will assure the even distribution of pressure and maintain a level surface. Sanding pads make the sanding process easier as it is easier to squeeze or compress it to give a variety of shapes. Hence it becomes easier to do the sanding part according to your comforts.
A Putty knife is a great tool for sanding corners or tight areas as sandpaper cannot get into these places. Hence hand sanding becomes easier with this tool. The foam block is another tool that helps in hand sanding. A piece of firm foam insulation should be rubbed across the sandpaper until it fits the molding contour.
Tools To Make Plywood Smooth:
When it comes to sanding plywood, the most common tool is the belt sander. It’s a great option for beginner woodworkers, as it’s easy to use and leaves the wood smooth and without sandpaper grit. Keep in mind that when sanding plywood, always use a dust mask and Eye Protection to avoid sandpaper dust and particles entering your eyes.
Additionally, keep your work area clean and organized to avoid having to re-start the job from the beginning. Finally, make sure to complete the job as quickly as possible to avoid sanding the wood beyond its desired finish.
Sanding The Edges Of Plywood
Sanding smooths and shines the surface but not the edges. Sanding down the edges is tricky, and using an oscillating drum sander can make the edges smooth and square. Using block and sandpaper combined can maintain your plywood straight as well.
There is a second technique to sand plywood edges. First, build an L-shaped jig and then add sandpaper to the tiny side of the long side of MDF. It will maintain the edges square perfectly. There is a sander named ‘ ‘detailed sander,” which has similarities with ” orbital sander,” but it’s much better than that. It provides a smooth finishing, and it also reaches the corners of plywood easily.
Common Mistakes While Sanding Down Plywood
Sanding down plywood is a pretty basic and straightforward work, but still, many people find it difficult to do the sanding. There are some common mistakes that everybody does:
Misuse Of A Tool
Understanding the benefits and drawbacks of various sanding machines can help you choose the best gear for the job. Examples: To remove high areas from a glued-up panel, use a belt sander. However, it is not always the ideal option for the first coarse polishing. A random orbital sander is typically preferable for first sanding if there are many mill marks and other imperfections.
It also produces fewer swirling marks than other tools when sanding a right-angle junction between two boards. Since sanding your plywood perfectly makes your job easier, it’s important to know how to do it properly with a perfect tool.
Sanding For Too Long In One Place
This is another point where most people do not understand where to stop and how. Either you sand by hand or machine, you should stay going. Or else, you’ll have an uneven surface that won’t show up till the finish is done. It’s all about finding a groove and going with it.
A little more sanding of the damaged region can occasionally be justified, but the harsher intervention will certainly be necessary if the imperfection is serious. For instance, using water to increase the grain and, therefore, the imperfection. Or even a complete sanding of the surface. But when you sand down a place for a long time, this can also create holes or grains.
Not Knowing When To Stop
Many individuals don’t know when to stop sanding. This results in over sanding of the surface and can make it uneven. There are two ways you can check it out. First, clean any dust from the plywood and examine it from a low angle so that the light will bounce off of it first. For instance: you can consider looking through lighting or a window. Secondly, moisten the plywood and examine it from a variety of perspectives.
Not Removing The Sand Dust
The sanding dust partially obfuscates the surface and might clog the sandpaper if not removed occasionally alongside ruins of the ending. It can also enter your nostrils or eyes and go all over the place, making sanding very difficult. You can use a clean cloth or vacuum to clean the surface.
Incorrect Sandpaper Grit
There is a “great mystery” to sanding: choosing the right grit order to get a smooth finish with the least effort. That is, slogging through grits. When sanding, excessively coarse grit leaves deep marks that require considerable sanding to erase. If it’s too fine, you’ll waste time sanding and sanding until the mill markings are eliminated.
Also, not changing sandpaper after it wears out can make the sanding process time-consuming and harder. The sanding process becomes slow due to bland sandpaper and you do not get a smooth finish. Even though you get a smooth finish, it will cost you a hard time.
Sanding In A Wrong Way
There are some specific rules that you have to follow to do sanding correctly. For example: doing the sanding, giving extra pressure, sanding against the grain, etc., can cause a great loss. This may not bring out the desired outcome for you, and you might have to redo everything.
Conclusion
Now that you know how to sand plywood, this work might not seem tough for you at all. Just make sure to follow the instructions and be patient while working. Also, do not try to avoid this step, and avoid mistakes while sanding your plywood. These two pieces of advice can make a difference in your finishing touch.
Sanded plywood is an important woodworking tool that you can use for a variety of projects. By following the steps listed in this blog, you can make your plywood smooth and shiny. Make sure to have the correct tools and materials handy before getting started. And remember: take your time and sand the wood smoothly to get a perfect finish.
Frequently Asked Questions
1.What Type Of Sandpaper Is Best For Use On Plywood?
Ans. There are many sanding techniques, and among them, sandpaper is one of the popular ones. One of the best sandpaper for sanding plywood would be 180-grit sandpaper. Just pass the sandpaper 3 to 4 times over the plywood in the direction of the grain.
Further sanding may result in an excessive number of grooves on the surface, which may cause the layers to rip away from the plywood’s ends. This grit is used to smooth out any flaws in the wood.
2.What Grit Of Sandpaper Should I Use As A Beginning Point?
Ans. When it comes to sanding plywood, different types of sandpaper can be used. Preparing the surface begins with medium-grade paper, which is followed by finer grades of paper. Generally speaking, when working with raw wood, start with 120-150 grit paper and work your way up to 220 grit paper before painting and sealing the surface.
3.Is Sanded Plywood Suitable For Use As A Painting Surface?
Ans. Unless otherwise indicated, plywood is intended for use in structural purposes, and the sturdiness and suppleness of plywood make it a great choice for shelf construction. Paint for plywood is quite similar to painting for other types of wood. While sanding is an excellent initial step, more work is to be done before a coating of paint can be put.
4.When It Comes To Wood, What Is The Highest Grit Sandpaper To Use?
Ans. For vigorous, quick wood removal, use 60- or 80-grit sandpaper. The 100-grit paper should be used to provide an all-purpose surface, and 120 or 180 for the finest finish. Power-tool sanding should be followed by hand sanding. Power tools leave behind concealed marks that become visible later on. Always sand in a straight line with the grain.

Leave a Reply