Acrylic painting is one of the most desired and beloved painting methods by painters of all kinds. The vibrant colors and unique combinations are outstanding, especially when they are done on wood or wooden surfaces. But if you can’t seal your acrylic paint on wood, then it can be a disaster. That’s why knowing how to seal acrylic paint on wood is a must if you want to embark on a journey of wooden painting using acrylics paints.
To help you in your journey, we’ve covered everything here. This article will go through every detail you need to know to seal acrylic paint on wood without any issues. So, without further ado, let’s dive into the details, shall we? Acrylic painting is a very popular and beloved painting method among painters of all kinds. But if you’re using acrylic paints on wood, you need to seal the paint in order to protect it from the elements.
In this blog, we’ll cover everything you need to know about sealing acrylic paint on wood for outdoor use with Polyurethane. From why you should seal your acrylic paint to preparing the wood before painting, we’ve got you covered! So don’t wait any longer – get started sealing your acrylic paint on wood today!
What is Wood Painting?
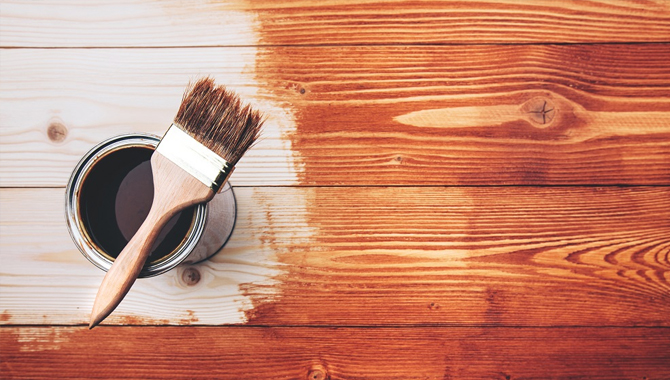
Wood painting is a form of art that is getting popular these days. While many artists focusing on a wood painting might be new, there have always been cases of wood painting in general.
As the name suggests, wood painting is a form of painting that uses wood as the painting surface/canvas for the painter. This concept is relatively new, and therefore there are some misconceptions about the matter.
Unlike any other painting, wooden surfaces are much more robust, can get dampen quickly, and specific surface points can break off. There is also the matter of the paint being adequately attached to the surface in the first place.
To solve this issue, the proper way is to seal the paint after finishing your work on the surface. This method has been used by handymen and wood sanders to give timber a subtle glow and glossy finish.
And unless you are using oil paints, sealing your artwork on wood is the best possible option.
Why Use Acrylic Paints for Painting?
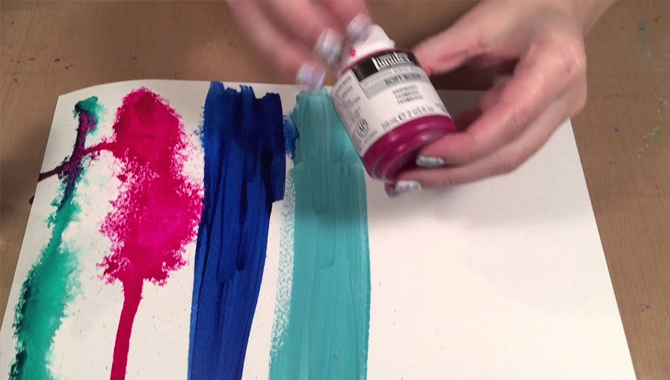
You may already know why you choose to go with acrylic paint rather than other types of paint when painting on wood. The reason behind picking acrylic paint is pretty simple. It is the best type of paint out there right now.
The most exciting factor regarding acrylic paints is that they aren’t toxic to the environment or animals. This already makes it stand above other types of colors. Most paints except acrylics contain toxins in them.
Not only that, but acrylics paints are also water-based. So, they can be thinned out with water and can easily be combined. This saves a lot of color for the painters.
In addition, with that perk, acrylics paint can be cleaned off from the brushes easily. This benefit can also be a problem when painting on a wooden surface, but later in the article, we will get that matter.
Last but not least, acrylic paints are highly durable and don’t lose their color quickly. They stay vibrant for a long while, even if they are exposed to intense conditions.
If they are taken care of adequately, the paint color will not diminish and will survive the test of time. For these reasons, they are the perfect choice for a painter who wants to paint on wooden surfaces.
Is Sealing Painted Wood Necessary?
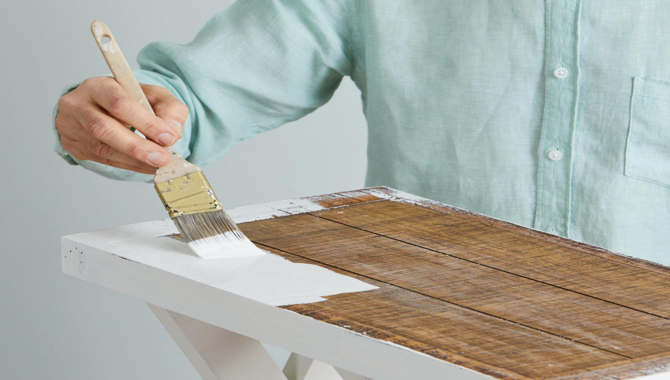
Sealing painted wood is a common practice for people who live in humid environments or use water on the painted surface regularly. This is because acrylic paint is an exterior coating that can last for several years without needing to seal. For most people, sealing is not necessary.
However, if you live in a humid environment or use water on the painted surface often, sealing may be a good idea. To test if sealing is necessary for your specific situation, try a small area first. There are several sealants available that work well and last for several years.
Types Of Acrylic Paint Sealer
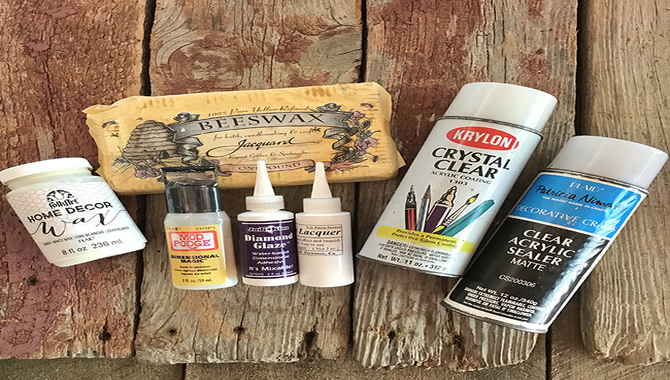
Protecting your painted wood surfaces from the paint peeling, staining, and fading is essential. There are three types of acrylic paint sealer that can use to achieve this: solvent-based, water-based, and silicone-based. Before applying a sealer, be sure to read the product instructions carefully to avoid any disasters.
Wipe off the excess with a damp cloth or sponge. For best results, a sealer is applied every two to four weeks, depending on the type of paint and type of sealer. Be sure to remove the sealer immediately after application to avoid staining or peeling.
Why Seal Acrylic Paint On Wood?
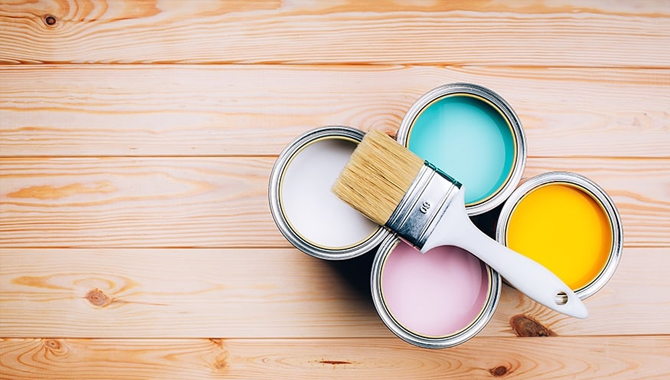
Sealing acrylic paint on wood is a simple project that can be done by anyone. It’s a great way to protect the wood from moisture and staining and make the paint last longer. Acrylic paint is water-based paint, which means it can damage the wood over time. Once sealed, the acrylic paint will look new for years to come. So, if you’re looking for a simple project that will protect your wood furniture from damage, seal acrylic paint on wood today!
Why Do You Need to Seal Acrylic Paint on Wood?
You may ask yourself, if acrylic paint performs so well, why do you need to seal them to keep your painting accurate and stable. Well, the answer is that acrylic paints come off quickly on a wooden surface.
One of the perks of acrylic paints is that they are water-based and can easily be cleaned off from a brush. Well, the reverse is also true. As wooden surfaces don’t absorb the water like paper or canvas, the paint doesn’t properly stick in and can be removed via soap and water.
Not only this, but wooden surfaces can get dampen after excessive exposure to water. And as acrylic paints are water-based, this can hamper the wooden surface, and your artwork won’t last for long before it starts to fall apart.
This is why you need to apply a sealant to seal your acrylic painting if it has been done on a wooden surface or wood.
Prepare The Wood Before You Paint
Painting on wood can be a beautiful and rewarding experience, but it’s important to take the necessary precautions first. One of these precautions is to seal the wood before painting. This will save protect the wood from dry, peeling, and other damage. Remember to apply a layer of paint, wait for it to dry fully, and then seal it with a new coat of sealer. Finally, use a wood wax or hardener to give the paint a more durable finish.
How To Seal Acrylic Paint On Wood For Outdoors With Polyurethane
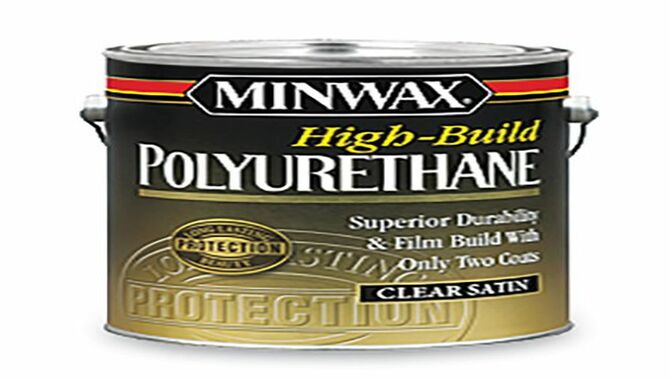
Wooden furniture is an amazing collation for any house. But it can damage by the weather over time. That’s why it’s important to seal your acrylic paint with a polyurethane finish to protect it from fading and destruction. To do this, first, dilute the Polyurethane according to the instructions on the can, then apply it using a brush or roller.
Allow the finish to dry for 24 hours before handling or use. When painting or coating your wood with acrylic paint, be sure to seal it with a polyurethane finish. Not only will this protect the paint from fading and damage, but it will also give your furniture a glossy finish that will last for years.
Sealing Acrylic Paint on Wood – Step-By-Step Guide
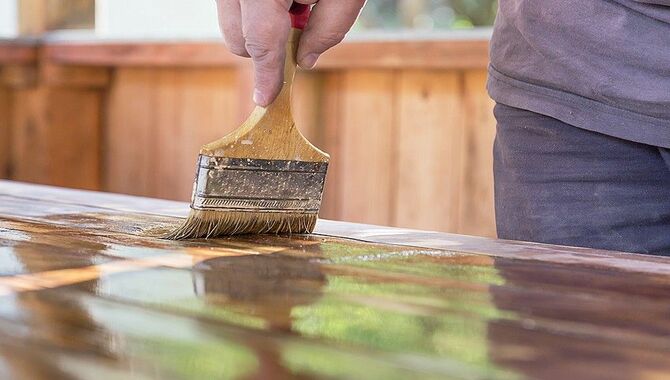
As there aren’t any other alternatives to protect your painted work, painters need to seal off their acrylic painting if they want to preserve it. But you can’t just add sealant and call it a day.
For preparing the wood to apply acrylic paint, you have to follow some essential steps, which we’ll discuss in detail now.
Step 1:Cleaning the Wood
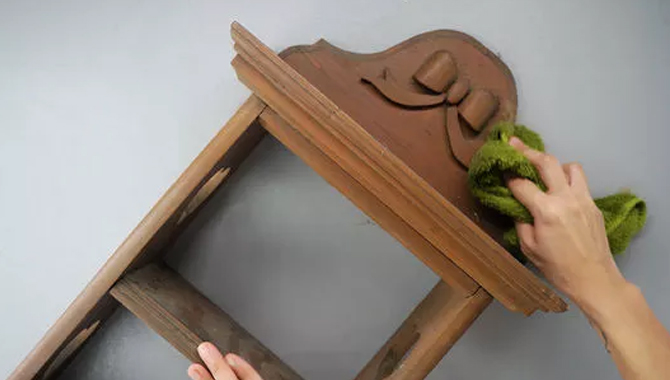
You can’t start working on an uncleaned surface. So, before you begin to do clean the wood, you will be painting on.
Ensure that the wood isn’t dampened in any way and there aren’t any holes or broken parts in it as you will be moving to sand the wood in the following stages. So this process is essential.
If you are working on a pre-made wooden surface, make sure they are sturdy enough to endure sanding. Also, if you can pick the wood or wooden surface directly from a tree, make sure that the log was cleaned beforehand.
Step 2:Smooth Sanding the Wood
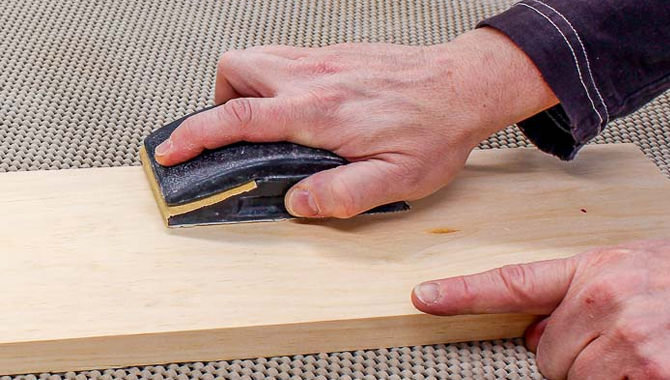
This is the crucial part of the process, as many will ignore this step. If omitted, the wood you will be working on won’t be smooth enough, resulting in a wooden surface that isn’t properly prepped to handle sealant in the following stages of the process.
So, grab your sandpapers and start sanding. You need to fine sand the wood even if it is pre-sanded.
Because you need to work on a smooth surface if you want to paint using acrylic paint on that wood, the sandpaper grit will highly depend on your wood, but most of the time, a mid-range grit from 140 to 220 is helpful.
While sanding, you must ensure that you are sanding in the same direction as the gain. Gain is the lateral lines that you will find running across the surface in the same order.
Make sure to sand properly. Don’t sand too much so that your wooden surface becomes too fine. And at the same time, don’t sand too little because you will end up with an uneven and rough surface.
You need to have the perfect surface. You will understand that you have reached certain levels by seeing the gains and touching the surface.
Step 3:Cleaning After Sanding
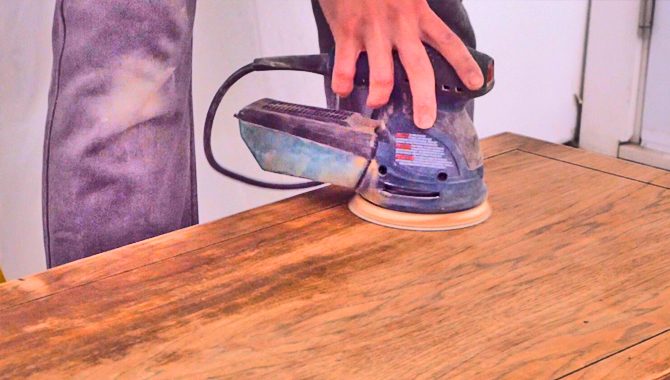
This is also an essential part of the process as there will be a lot of dust and dirt for you to clean up before you can go into the next steps. If you go to the next steps without cleaning, then you will endanger your artwork ultimately.
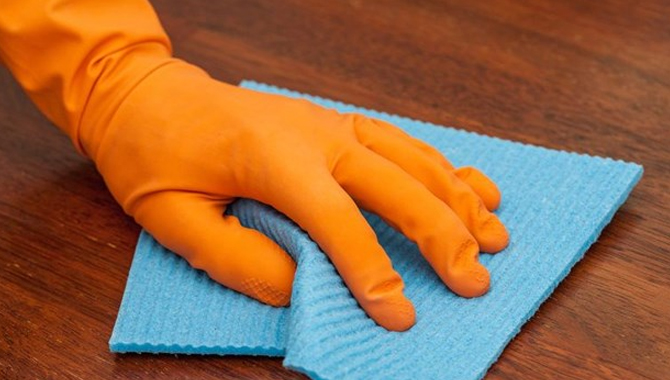
So, start by cleaning the surface with a microfiber cloth. Don’t hesitate to wash the surface with water but ensure not to use more than necessary as it will take excessive time to dry out because there will be excessive moisture if you do that.
Once the surface is dried, wipe it with the microfiber cloth again. Now, you can move on to the further steps.
Step 4:Applying Wood Sealant on the Surface
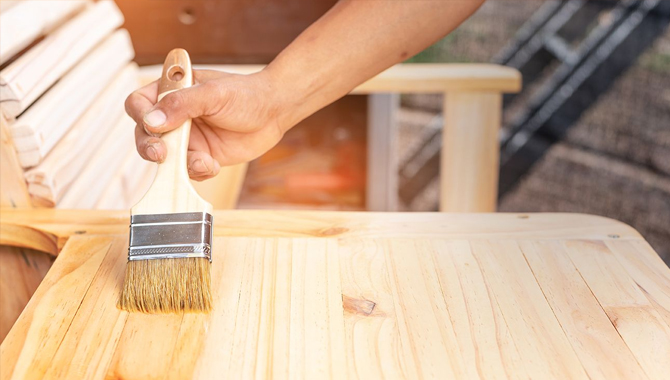
Don’t confuse this step with adding sealant after you have done painting on the wooden surface. This sealant is used to prepare and cover the wooden surface for you to paint on it without facing any hindrance.
Adding wood sealant on the sanded surface will ensure that there aren’t any gaps or holes left and the surface is ready to be painted.
Because this part prepares the surface for your artistic work, make sure that the sealant reaches every possible location on the surface. Especially the places where you know you will be using a lot of paint.
Don’t rush in with this section because the more thorough you are, the better the wooden surface will be for you to paint on. Work on small spaces and cover the entire area steadily and slowly.
Once you add the sealant, let the sealant completely dry out. If you think the sealant has been dried out completely, add another sealant layer to the surface.
This second layer is quite crucial as it ensures that the surface is appropriately covered with a sealant. Many try to rush in and find out later that the surface wasn’t properly sealed with the sealant.
After adding the second layer of sealant on the wooden surface, dry out the surface completely. We’d suggest you wait for a day at least to let the surface dry out.
Step 5:Prime the Wooden Surface
This is where many beginners confuse themselves. After using sealant on the wooden surface, you need to prime it once it has dried out completely. Newcomers think they will have to use sealant or prime on the wooden surface to make it acrylic paint ready.
But in truth, you will need to use them both. When you prime the wooden surface, it prepares the wood for acrylic paint. Therefore, this is very important if you want to use acrylic paints on your wooden artwork.
So, make sure to prime the wood. Because the primer will make the surface receive the paint properly. It also helps to adhere to the color better. This is entirely different than the benefits you get from a sealant.
For priming the wood, you have two options available. Those are brush primer and spray primer. If you plan to use spray primer, 2 or 3 layers can be used.
Now, if you plan to use brush primer, one layer of primer is enough, but you can add another to be safe. But don’t add too many, or you will ruin the wooden surface.
Step 6:Applying the Acrylic Paints
Now, this part is all you. We won’t suggest how the artist does his work. But a small tip is that you might need to use more color layers for the paintings to pop up. You will understand this matter once you start to paint with acrylic colors.
Step 7:Drying the Artwork
You don’t directly add the paint sealant once you have done painting on the wooden surface with your acrylic paints.
You need to dry out the painting before you can do that. So, wait until the artwork is completely dry. In general, keeping the painted surface for one day will dry it out completely.
Step 8:Sealing the Acrylic Painted Wood
Now, this is the part that you have been reading this article for. Once the painted wooden surface is dried out completely, you can add the sealant.
Before adding the sealant, pick a dried clean cloth and widen the surface to remove the dust gathered during the drying process.
Once cleaned, you should proceed to add the sealant. Ensure that the sealant you are using is clean; otherwise, the colors won’t be as vibrant as before adding the sealant.
You have a couple of strategies for applying the sealant. You can spray the sealant via a spray can or use a brush to seal the artwork manually. You can also use a roller in this case.
It doesn’t matter which method you choose. Make sure that you cover the wooden surface from start to finish. You can use a sponge to reach harder angles.Keep in mind that once the sealant settles in, that will be permanent. So, there shouldn’t be any dirt on the surface.
Therefore, if you find any dirt on the artwork, carefully remove them with your hand or a pin before the sealant settles in. You can go for a double layer of sealant if you want to. But in most cases, that is not necessary.
And there you have it. This is how you can seal acrylic paint on any wooden surface, and your painting will face no loss in quality whatsoever. For that to be true, you will need to follow the mentioned steps to the point.
Apply The First Line Of Defense
Painting wooden surfaces can be a fun and rewarding experience, but it’s important to take care of the paint job. We highly recommend sealing your project with a topcoat for extra protection. primer is also a great way to keep the paint job durable and water-resistant. Next, use a brush to apply the first line of Defense – an acrylic paint that is resistant to water and oil-based paints. Have fun painting your wooden surfaces, and be sure to seal them for extra protection!
Final Thoughts
Wood painting is an up-and-coming term that is taking the painting world by surprise. So, if you are a painter who wants to try this type of work, you need to understand how to seal acrylic paint on wood, as there are quite a few excellent painting options out there.
Hopefully, if you have come this far from the article, then you already know how this entire process works. So, grab your paintbrush and acrylic paints because we believe it is time for you to start your painting journey on wood painting right now!
Whether you’re painting your outdoor furniture or sealing acrylic paint on wood for a new project, sealing the paint is essential for a long-lasting finish. There are a variety of sealers available on the market that are perfect for different types of paint. We’ve outlined the different ways necessary for sealing acrylic paint on wood with Polyurethane. Make sure to read through the entire blog to ensure you get the best results from your paint sealer.
FAQs:
Ans. Polyurethane sealers are the best type of sealer for painting on wood.
Ans. Yes, you will need to use a sealer when painting on wood.
Ans. Acrylic paint will not seal well to wood. Some tips for sealing acrylic paint on wood include using a sealant, sanding the paint finish, and priming the surface.
Ans. Varnish coats sealer virtually any wood surface – monthly is sufficient.

Leave a Reply