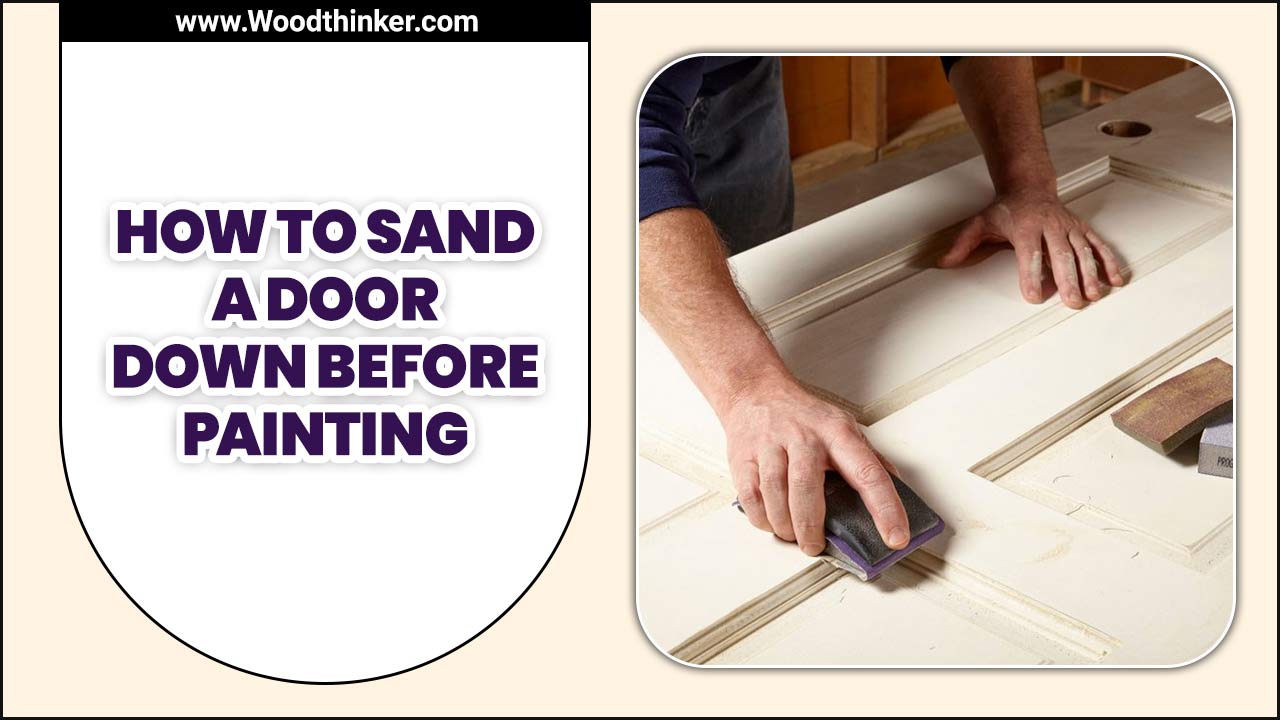
How To Sand A Door Down Before Painting – Follow The Guideline
Regarding home improvement projects, painting is a popular and cost-effective way to freshen up a space. However, before you can add a fresh coat of paint, it’s important to properly prepare the surface you’ll be working on.
This is especially true for doors, which can easily become scratched, chipped, or damaged over time. One crucial step in preparing a door for painting is sanding it down. Sanding not only removes imperfections but also creates a smooth and even surface for the new paint to adhere to.
While it may seem like a simple task, there are certain techniques and considerations to keep in mind to ensure a professional and long-lasting finish. Here we will discuss the proper tools and techniques for sanding a door down before painting, as well as tips for achieving a flawless finish.
What Is Sanding?
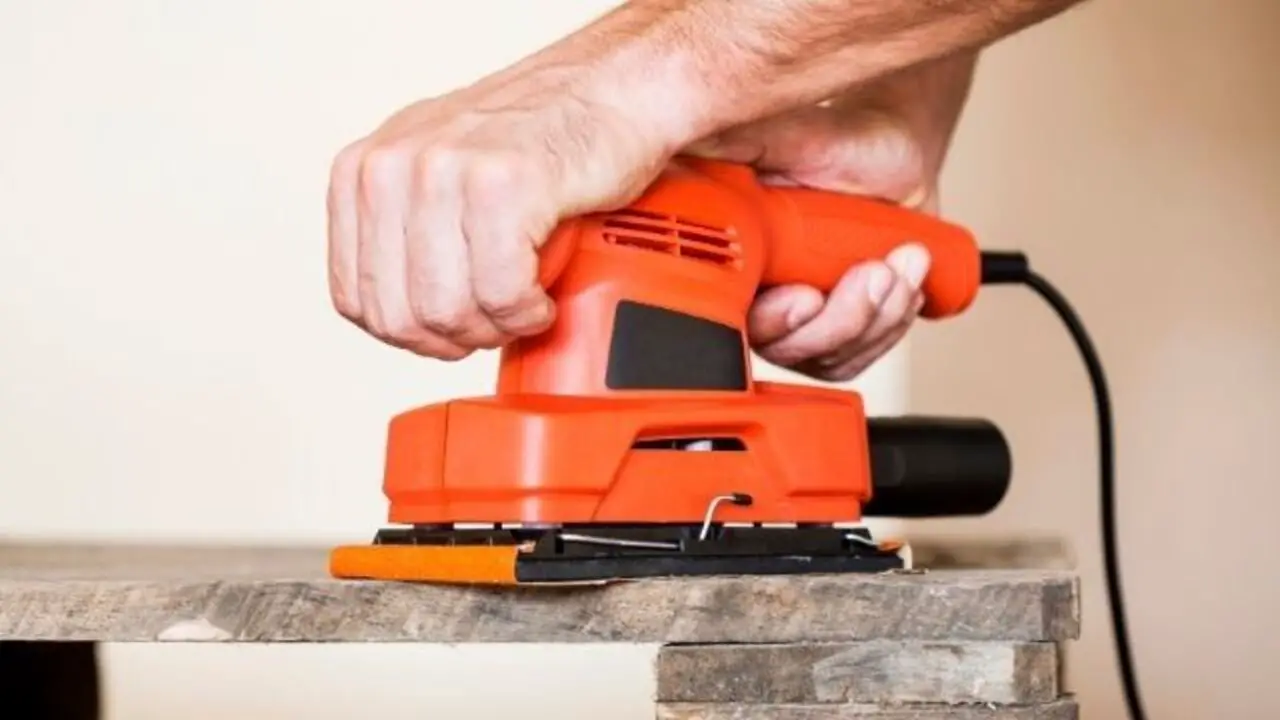
Before painting your door, it’s important to sand it down. This process is called sanding, the first step in painting. Sanding removes wood filler, paint, and other materials from a surface. To send a door down, you’ll need to clean the area well and remove all the Wallpaper, adhesive, and other debris.
Once you’ve cleaned the area, primer can apply to the entire door to help it adhere better. It’s typically done with sandpaper but can also be done using a drum sander or an orbital sander. So, sanding is a great way to start, whether sanding down the door to prepare it for paint or just trying to make it look better.
Importance Of Properly Sanding A Door Before Painting
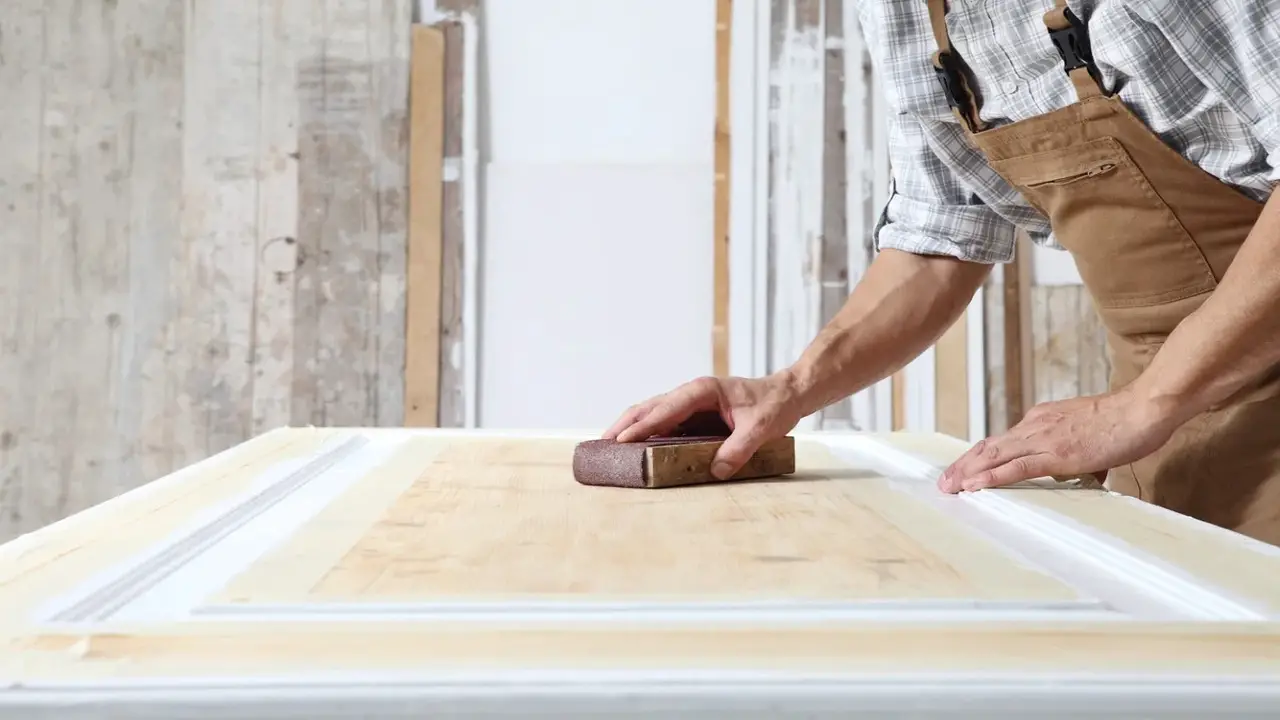
Properly sanding a door before painting is essential for achieving a smooth and professional finish. Sanding helps remove any imperfections on the door’s surface, such as scratches, dents, or old paint drips.
It also creates a rough texture, allowing the new paint to adhere better, ensuring long-lasting results. Additionally, sanding helps to create a level surface, which is crucial for achieving an even coat of paint. By sanding your door before painting properly, you can ensure that your finished project looks professional and flawless.
Gathering The Necessary Tools And Materials
Before painting a door, it is essential to properly prepare the surface by sanding it down. Sanding helps create a smooth surface, allowing the paint to adhere better and ensuring a professional-looking finish. When sanding a door down before painting, gathering all the necessary tools and materials is important to ensure a smooth and successful project. Here are the essential items you’ll need:
- Sandpaper: Choose a medium-grit sandpaper (around 120 to 150 grit) to remove any existing finish or imperfections on the door’s surface. You may also need a finer-grit sandpaper (around 220 grit) for a final smoothing.
- Sanding Block: A sanding block will provide consistent pressure and make the sanding process more efficient. Opt for a block with a comfortable grip and a size that fits your hand.
- Dust Mask And Safety Goggles: Sanding can create a significant amount of dust, so protecting your respiratory system and eyes is crucial. Wear a dust mask and safety goggles to prevent any potential health hazards.
- Drop Cloth Or Plastic Sheeting: To protect the surrounding area from dust and paint particles lay down a drop cloth or plastic sheeting. This will make cleanup much easier and prevent damage to floors or furniture.
- Painter’s Tape: If you want to avoid getting paint on hinges, handles, or glass panels, use painter’s tape to mask off these areas. It provides clean lines and ensures a professional-looking finish.
- Tack Cloth: Before painting, use a tack cloth to remove any remaining dust particles from the sanded surface. This will guarantee a smooth and clean base for the paint to adhere to.
5 Effective Steps To Sand A Door Down Before Painting
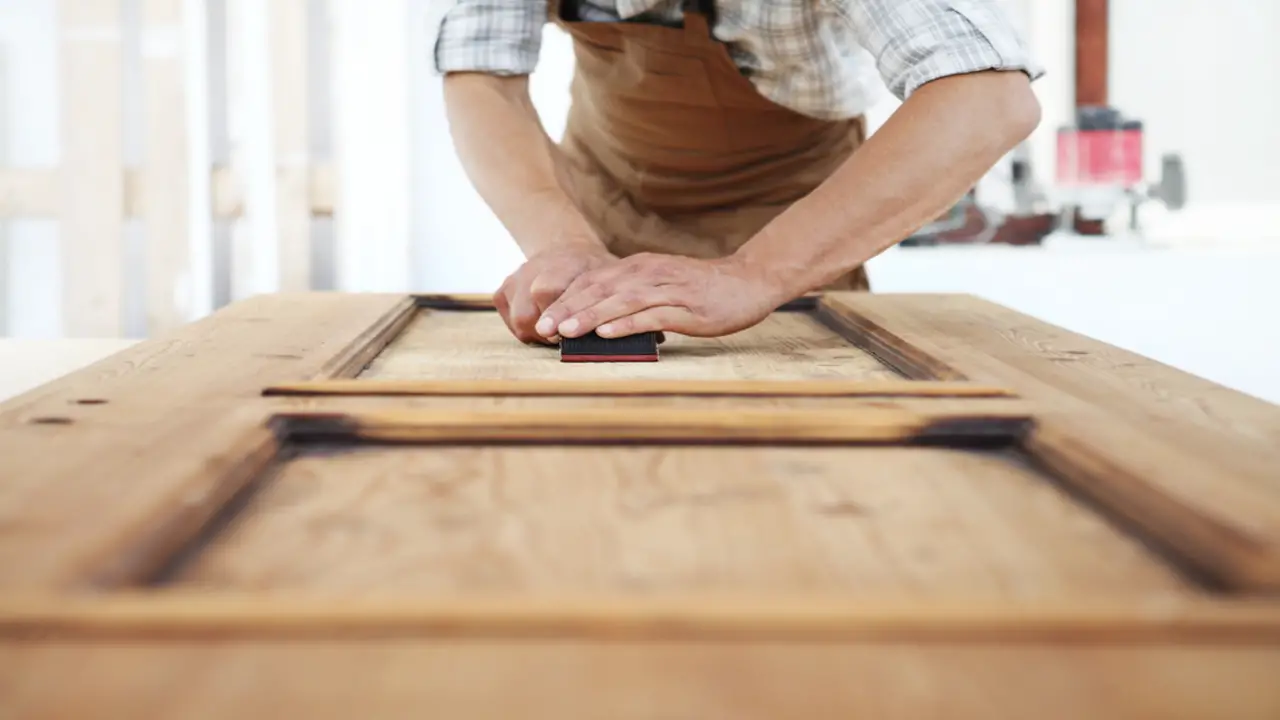
Before painting a door, it is essential to properly prepare the surface by sanding it down. Sanding is a crucial step in the painting process as it helps to create a smooth and even surface for the paint to adhere to. Sanding removes any imperfections or rough patches on the door but also helps to promote better paint adhesion, resulting in a more professional and long-lasting finish. Here are five effective steps to sand a door down before painting.
Step 1:Remove The Door From Its Hinges
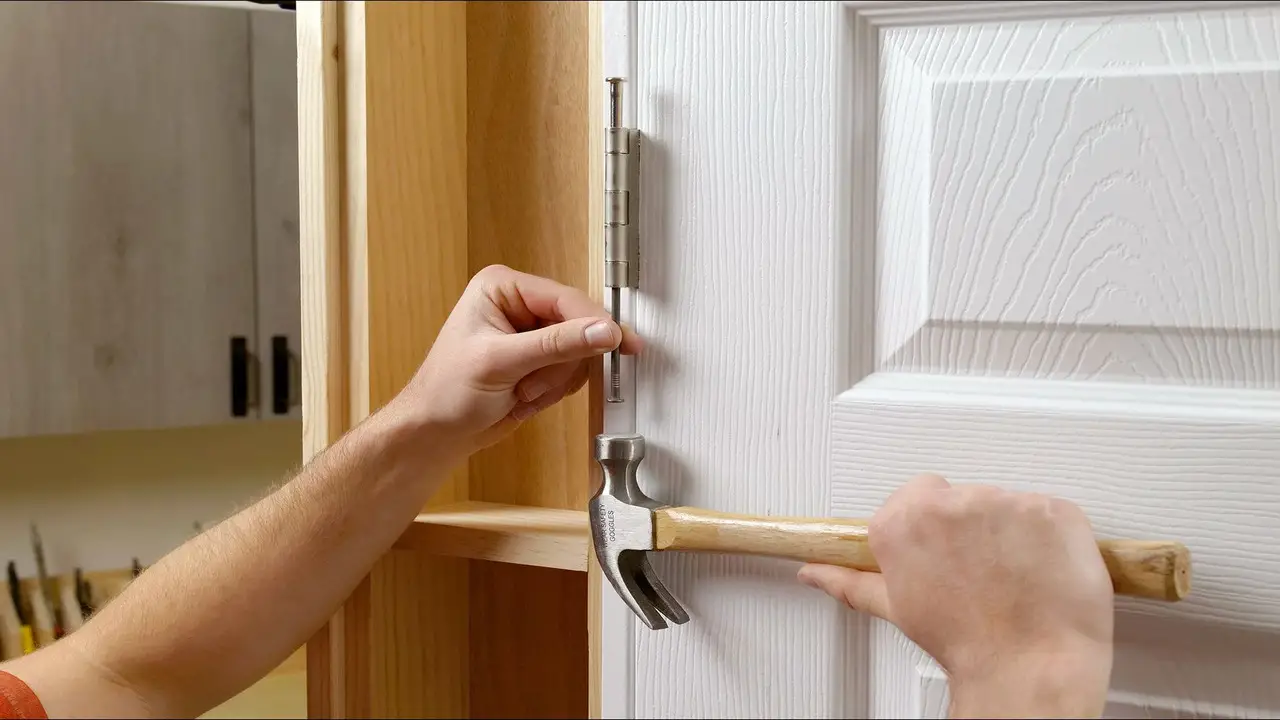
Before sanding a door down before painting, removing the door from its hinges is important. This will make the sanding process much easier and allow for more even coverage when applying paint. To remove the door, start by wedging a flathead screwdriver or a pry bar underneath the hinge pins.
Gently tap the screwdriver or pry bar with a hammer until the hinge pins start to come out. Once the pins are partially removed, grab them with pliers and continue tapping until they are completely removed. Repeat this process for all of the hinges on the door. Once the door is free from its hinges, it can be placed on a workbench or sawhorse for sanding.
Step 2:Sanding The Surface With Coarse Grit Sandpaper
Before painting a door, it is important to properly prepare the surface by sanding it down. The second step in this process is to use coarse grit sandpaper to remove any roughness or imperfections on the door’s surface. Start by sanding in the direction of the wood grain, applying even pressure, and using long, smooth strokes.
This will help to level the surface and create a smooth base for paint application. Be sure to sand all areas of the door, including edges and corners, to ensure an even finish. Once you have sanded the entire surface with coarse grit sandpaper, you can use finer grit sandpaper for a smoother finish.
Step 3:Smoothing The Surface With Medium Grit Sandpaper
Smoothing the surface of a door before painting is an essential step to ensure a professional-looking finish. One effective method is using medium grit sandpaper to remove imperfections and create a smooth surface. Start by lightly sanding the entire door, moving toward the wood grain. This will help to remove any rough patches or previous layers of paint.
Pay extra attention to any areas with visible damage or blemishes. After sanding, wipe down the door with a damp cloth to remove dust or debris. This will help to ensure that the paint adheres evenly and smoothly. Once the surface is completely dry, you can proceed with priming and painting your door for a flawless finish.
Step 4:Fine Sanding For A Perfectly Smooth Finish
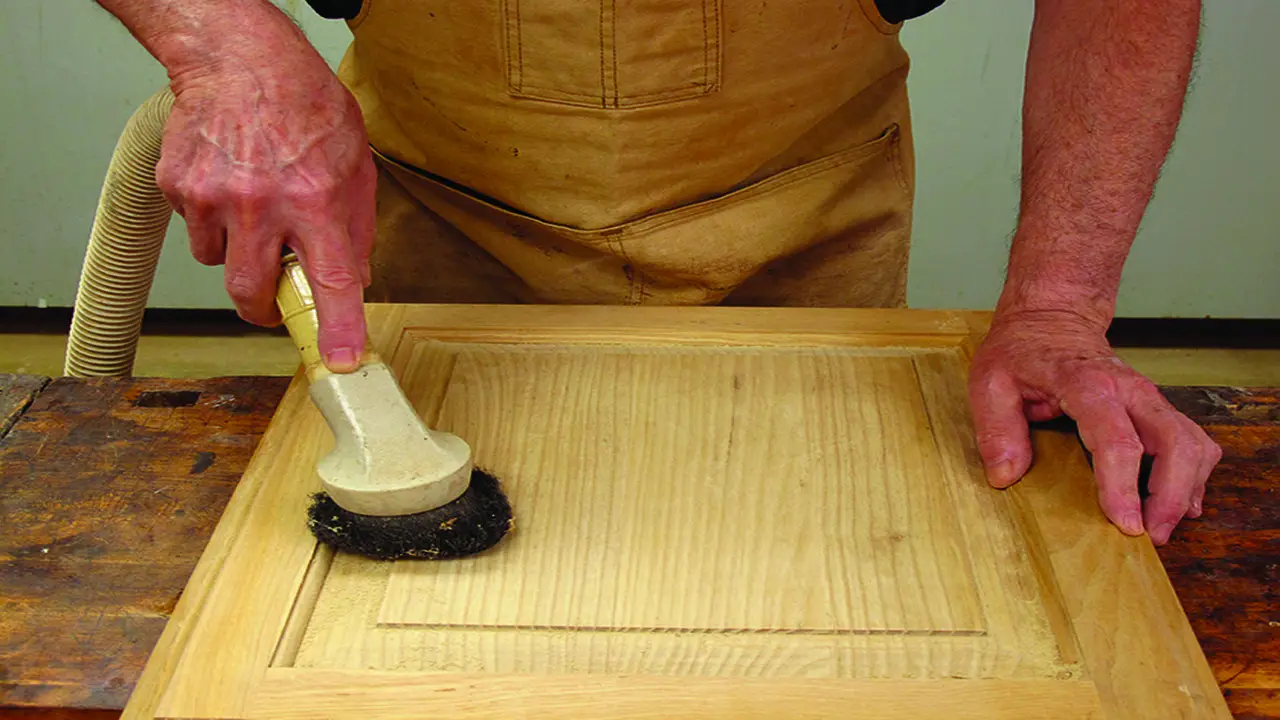
Fine sanding is crucial in achieving a perfectly smooth finish when painting a door. Before you begin, ensure the door is clean and free of dust or debris. Start using medium grit sandpaper to remove rough spots or imperfections on the door’s surface.
Once you have smoothed out the entire surface, switch to fine-grit sandpaper to refine the finish. Sand in long, even strokes, going with the grain of the wood. Be sure to sand all edges and corners to ensure a consistent finish. After sanding, wipe down the door with a tack or damp cloth to remove any remaining dust before applying paint. These steps will help you achieve a flawless finish on your painted door.
Step 5:Cleaning And Preparing The Surface For Painting
Before painting a door, cleaning and preparing the surface properly is important. This will help ensure the paint adheres well and provides a smooth, professional finish. To start, remove any hardware, such as doorknobs or hinges. Next, use a mild detergent and water solution to clean the door, removing dirt, grease, or grime. Once the door is clean and dry, lightly sand the surface.
This will help roughen up the existing finish and create a better surface for the new paint to adhere to. Be sure to sand in the direction of the wood grain and avoid applying too much pressure. After sanding, wipe away any dust with a damp or tack cloth. Now, your door is ready for priming and painting.
Priming And Painting
Before priming and painting a door, it is important to sand it down properly. Start by removing any hardware, such as doorknobs or hinges, and then use medium-grit sandpaper to smooth out any rough areas or imperfections on the surface. Sand in the direction of the grain to avoid damaging the wood.
Once the door is smooth and free of loose paint or debris, wipe it down with a damp cloth to remove dust. Apply a coat of primer to create a smooth and even base for the paint to adhere to. After the primer has dried, apply your desired paint color using a brush or roller, following the manufacturer’s instructions for drying times between coats.
Finish Up With A Few Final Tips
Proper preparation is key to achieving a smooth and professional finish when painting a door. One crucial step in the preparation process is sanding the door down. Sanding helps remove imperfections, smooth out the surface, and create a better adherence for the pain. Here are a few final tips on how to sand a door down before painting to ensure the best possible results:
- Smooth The Surface: Once the rough areas are addressed, switch to fine-grit sandpaper (around 220 or 240) to achieve a smoother finish. This step helps to create an even surface for the paint to adhere to.
- Pay Attention To Details: Don’t forget to sand the edges, corners, and any intricate designs on the door. Use a sanding block or folded sandpaper to reach these areas.
- Clean Before Painting: After sanding, wipe the door down with a clean cloth to remove any dust or debris. This step is crucial to ensure a clean surface for the paint to adhere to.
Why Is Sanding Necessary Before Painting A Door?

Sanding is an essential step before painting a door for several reasons. First, sanding helps to smooth out any rough or uneven surfaces on the door, creating a more even and professional-looking finish. It also helps to remove any existing paint or varnish that may be peeling or chipping, ensuring that the new coat of paint adheres properly to the surface.
Additionally, sanding helps to create a slightly rough texture on the door, which allows the paint to grip onto the surface better, resulting in a longer-lasting and more durable finish. Overall, sanding is a crucial part of the preparation process when painting a door and should not be skipped.
Conclusion
Sanding a door down before painting is important to ensure a smooth and professional-looking finish. By sanding the surface, you can remove imperfections, such as bumps or scratches, and create a clean canvas for the paint to adhere to. Start using coarse-grit sandpaper to remove any existing paint or varnish, then gradually switch to finer-grit sandpaper for a smoother finish.
Remember to sand in the direction of the wood grain and use light pressure to avoid damaging the door. Once you’re done sanding, wipe away any dust and debris before applying primer and paint. Following these steps will help you achieve a beautifully painted door that enhances the overall aesthetic of your space.
Frequently Asked Questions
1.Should You Sand A Door Before Painting?
Yes, it is generally recommended to sand a door before painting. Sanding helps create a smooth surface by removing any imperfections or old paint. This allows the new paint to adhere better, producing a more professional-looking finish.
2.How Do You Sand A Door Quickly?
To send a door quickly, remove it from its hinges and lay it flat on a work surface. Use a power sander with medium-grit sandpaper to sand the door’s surface in long, even strokes. Work across the entire door, focusing on rough or uneven areas.
3.Can I Paint Over A Door Without Sanding?
It is possible to paint over a door without sanding, but lightly sanding the surface before painting is generally recommended. Sanding helps create a smooth surface, allowing the paint to adhere better and providing a better finish.
4.What Is The Best Way To Sand Down A Front Door?
When sanding down a front door, remove any hardware and protect the surrounding areas. Use a medium-grit sandpaper to remove the existing finish, working in the direction of the wood grain. Finish with fine-grit sandpaper for a smooth surface.
5.What Is The Best Tool To Sand A Door?
A power sander, such as a random orbital sander or a belt sander, is often the best tool for sanding a door. These tools can quickly and efficiently remove old paint or varnish and smooth out any imperfections in the wood surface.


