Everything You Need To Know About Buffing Polyurethane Finish
Every woodworker dreams of having a smooth, minor finish with polyurethane to gain a scratch-free woodwork creation. However, getting a glassy, smooth wood surface with one go might be complicated for beginners.
You are required to follow some crucial steps for buffing polyurethane finish. A perfect application of polyurethane will provide you with a glassy look and save the woodwork from permanent damage.
While it may seem like a daunting task for beginners, with the right techniques and tools, you can easily achieve a glassy, smooth wood surface. Here, we will provide step-by-step procedures for applying polyurethane to woodwork. Additionally, you can avail tips and tricks about this as well. Let’s get started.
Importance Of Buffing Polyurethane Finish
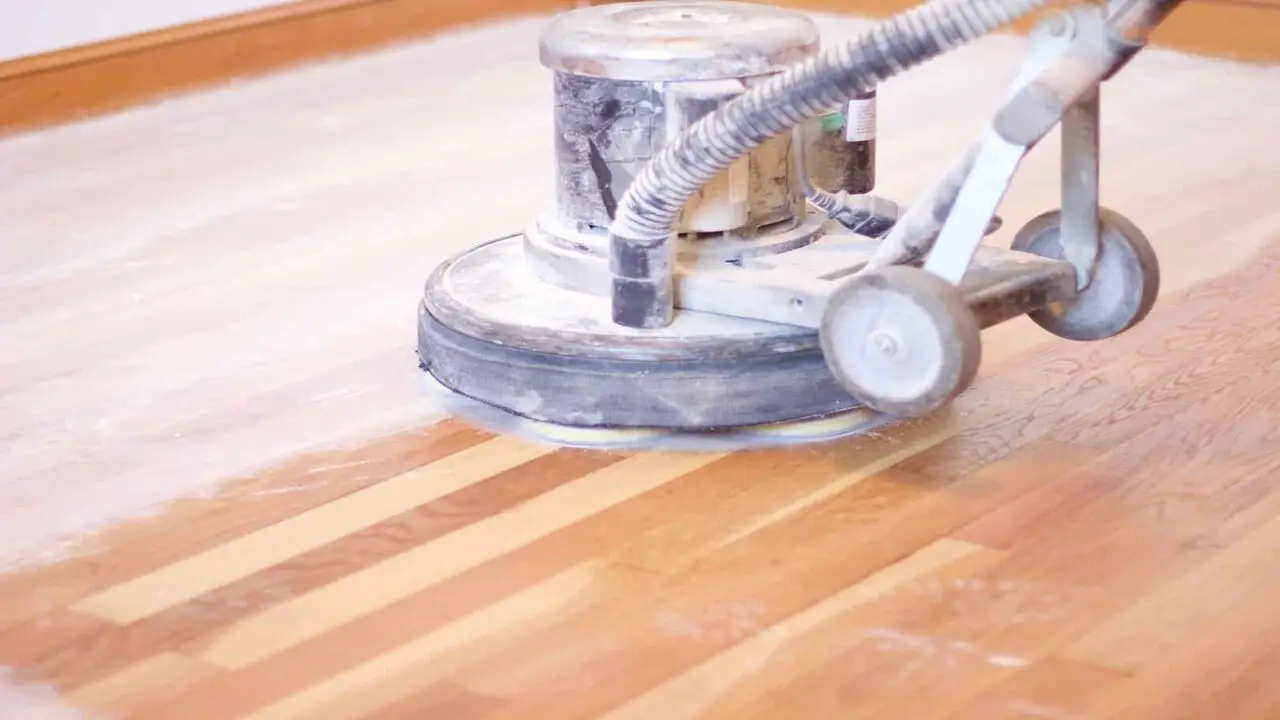
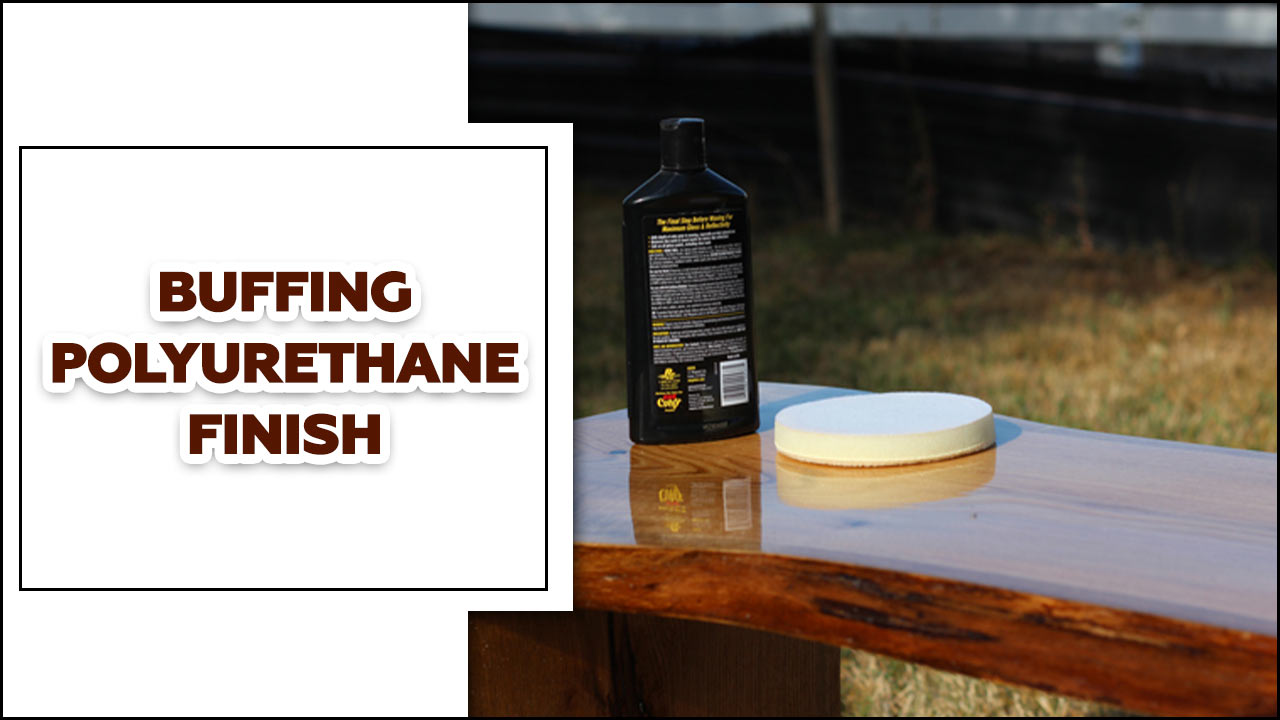
Buffing the polyurethane finish is important in achieving a smooth and glossy sheen on your project. This process helps remove dust nibs, brush marks, or imperfections in the finish, leaving you with a flawless result. You can use steel wool, sanding pads, or dry sandpaper to buff the polyurethane finish.
Begin by ensuring that the surface is clean and free of any debris. Then, gently buff the entire surface in a circular motion, applying even pressure. This will help to create a flat and smooth surface that showcases the beauty of your project.
Tools & Materials For Buffing Polyurethane Finish
Having the right tools and materials is essential when achieving a flawless finish on your polyurethane-coated surfaces. Whether you are a professional woodworker or a DIY enthusiast, investing in the following tools will ensure that your buffing process is efficient and successful:
- Buffer Machine: A high-quality buffer machine is the backbone of any successful buffing process. Look for a machine with adjustable speed settings and a soft, non-abrasive pad. This will allow you to control the pressure applied to the surface and prevent any damage to the polyurethane finish.
- Buffing Pads: Choose buffing pads specifically designed for polyurethane finishes. These pads usually come with foam or microfiber, providing a gentle yet effective way to remove imperfections and bring out the shine of the finish. It is advisable to have a set of pads with varying levels of coarseness to cater to different levels of scratches or dullness.
- Buffing Compounds: To enhance the cutting power of the buffing pads, buffing compounds are used. These compounds are available in different levels of abrasiveness, ranging from coarse to fine. Start with a coarse compound to remove deeper scratches and gradually work to a finer compound for a smoother, more reflective finish.
- Cleaners And Microfiber Cloths: Before starting the buffing process, it is crucial to thoroughly clean the surface to remove any dust, dirt, or debris. Use a gentle cleaner specifically formulated for polyurethane finishes and wipe down the surface with a microfiber cloth to ensure a clean and clear surface for buffing.
11-Step Process For Buffing Polyurethane Finish
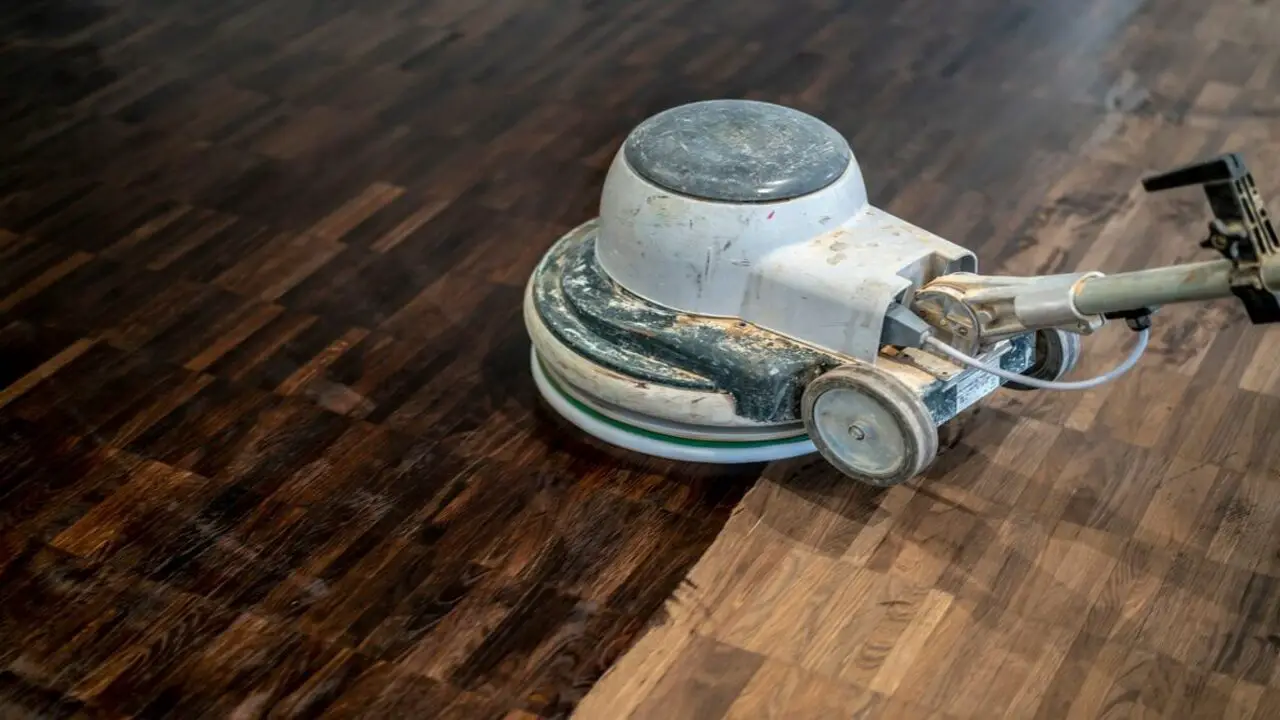
Buffing a polyurethane finish is essential in achieving a smooth and glossy surface on wood furniture or flooring. Polyurethane is a popular choice for protecting and enhancing the beauty of wood due to its durability and resistance to scratches and stains.
However, the finish may still have imperfections or a slightly dull appearance, even with careful application. This is where buffing comes in. Below, we discuss the 11-step process for buffing polyurethane finish.
Step 01: Sand The Workpiece
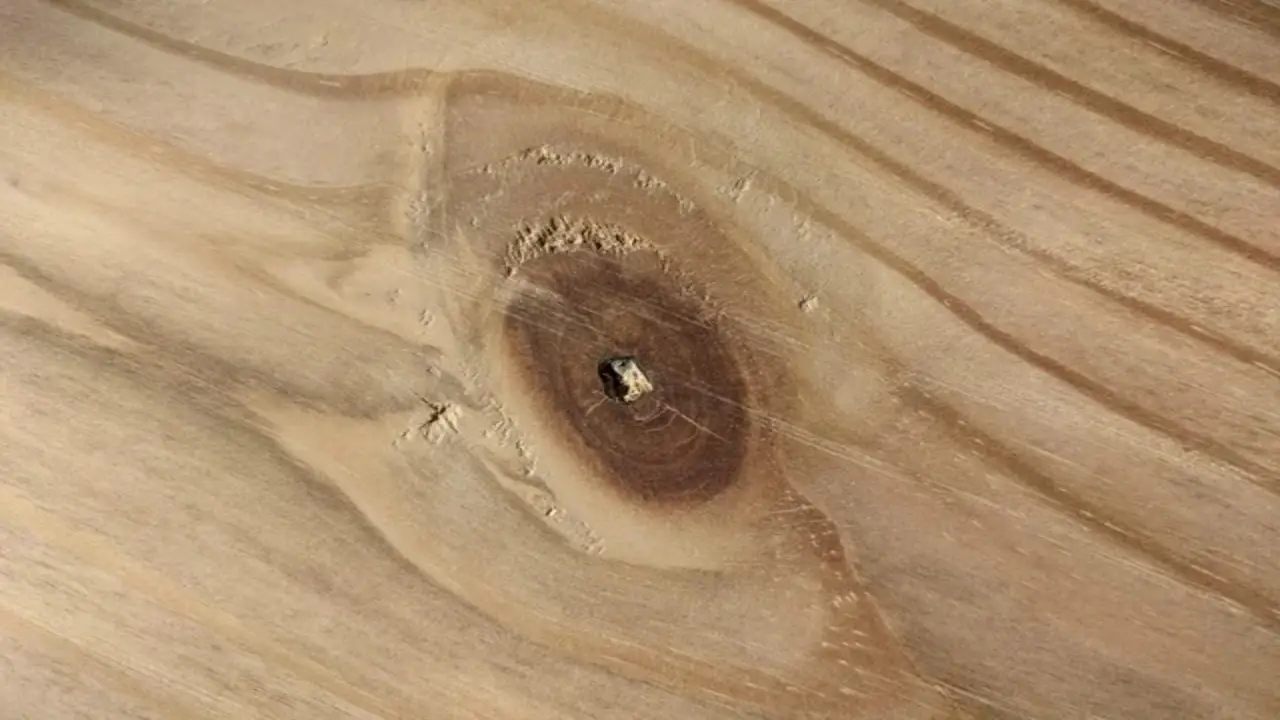
Buffing is essential to achieve a smooth and glossy polyurethane finish on your woodworking project. Start by sanding the workpiece with fine-grit sandpaper to remove any imperfections and create a smooth surface.
Next, use a buffer with a soft cotton cloth or polishing pad to apply a polishing compound to the surface. Move the buffer in circular motions, applying even pressure to distribute the compound evenly. After buffing, wipe away any excess compound with a dry cloth. The result will be a mirror finish that enhances the beauty of your polyurethane coating.
Step 2: Get A Tidy Workplace

Before buffing a polyurethane finish, it is important to ensure that you have a tidy workplace. Remove dust or debris from the surface using a clean, dry cloth. It is also essential to apply the previous coat of polyurethane finish as a protective layer before buffing.
This will prevent damage to the underlying surface and create a smooth base for buffing. When buffing, use an auto-finish compound and work in small sections simultaneously. Apply gentle pressure and move in circular motions until you have buffed the entire finish. Be careful not to over-buff, as this can make the finish appear uneven or “ugly.”
Step 3: Buffing The Woodwork Board
The buffing process is essential to achieve a smooth finish on your polyurethane-coated woodwork. Start by dry sanding the surface with fine-grit sandpaper to remove imperfections or rough spots. Next, use a buffing pad or cloth and apply a polishing compound to the woodwork. Work the compound into the surface with gentle and smooth motions until you achieve an effective sheen. Finally, wipe away any excess compound and admire your beautifully buffed polyurethane finish.
Step 4: Using Polish For Glazing Surface
Buffing is key to achieving a high-gloss finish on a polyurethane surface. Start by ensuring the surface is clean and free of dust by wiping it down with a damp cloth. Next, apply a polishing compound to a buffing pad or cloth and begin buffing the surface in circular motions.
This action helps remove imperfections and create a smooth, shiny finish. It is important to use proper dust collection measures during this process to prevent particles from becoming airborne and settling back onto the surface.
Step 5: Apply Mineral Spirits To Efface The Project
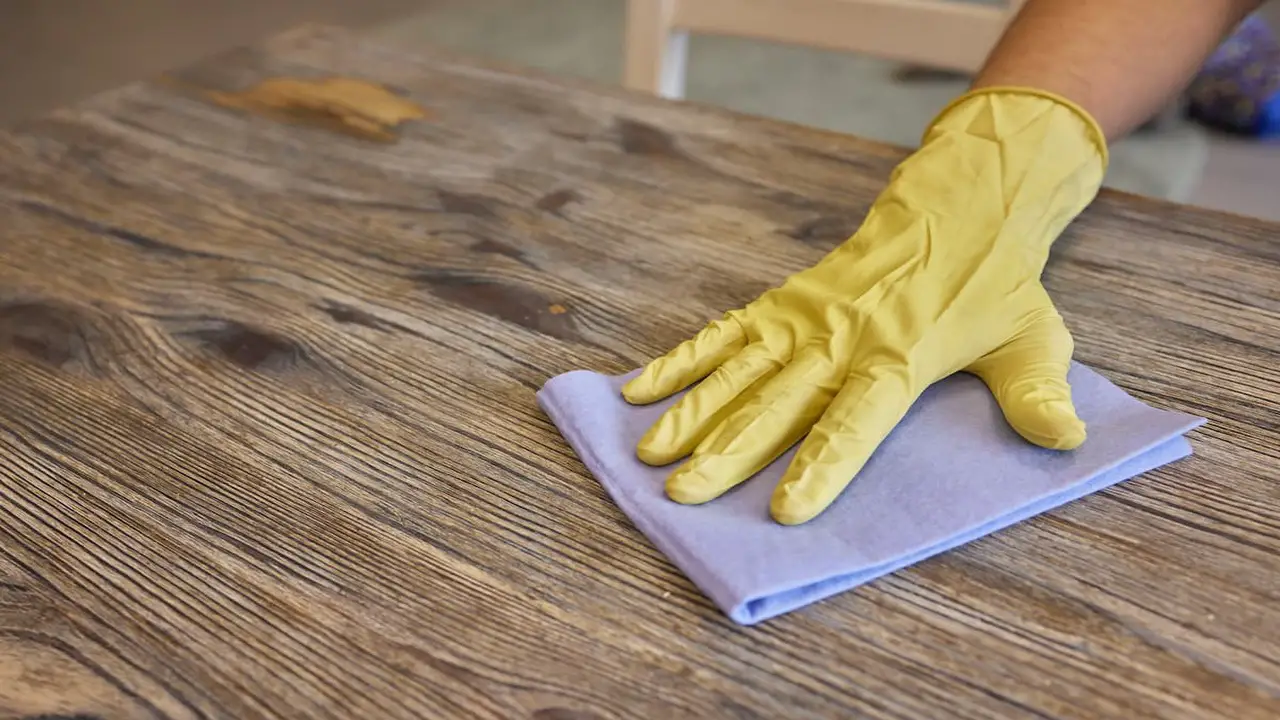
Buffing a polyurethane finish is important in achieving a smooth and glossy surface. Before beginning the buffing process, apply mineral spirits to the project. This will help to remove any dirt or debris from the surface, ensuring a clean starting point for buffing.
Once the project has been cleaned, it is time to start buffing. Using a soft cloth or buffer pad, apply a coat of wax to the surface and begin buffing in circular motions. This will help to remove any imperfections and create a polished finish. Continue buffing until you achieve the desired level of shine.
Step 6: Use A Roller To Apply Poly
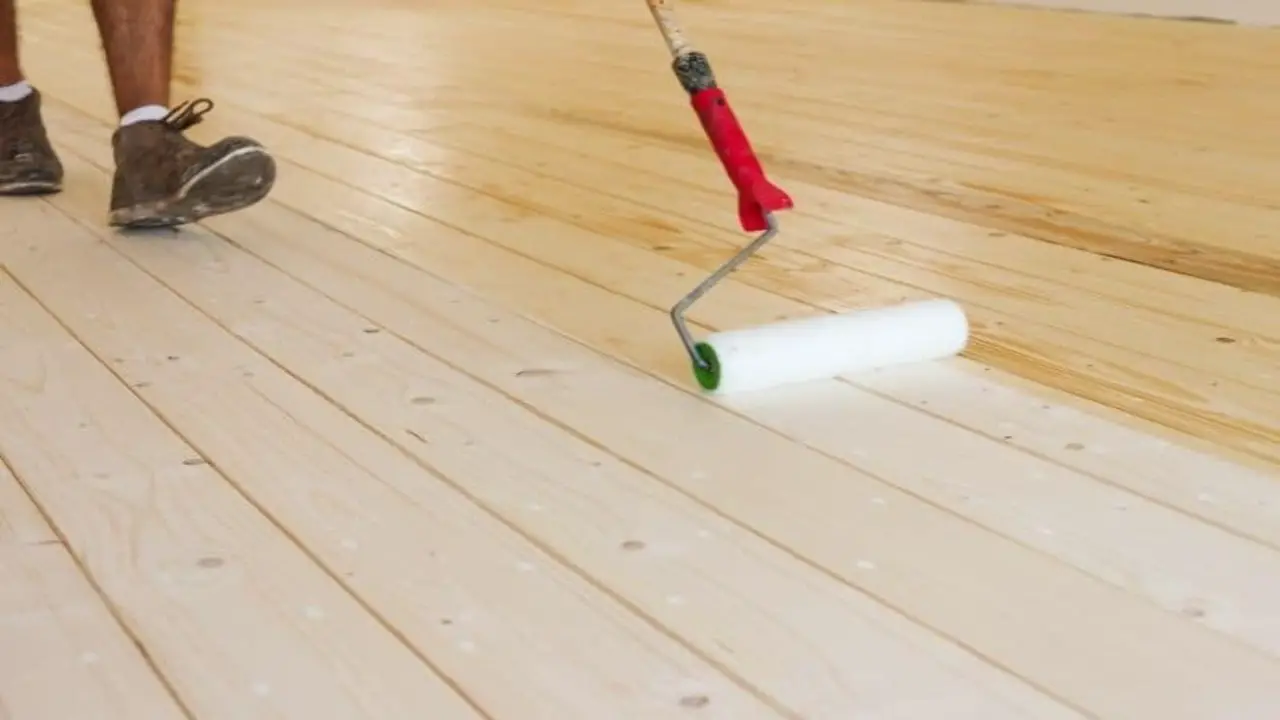
For this step, we recommend using a 6-inch roller to apply the poly. Because it is perfectly suited for an even and fast job for this. The advantage is that you can have spot-free finishing. Next, you need a ranking light to check the full periphery completion. But remember that it is usual to find many flaws while checking through the light.
After every coat, you must dip the roller in the mineral spirit. Also, keep them in a plastic zippered bag as well. Now, let it dry for a while. After some hours, you can notice the ease coming out of dried poly from the pan. Now it’s your preference to put the level of coats. You can either go for two coats on the surface or three coats if you want extra protection on the interior.
Step 7: Complete Both Sides At The Same Period
To achieve a uniform and smooth finish when buffing a polyurethane finish, it is important to complete both sides of the surface at the same time. This ensures that the sheen and texture are consistent throughout.
Begin using sandpaper with a fine grit, such as 320 or 400, to create an even scratch pattern on the surface. This will help the polyurethane adhere properly. Next, apply a small amount of polishing compound to a soft cloth or buffing pad and gently rub it onto the surface in circular motions.
This will help remove any imperfections and bring out a glossy shine. Repeat this process until you achieve the desired level of smoothness and shine. Remember to keep the buffing in action continuous and steady for best results.
Step 8: Use Wipe-On Poly For Narrow Area
When buffing a polyurethane finish, wipe-on poly is a great option for narrow areas. Wipe-on poly is a thinner version of traditional polyurethane, which makes it easier to apply and buff in tight spaces. To use wipe-on poly for buffing, apply a thin, even coat to the surface using a lint-free cloth or applicator pad.
Allow the poly to dry completely before lightly sanding the surface with a fine-grit sandpaper. After sanding, apply another thin coat of wipe-on poly and repeat the drying and sanding process until you achieve your desired level of glossiness. Buffing with wipe-on poly can help you achieve a smooth and flawless finish in those hard-to-reach areas.
Step 9: Make Suitable Use Of Sand
When buffing a polyurethane finish, it is important to prepare the surface by sanding it. Start using medium-grit sandpaper, such as 120 or 150 grit, and sand the entire surface toward the wood grain. This will help remove imperfections and create a smooth surface for the buffing process.
Once the surface has been sanded, switch to fine-grit sandpaper, such as 220 or 320 grit, and repeat the sanding process. This will further refine the surface and prepare it for buffing. Clean off any dust or debris before moving on to the next step.
Step 10: Waxing To Gain Satin Finish
For this part, get some wax material and rub it back and forth on the surface. Get an appropriate amount of car paste wax to a clean cloth. Remember to keep doing this until you find no scratches on polyurethane. After completing this part, get a paper towel to remove the additional wax.
Use horizontal and long motions through this on the surface. Make sure to remove excess wax before it dries so that you get an even surface. As a double-check, spray water on it because a few drops are enough to clean the excess wax from the surface. You can use a wool pad for the cleaning process. After clearing out the wax, let the woodwork dry up itself.
Step 11: Select A Dust Free Area For Final Drying
When buffing a polyurethane finish, selecting a dust-free area for the final drying process is crucial. Dust particles can easily ruin your project’s smooth and glossy finish, so finding a clean and controlled environment is essential. You should choose a well-ventilated room or space with minimal dust and debris.
Make sure to close off any windows or doors that may let in outside contaminants. Additionally, consider using a tack or lint-free cloth to wipe down surfaces before applying the final coat of polyurethane. This will help remove any remaining dust particles and ensure a flawless finish.
Tips For Buffing A Polyurethane Finish
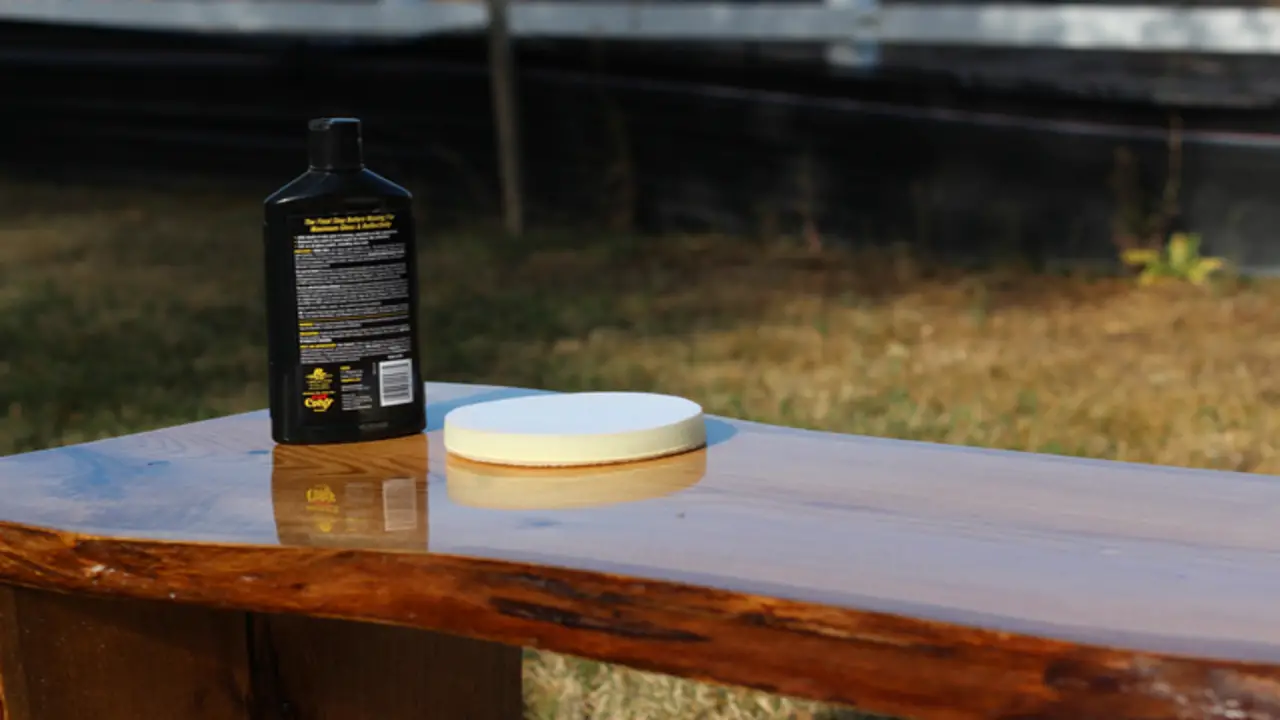
When achieving a smooth and glossy polyurethane finish, buffing is a crucial step that can greatly enhance the overall appearance of your project. Whether you’re working on a furniture piece, a wooden floor, or any other surface coated with polyurethane, these tips for buffing will help you achieve professional-looking results:
- Prepare The Surface: Before buffing, ensure the polyurethane finish has fully cured. This typically takes around two to three weeks. Clean the surface thoroughly to remove any dust or debris.
- Choose The Right Buffing Pad: Select a high-quality buffing pad that is compatible with your chosen buffing machine. Different pads offer varying levels of abrasiveness, so opt for a pad that suits your desired level of shine.
- Use The Correct Buffing Compound: Apply a small amount of a suitable buffing compound onto the pad’s surface. Choose a compound specifically designed for polyurethane finishes and follow the manufacturer’s instructions for application.
- Begin Buffing: Start the buffing machine at a low speed to minimize the risk of swirl marks or damage to the finish. Use slow, overlapping motions to distribute the compound across the surface evenly. Increase the speed gradually as you become more comfortable.
- Monitor Progress: Regularly check the surface as you buff to ensure you achieve the desired shine level. Add additional compound or adjust the machine’s speed to address imperfections if necessary.
- Finishing Touches: Once you are satisfied with the shine, wipe down the surface with a clean, lint-free cloth to remove any residue. Stand back and appreciate the lustrous result of your hard work.
Strategy To Get Rid Of Polyurethane Bubbles
While working with polyurethane, it’s quite common to face bubbles while working with woodwork. The problem is created because of two main reasons. The first one is the brushing technique while applying the finishing. People tend to think about taking a long time while brushing to get rid of bubbles. But it is not an efficient way to do so.
Another reason is not giving enough time to brush out, which eventually causes the finish to evaporate quickly. The right method is to pick the brushing method correctly to liberate it from bubbles. Then, apply a thin layer first on the woodwork. After giving it enough time to pop up the existing bubbles, apply the finish thoroughly to get the best outcome on the wood surface.
Using Polish For A Glossy Surface
Polish is a type of polish used to Buff a Polyurethane Finish. It’s a two-step process: first, the polish is applied to the surface to be polished, and then it’s buffed off using a cloth or brush.
Polish is available in several colors and can be used on various surfaces, including wood, plastic, glass, and metal. It can also be used to restore faded or damaged paintwork. Overall, polish is an effective way of restoring the gloss and luster of a Polyurethane Finish. It can make your furniture look new and help it resist scratches and scuffs.
Warning
Before buffing your polyurethane finish, knowing the risks is important. By buffing it, you’re essentially putting a layer of new polyurethane over the old one. This can lead to scratches and other damage that wasn’t there before. If you buff your finish, do not apply too much pressure or heat. Use a soft cloth and apply the buffing particles slowly and evenly. And lastly, be prepared for potential messes. Polyurethane finishes are notoriously difficult to clean.
Conclusion
Buffing a polyurethane finish is essential in achieving a smooth and glossy surface. By following the 11-step process here, you can effectively buff your polyurethane finish to perfection. Each step plays a crucial role in achieving professional results, from preparing the surface to selecting the right buffing pad and compound.
Take time, work in small sections, and apply consistent pressure for the best outcome. Whether you’re a DIY enthusiast or a professional woodworker, mastering the art of buffing polyurethane finish will elevate your woodworking projects to new levels of beauty and sophistication. So go ahead and give it a try – you’ll be amazed at the stunning results you can achieve with a little time and effort.
FAQs
1.Can You Buff A Polyurethane Finish?
Ans: Yes, you can buff a polyurethane finish. Buffing can help to remove any imperfections or scratches in the finish and create a smoother, more polished appearance. Using the proper tools and techniques is important to avoid damaging the finish.
2.How Do You Smooth Out Polyurethane Finish?
Ans: To smooth out a polyurethane finish, gently sand the surface and use fine-grit sandpaper or steel wool. Be sure to sand in the direction of the wood grain and lightly sand between coats for an even smoother finish.
3.How Long After Polyurethane Can I Buff?
Ans: After applying polyurethane, you should wait at least 24 hours before buffing. This allows the polyurethane to cure and harden, fully ensuring the best buffing results.
4.Can You Use Steel Wool To Buff Polyurethane?
Ans: Yes, steel wool can be used to buff polyurethane. It is typically used for removing imperfections and smoothing the surface before applying another coat of polyurethane.
5.What Will Damage Polyurethane?
Ans: Exposure to certain chemicals, such as solvents or harsh cleaning agents, can damage polyurethane. It can also be damaged by excessive heat or prolonged exposure to sunlight, which can cause it to yellow or deteriorate over time.

![How To Make A Fairy House From A Tree Stump [Exclusive Idea] 29 How To Make A Fairy House From A Tree Stump [Exclusive Idea]](https://woodthinker.com/wp-content/uploads/2023/08/How-To-Make-A-Fairy-House-From-A-Tree-Stump-768x432.jpg)


