Building structures that require both the durability of concrete and the versatility of wood, attaching wood posts to concrete can prove to be a challenging task.
Whether you are constructing a deck, fence, or pergola, securely fastening wood posts to concrete is crucial for your project’s structural stability and longevity. However, this seemingly daunting task can be easily accomplished with the right tools and techniques.
Here, we will guide you through the step-by-step process of attaching wood posts to concrete, providing you with the knowledge and skills to complete your project confidently and precisely. From preparing the concrete surface to selecting the appropriate fasteners, we will cover all the essential information and tips to ensure a successful and professional outcome.
Tools And Materials Needed

You can employ several methods to ensure a secure and durable connection. One commonly used technique is the use of anchor bolts. Anchor bolts fasten wood posts to the concrete by providing a solid base when embedded. To utilize this method, bracket holes are first drilled into the concrete surface at specific locations where the wood posts will be positioned. Here are the Tools and materials needed:
- Screwdriver
- Hammer
- Measuring tape
- Pliers
- Level
- Drill
- Safety goggles
5 Step Process To Attach Wood Post To Concrete
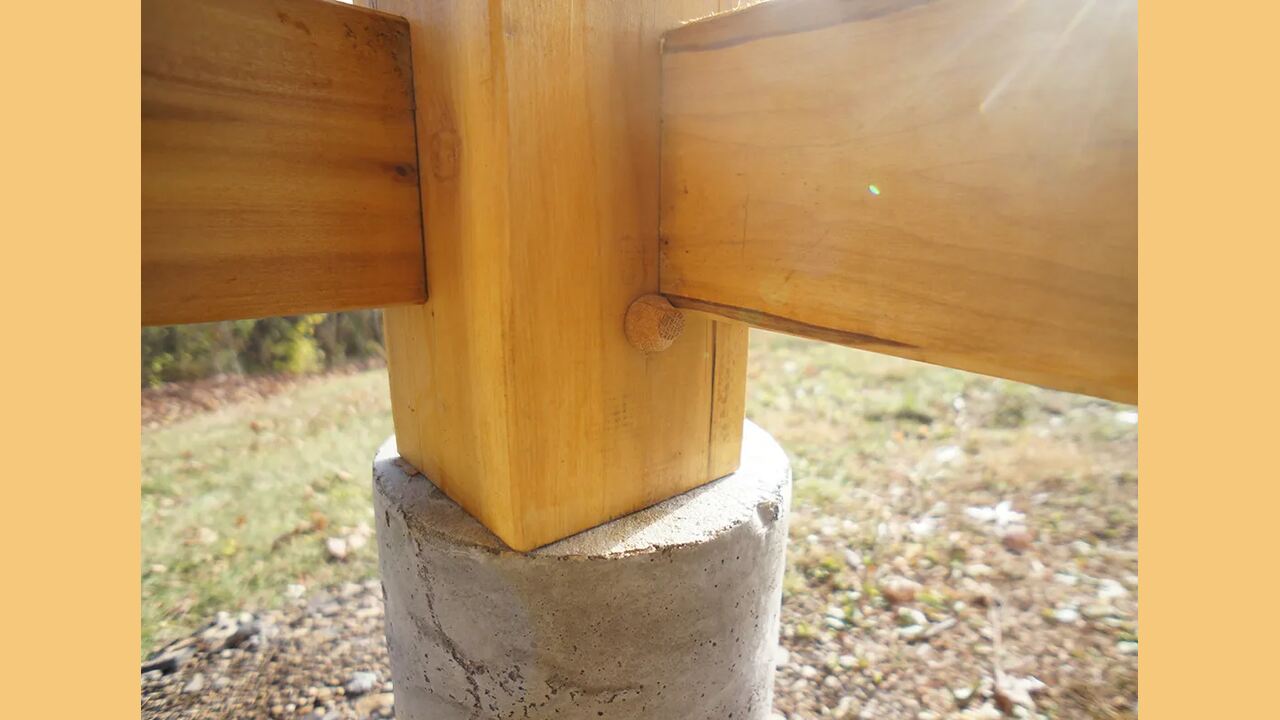
Wood posts are a great way to add character and charm to your home exterior. They’re also a sustainable option, as we can use them multiple times before replacing them. A sturdy, attractive post installed in your yard can add value and curb appeal to your home. However, attaching to the concrete can be a daunting task. Here are 5 step processes to attach wood post to concrete.
1. Remove Old Concrete
You’ll first need to remove the old concrete to attach wood posts to the concrete. You can do this by using a crowbar or a hammer and chisel. Wear gloves and protective equipment, as the concrete can be very dangerous. Once the concrete is, you’ll be able to see the post itself and the reinforcement rods that will hold it in place.
Make sure that the hole is big enough so that the screw will fit snugly but not so big that it causes too much damage to the post itself. Finally, you’ll need to insert the post with wood screws into the hole and tighten it with a wrench.
2. Clean Post And Adhesive Surface
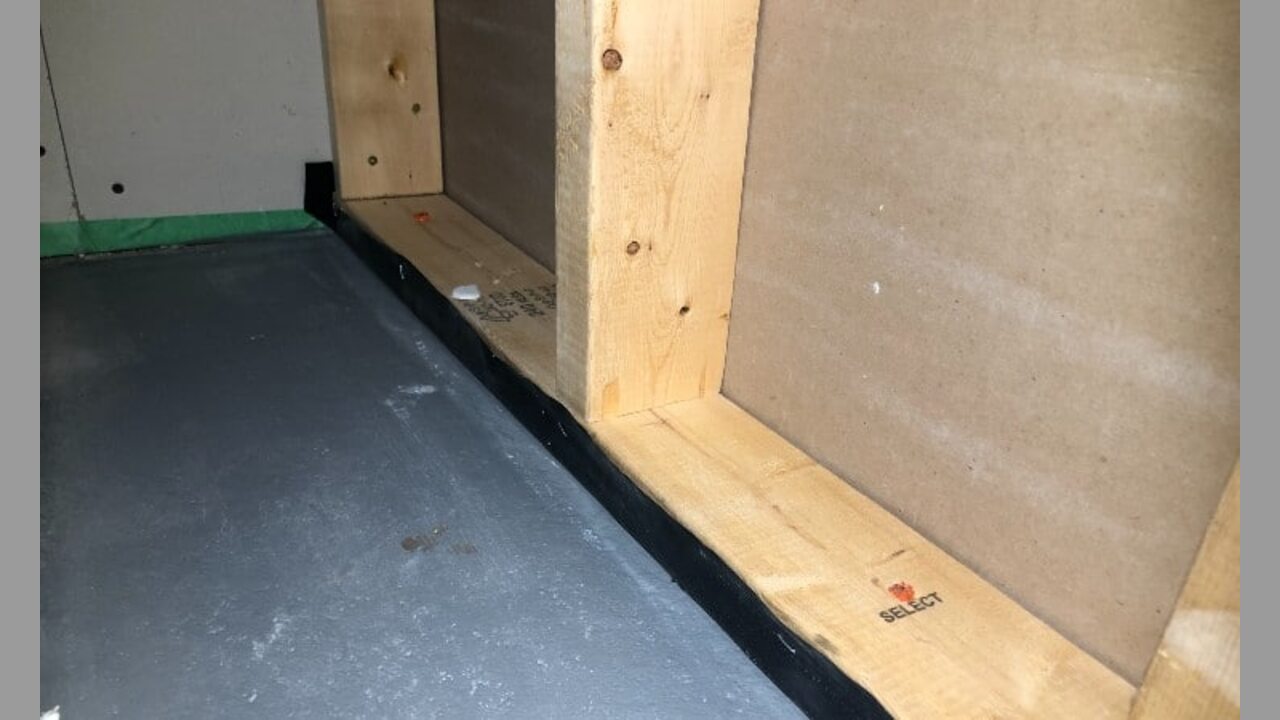
One of the most important steps when installing a wooden post is ensuring the surface is clean and free from any built-up dirt or concrete. This will ensure that there are no potential damages caused during installation.
Once the surface is clean, apply a layer of adhesive to both posts and attach them using screws or bolts to prevent movement between them. Make sure to tighten the screws/bolts so they do not hinder circulation. Last but not least, finish by painting or staining your post as desired.
3. Apply Adhesive To Post
To attach a wooden post to concrete, you’ll need to apply adhesive and then attach it to the concrete. You can use either a self-adhesive adhesive or a cementitious adhesive. Self-adhesive adhesives are easy to use and require no special preparation, but they only work well under certain conditions.
For example, they may not be suitable for posts that are too large or thin. Cementitious adhesives are more durable and require more preparation but offer better overall performance. Thicker or larger posts are also better suited for them.
4. Installing Bolts And Nuts
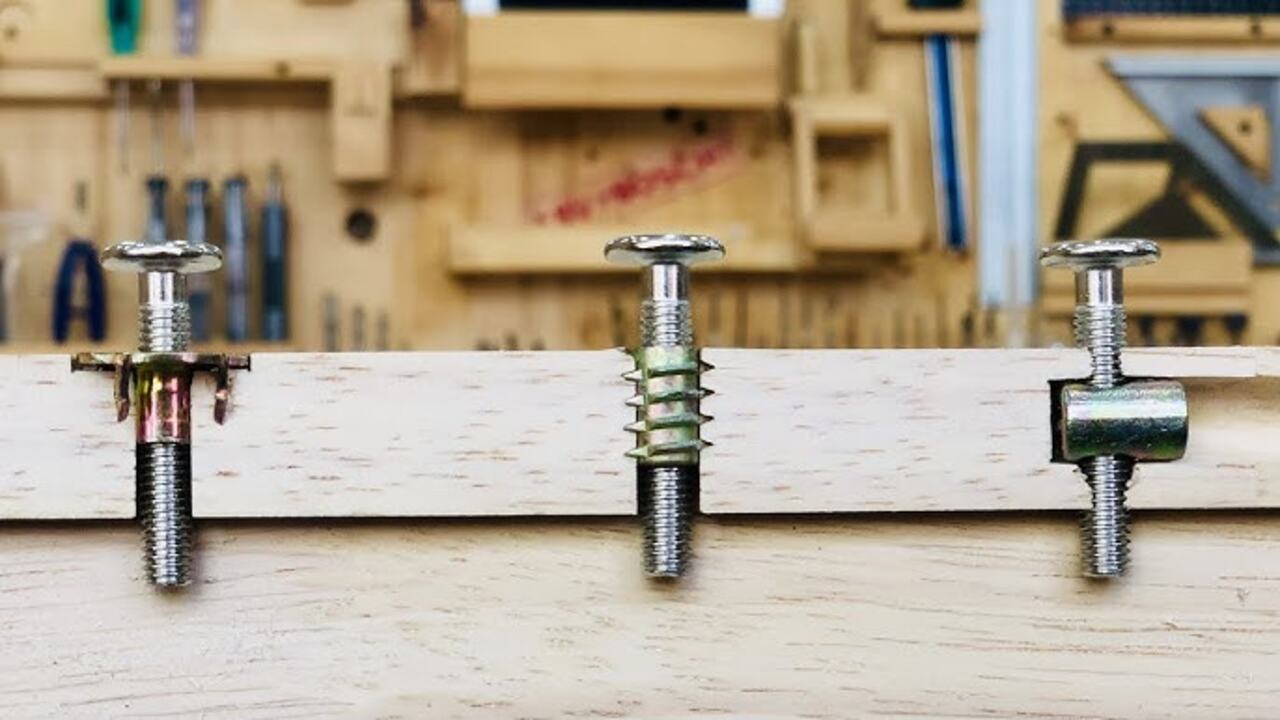
You’ll need bolts and nuts when attaching wood posts to concrete. Bolts have specific designs to hold the post in place, while nuts provide resistance against the post from moving. To attach a bolt, drive it into the post at an angle so the head faces downwards.
Then, put the washer on top of the bolt, followed by the nut. Finally, put the second bolt on top of the first and tighten it by turning it clockwise. To attach a nut, place it over the bolt’s head and turn it until it’s tight enough.
5. Connecting Posts To Concrete Structure And Finishing Up
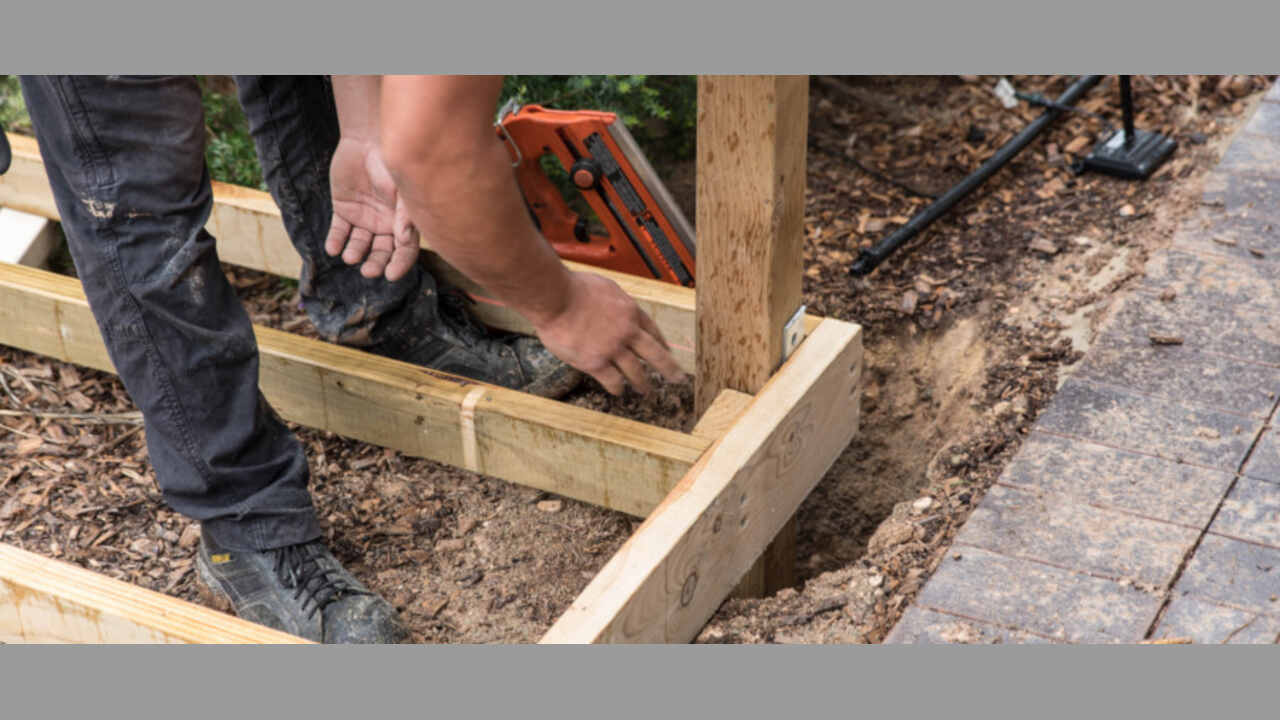
Now that you have all the materials needed, it’s time to start connecting your posts! Start by drilling holes in the post and concrete, then fasten posts with bolts and washers. Secure posts with screws once they are in place. Paint or stain the post to match your concrete finish. To attach wood posts to a concrete structure and finish up the project,
Alternative Methods For Attaching Wood Posts To Concrete
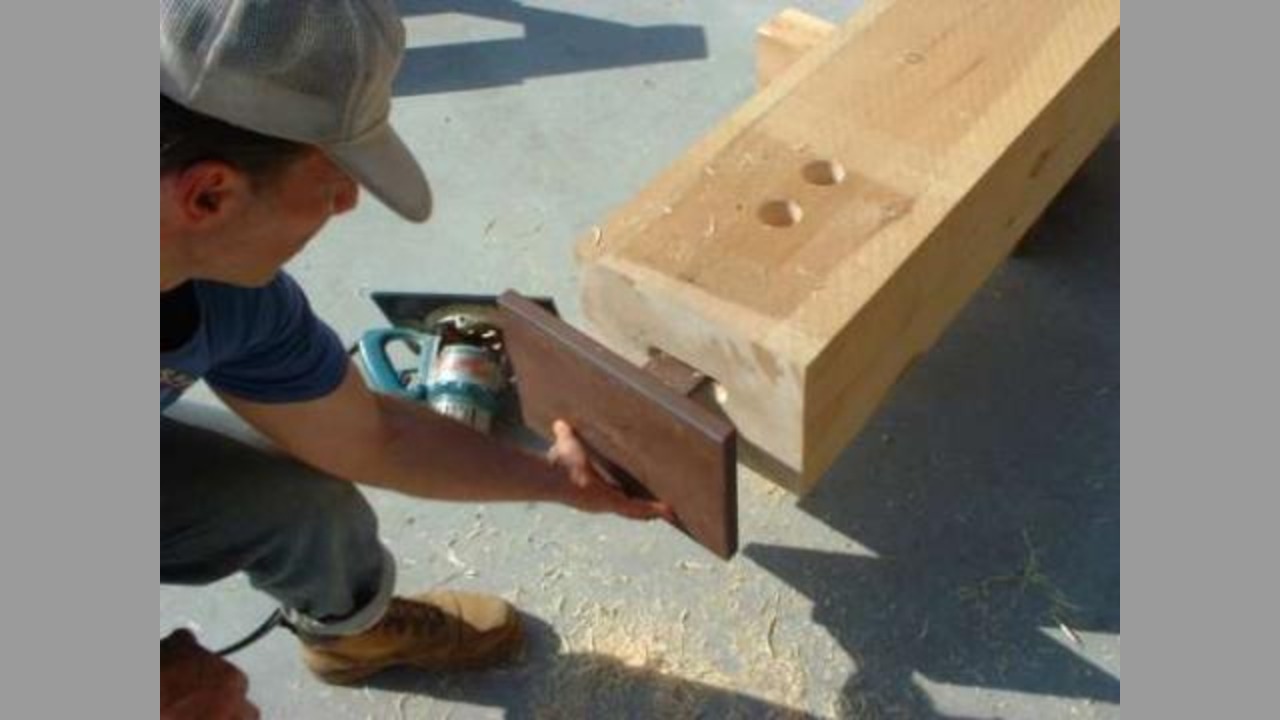
Another effective method is the use of concrete screws. These screws are specifically classic fence designs to penetrate and grip into concrete, creating a strong connection. Before attaching the wood posts, we drill pilot holes into the concrete to accommodate the screws.
You can then align the wood posts with these pilot holes and drive the screws through the wood and into the concrete using a power drill. Alternative methods for attaching wood posts to concrete include using post anchors, wedge anchors, and epoxy anchors:
- Post Anchors: Post anchors are metal brackets that are attached to the concrete using concrete screws or anchors. You secure the wood post to the anchor using bolts or screws. This method provides a stable and adjustable connection between the wood post and concrete.
- Wedge Anchors: Wedge anchors are threaded bolts inserted into pre-drilled holes in the concrete. The wedge-shaped end of the anchor expands when tightened, creating a secure connection. You then attach the wood post to the anchor using bolts or screws.
- Epoxy Anchors: Epoxy anchors involve drilling holes into the concrete and inserting anchor rods. Inject epoxy resin into the holes to fill voids and bond the rod to the concrete. You then attach the wood post to the anchor rod using bolts or screws.
Tips And Best Practices For A Strong And Secure Attachment
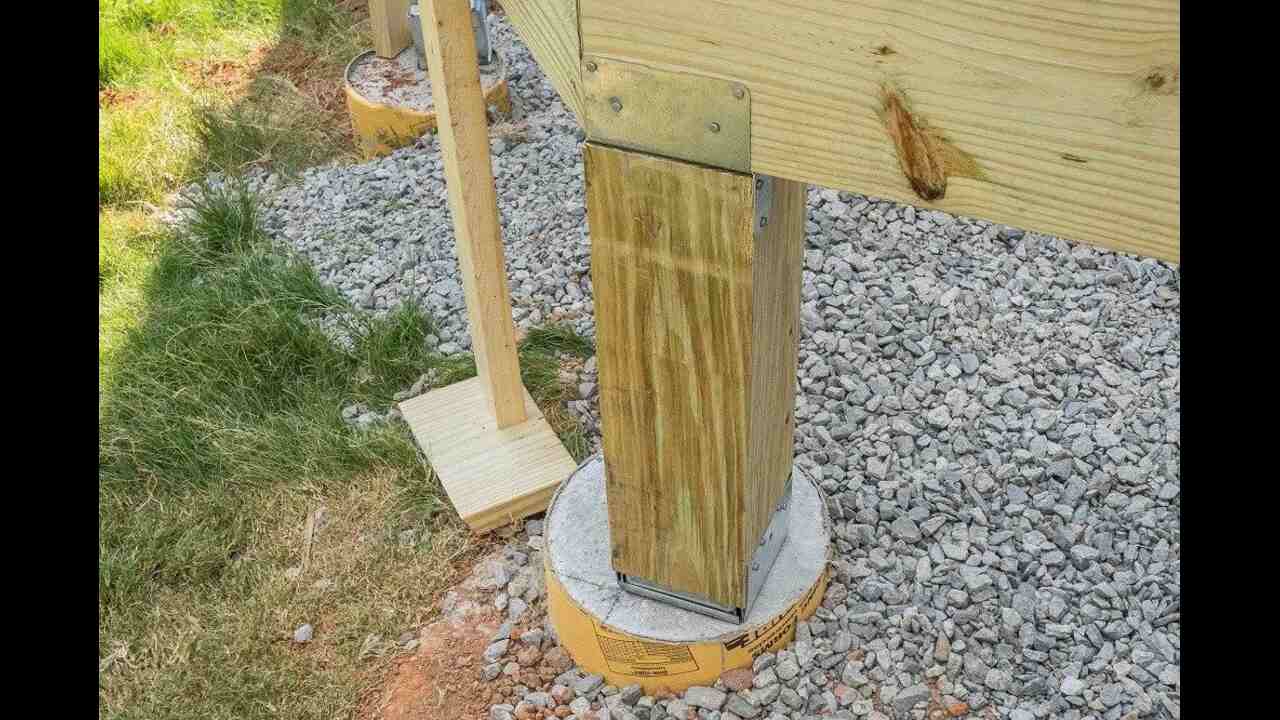
These brackets are typically made of galvanized steel and are basics of deck design to be attached to the concrete surface using concrete screws or other appropriate fasteners. Once the brackets are securely in place, the wood posts can be inserted into the brackets and secured using screws or bolts. Here are tips and best practices for establishing a strong and secure attachment.
- Maintain consistent and responsive caregiving.
- Foster a secure and trusting relationship through nurturing and affectionate interactions.
- Be attuned to your child’s needs and emotions, providing comfort and support.
- Encourage open and honest communication with your child
- Establish and maintain routines to provide a sense of stability and predictability
- Create a safe and secure physical environment for your child
- Set appropriate boundaries and discipline strategies that are consistent and fair
Conclusion
Attaching wood posts to concrete can be daunting for many homeowners or DIY enthusiasts. However, it can be a manageable and successful project with the right tools and techniques. Following the steps here and taking the necessary safety precautions, you can ensure a sturdy and long-lasting attachment of wood posts to concrete.
Whether you are building a deck, fence, or pergola, these techniques can be applied to various projects around your home. Always consult a professional if you are unsure or uncomfortable with any steps. With patience and precision, you can achieve a strong and secure connection between wood and concrete.
Frequently Asked Questions
How Do You Stick Wood To Concrete Posts?
To stick wood to a concrete post, you can use a combination of adhesive and mechanical fasteners. Clean the surface of the concrete post to ensure it is free from dirt and debris.
Can You Attach Wood Directly To Concrete?
Yes, you can attach wood directly to concrete using various methods such as adhesive, anchor bolts, or concrete screws. Ensuring the wood is properly treated or sealed is important to prevent moisture damage or rot.
How Do You Attach A 4×4 Post To A Concrete Block?
To attach a 4×4 post to a concrete block, you can use anchor bolts or concrete screws. Pre-drill holes into the concrete block using a masonry bit, matching the size of the anchor bolts or screws.
Is It OK To Put Wood Posts In Concrete?
Yes, putting wood posts in concrete is generally acceptable as it provides stability and durability. The concrete helps to anchor the wood post in place and protects it from ground moisture, which can lead to rotting.
What Will Hold Wood To Concrete?
You can hold wood to concrete using a variety of methods, such as adhesive, concrete screws, anchors, or nails, with concrete nails being the most common.


Leave a Reply