Working on weekends to give your home a new look? A new look, new decoration, new color that would give one the feeling of living in a brand new house. Painting with your favorite color and decorating it according to your taste, a dream indeed. Nothing can give more pleasure than this. But, before painting, the most important part is to even or smooth the plaster wall. Otherwise, you will find the paint floating on the surface, giving a bizarre look.
Want to give the plaster wall a proper look and color? Why not make it smooth first. Smoothening the plaster wall would solve half of your problems. In this guide, we are going, summing up some details regarding how to smooth plaster walls before painting. Keep your eyes on the bomb.
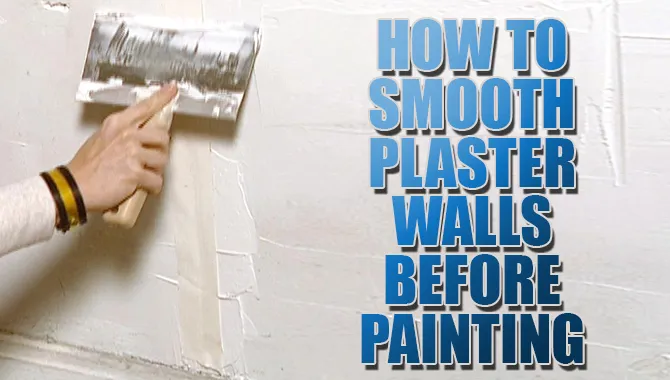
How to Smooth Plaster Walls Before Painting – A Definite Guide
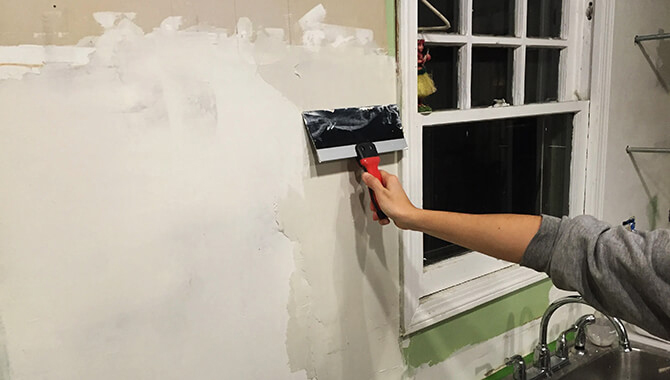
Before painting plaster walls, it is important to ensure that they are smooth and free from any imperfections. By following these steps, you can achieve smooth and flawless plaster walls that will provide an excellent base for your paint job. Here are some steps to help you achieve a smooth finish:
1. Prepare the walls: Start by removing any loose or flaking plaster using a scraper or putty knife. Then, clean the walls with a damp cloth to remove any dust or dirt.
2. Fill in cracks and holes: Use a patching compound or joint compound to fill in any cracks, holes, or dents in the plaster. Apply the compound with a putty knife and smooth it out evenly. Allow it to dry completely before moving on to the next step.
3. Sand the walls: Once the compound has dried, use sandpaper or a sanding block to gently sand the walls. This will help to smooth out any rough patches or uneven areas. Be sure to wear a mask and goggles to protect yourself from dust.
4. Prime the walls: Before painting, apply a coat of primer to the walls. This will help the paint adhere better and provide a more even finish.
5. Paint the walls: Finally, you can paint your plaster walls using your chosen color and type of paint. Use a roller or brush for larger areas and a smaller brush for corners and edges.
Self-Adhesive Mesh Adds Strength.
Paint jobs can be a hassle, but using self-adhesive mesh can make the process a lot easier. Not only is it easy to install, but it also prevents dust, lint, and other debris from getting into the paint area. Additionally, the mesh helps smooth plaster walls before painting, making the job a lot smoother. So, if you’re looking to save time and hassle on your next paint job, reach for self-adhesive mesh!
All-Purpose Compound Does The Trick.
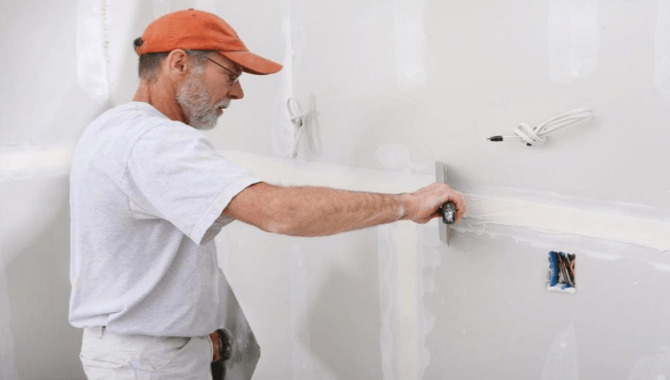
Before painting plaster walls, it’s important to smooth them out first. This can be done with an all-purpose compound that is quick and easy to use. Just make sure to use it in a dry and non-dusty environment, and be aware that this compound is not recommended for extremely dry or damp walls. Once the wall is smooth, paint it as usual, and you’ll have no problems!
How to Smooth Plaster Walls Before Painting
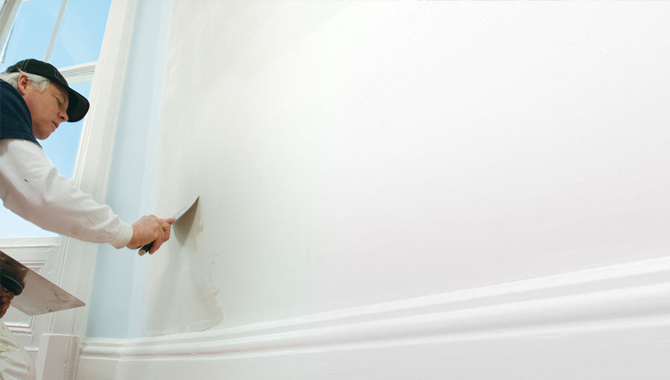
Before painting, smoothing out the plaster wall is a must. Even though the plaster is new, some may find new plaster in perfect texture. Still, using a sander can be of help. However, a sander will not do any good to the cracked wall. It would be best if you fill the cracks before painting. The most effective way to smooth plaster walls before painting is to skim coat. It is not as easy as you may think. Proper procedures should be followed. Otherwise, a faulty coating can affect the wall.
Skim Coat
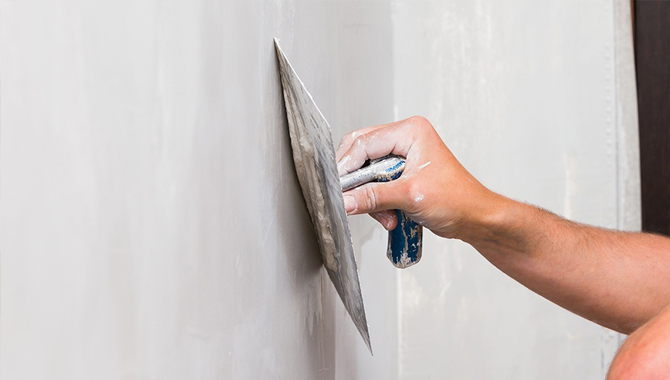
Skim coat is known as the toughest task too. Putting a coat on the wall and even it is a work of strength. One needs to put two coatings back to back while holding heavy tools. Heavier indeed they are. That’s why one needs to be careful while working and maintain some steps without leaving a single one. Let us explain here how to do a skim coat. Do go the steps thoroughly not to make any mistake.
Step 1:Maintaining Safety
Doing a skim coat is not as easy as it seems. Applying mud on the wall, fixing it, mixing the mud and even the walls. Everything requires a proper sense of work. You may spill mud on your dress or eyes or even your hands. Remember, if you keep the mud for a long time, it will dry off. If it dries off on your hand, it would indeed be a disaster. That’s why wear goggles, a coat, and gloves. Overall, these things will provide you protection from getting harm.
Step 2:Mixing the Mud.
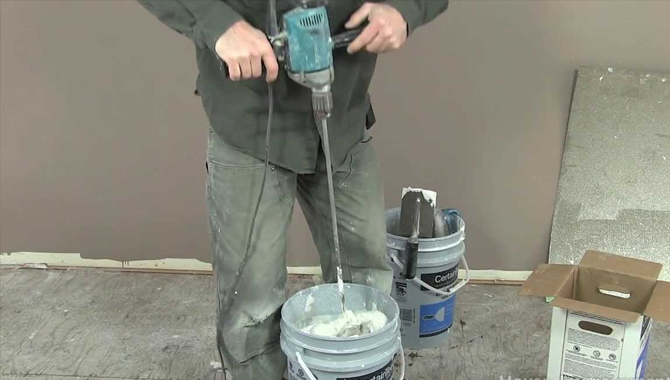
Well, probably the first and utmost thing you need to do. Preparing the mud. For this, use cold water and mix the mud with it. Make a circle for muds and make a space inside. Pour water on the inside or center and drag the mud from the upper sides to the center. Mix it up. You are done mixing. Now next to go.
Step 3:Applying the Mud.
Now put a fair amount of mud on the hawk. Hawk holds the mud in a fair amount without dropping it. Transfer the mud to the trowel. Put a small amount here. Finally, it is time to apply on the wall. Now hold the trowel on the wall and move it from up to down. Then down to up. Apply the mud on the wall fully. It will take some time. After putting on a complete coat, even the coat. You can also use a paint roller to put the mud on the wall. You can put a generous amount of mud by using a roller.
To even the wall, knife tapping should be moved fast. You may need some techniques. Well, when you are putting a coat on the wall, try to apply it from up to down, especially when it is time to even the coat. Make sure there is no stain or roughness left. You also need to put on two coats, one after another. You need to even the bumps and apply a second coat. Applying a second coat is necessary if you do not want your walls to look bumpy and bizarre.
Step 4:Using a Brush
After applying the mud, the mud would get dry soon. Before the coat dries completely, you need to finish your work. You may want to know, why use a brush? Well, after coating, you will still discover some imperfections or muds building up as a lamp on the wall. You need to remove it immediately. Otherwise, what is the use? You will not get a perfect texture.
First, dip the brush in clean water and wipe the whole wall off. Make sure to wet the wall fully. After applying water, use the trowel again. But this time, do not put extra mud on the trowel, no mud. Now, drag the trowel from side to side. You will soon find water dropping off the wall.
The extra waters are falling, which will give the wall a smooth texture. This is actually done to remove extra water from the wall’s surface. Residue water on the wall can damage the wall if it is not soaked. In the future, it may create problems too. Finally, let it dry. After drying, you will see a completely shiny wall. You can finally use paint and give the wall your color.
Cover The Walls With Mesh
Paint your walls the perfect color, and you’ll end up with water spots and streaks. Don’t worry; there’s a solution! Cover the walls with mesh before painting to trap air and prevent dirt, dust, and paint from getting onto the wall surface. This will also prevent water spots and streaks from forming when you’re painting. After smooth plaster walls with the mesh, apply painter’s tape so that the walls are easier to paint evenly. You’re ready to paint!
Use Wide Mesh And A Narrow Knife
Putting a fresh coat of paint on your plaster walls can be a fun and exhilarating experience. Here’s a guide on how to smooth plaster walls before painting – making sure the process is as smooth as possible for both you and the wall! First and foremost, clean up any debris using a wet cloth and white vinegar.
This will help avoid any bumps or holes in the wall after the painting is complete. Next, use wide mesh and a narrow knife to smooth plaster walls before painting. Make sure to go slow and use plenty of pressure to avoid any bumps or holes. Lastly, apply the wall covering and paint as you normally would. By following these simple steps, you’ll be painting your plaster walls like a pro!
How do you Smooth out a Bumpy Plaster Wall?
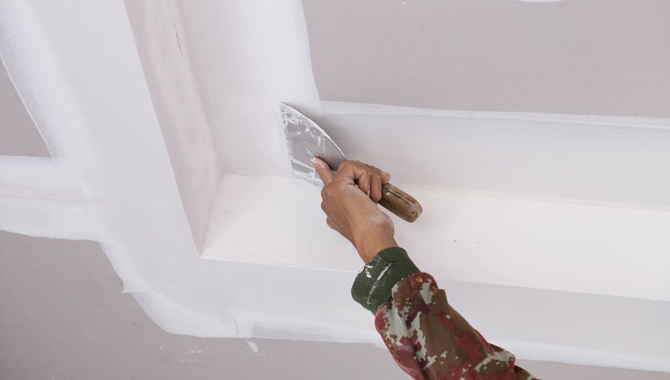
Your plaster wall may be new or old, and it still can have bumps and roughness. Plasters should be smooth before painting. Otherwise, the uneven tones may look bizarre and also will give the wall an eyesore look. Bumps on the plaster wall can be removed, or the uneven texture can be corrected by sanding. In that case, one has to be careful. Well, sometimes only some part of the plaster may seem uneven while the other part looks absolutely normal.
If you do sanding with rough sandpaper on the even sides, it may worsen the situation. As you may know, sanding requires two sandpapers. One to even the rough parts and the other to smoothen. First, one may use higher grit sandpaper on the plaster and then use the lower grit one. You may ignore the normal parts that are already smooth enough. One may use lower grit sandpaper on the smoothen part to make it smoother.
You can also try doing a skim coat as it is the way that would benefit you the most. For coating, you need to apply two coats. Before starting, wear gloves, a coat, and eyeglass. You may find the tools heavy as they actually are. Do not drop them. First, you need to prepare the mud for coating and apply it smoothly on the wall with a taping knife. Any size of knife would be okay if you can handle it. A knife would smooth up the wall with a perfect texture.
Apply the mud fully with a trowel on the wall and straighten it with a taping knife. Do it from up to down so that you will not leave any part. Use the knife to fix the mud and bumps. Then apply another coat back to back. After applying a second coat, brush water on the wall and again use a tapping knife to even it. You will see the broken parts are also filled. Overall, a smooth wall you get without any bumps.
If these methods do not work, try using drywall. Well, walls can not always be fixed. Some may also need to be fully pulled off if it is about cracks, even though bumps are easier to solve. When the wall has cracks, one needs to fill it. Filling it might be a permanent solution. I doubt if it is the safest one as a cracked wall proves how weak the wall has become in days. Overall, fix your bumpy walls with caution.
Final Remark
Plaster walls are quite tough to prepare for painting. Especially if the wall is cracked, it is a loss. Even though you can fix it by coating it, it might not be the permanent solution here. It would be best if you could use an artificial wall for that. It may make the scenery quite relieved.
If you need to smooth the wall only for painting, do it by yourself. It May require some time, still do it and do the paint too by yourself. The coating is easy if you can do it fast. Speed matters while coating as one can not afford bumps anymore.
If the coat dries before being smooth, it may cost too much. You can also contact a professional for that. That might be easier. Cost doesn’t matter if you can get the wall fixed and looking smooth out. Finally, it is time to color it. Choose your filter and mix it up. Color the wall with your own filter. I hope now you know how to smooth plaster walls before painting.
FAQs
1.How smoothly does plaster need to be before painting?
Ans. Most of the new plasters are well finished and don’t need to be smoothed out before working. Still, it is better to make the plaster smoother. Some new plasters leave stains and some roughness. That’s why even if the plaster is new, do sanding before painting. The smoothness of the plaster depends upon the painter. If roughness and stains are removed perfectly, and you feel the smoothness that fulfills your requirement, it is enough.
2.Can you sand plaster walls smoothly?
Ans. Sanding is an effective way to free your wall from roughness and bumps but not for cracks. If your plaster has bumps all over or a rough surface that feels like a throne, do the sanding. Smooth out the wall by sanding. Sanding would help here to remove the bumps and even all. Wear glasses while sanding as the dust can enter your eye. Sanding is not always applicable if the wall has cracks on it. You do not want to worsen it, right?
3.Should I sand plaster before painting?
Ans. Well, of course. One should sand a plaster before painting. Sanding a plaster is not bad. Especially when the wall had bumps and roughness, sanding would remove roughness and give a smooth finish to the wall. Overall, a smooth wall is always preferable for painting. If the wall is not smooth, the paint will look bizarre, probably something you will not expect the wall to look like. That’s why sand plaster before painting.
4.What Causes Plaster Walls to Bulge?
Ans. Plasters get into problems too. Cracked plasters are quite common, so is the bulge one. You will soon find molds growing on your plaster if the wall has bulged. Water on the wall is the reason why plaster walls bulge. The remaining water on the wall that is not soaked will eventually create a bulge. That’s why, while plastering, remove the residue water from the wall. Otherwise, it is not bringing any good in the future.

Leave a Reply